Assets Libraries
XR Kitting editor lets you import 3D elements into libraries to use them later in your project. Each type of object is organized in a specific library:
- Parts and assemblies
- Boxes
- Prepick
- Prekit
- Kitbox
- Carts
- Racks
- Enhancers
- Conveyors
- Evacuation
- Trashes
- Process objects
Objects in the library can be exported in FBX format by right-clicking on the object and selecting "Export to FBX".
Parts and Assemblies
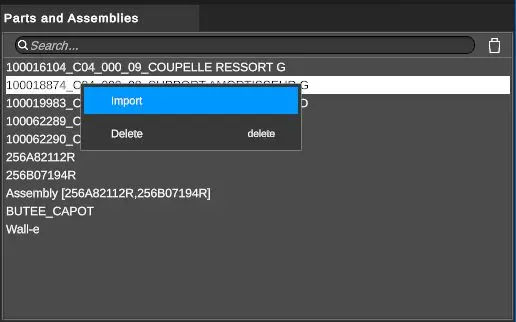
This section of the Library interface let to manage vehicles parts and optionally create assemblies.
We can import in it a new part through a 3D file or delete an element in the Library. In both cases, you must right click in this window to display a contextual menu.
Each element of the Library had editable parameters via the properties sub window. When an element is selected in the Library, its properties appear.
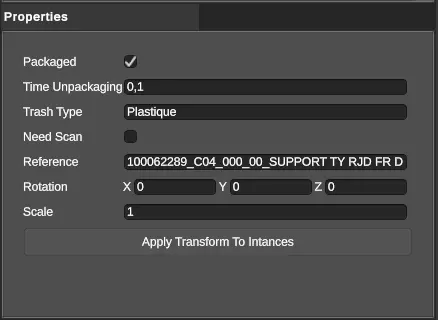
- Packaged: allows to define whether the part is packed in a protective cover or not. A packed part must be unpacked before any other action in the simulation.
- Time Unpackaging: necessary time to unpack a part in the simulation.
- Trash Type: determine the trash type in which the part’s cover will be thrown away. The type is a name that you define, and which should also be defined at the level of at least one trash. See The trashes
- Need Scan: determine whether the part must be scanned or not, before being kitted.
- Reference: name that determine the part reference. By default, that is the name of the 3D file. The part reference will be the manner to name the part in the production sequence. See Production Sequence
- Rotation: allows to modify the 3D model orientation. It directly impacts the sub window Preview.
- Scale: allows to modify the scale of the 3D model if necessary. This scale is a coefficient that multiply itself with the scale value define in theGlobal Scale parameter accessible via the Scene/Settingsmenu.
- Apply Transform To Instances: Apply the rotation and scale defined above at every instance of the part in the scene.
Assemblies of the part can be created and edited from the Library: see Parts assemblies
Boxes
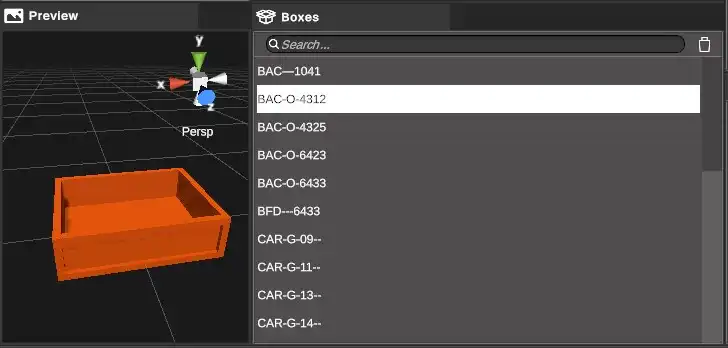
This section of the library interface lets you manage boxes, whether for the floor or for furniture shelves.
Boxes can be created automatically when importing a study, or manually by importing a 3D file or using the built-in editor. To create and import a box, right-click in the library.
It is possible to transform a package in the library into a prekit or prepick by right-clicking on the package and selecting the "Convert to prekit" or "Convert to prepick" option.
Here is a view of the package’s editor:
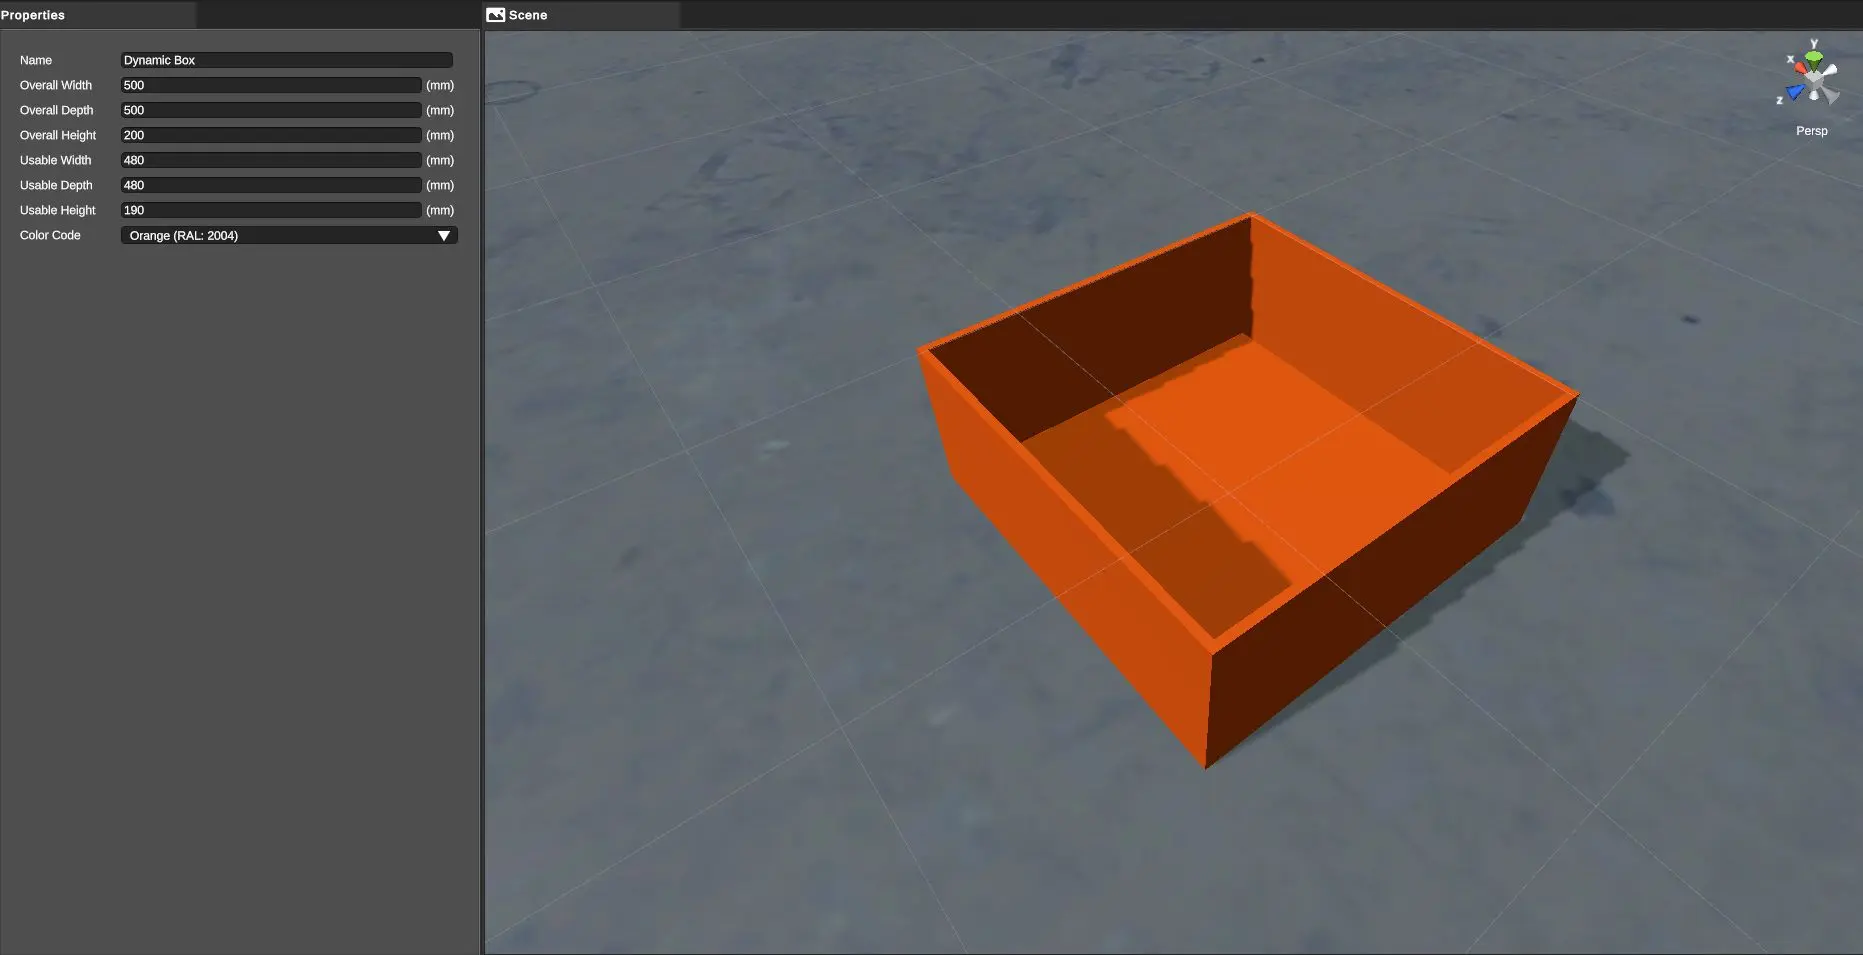
The boxes Properties are customizable:
- Name
- Overall Width
- Overall Depth
- Overall Height
- Usable Width
- Usable Depth
- Usable Height
- Color Code: color of the box to choose through a list of predefined RAL colors.
Prekit
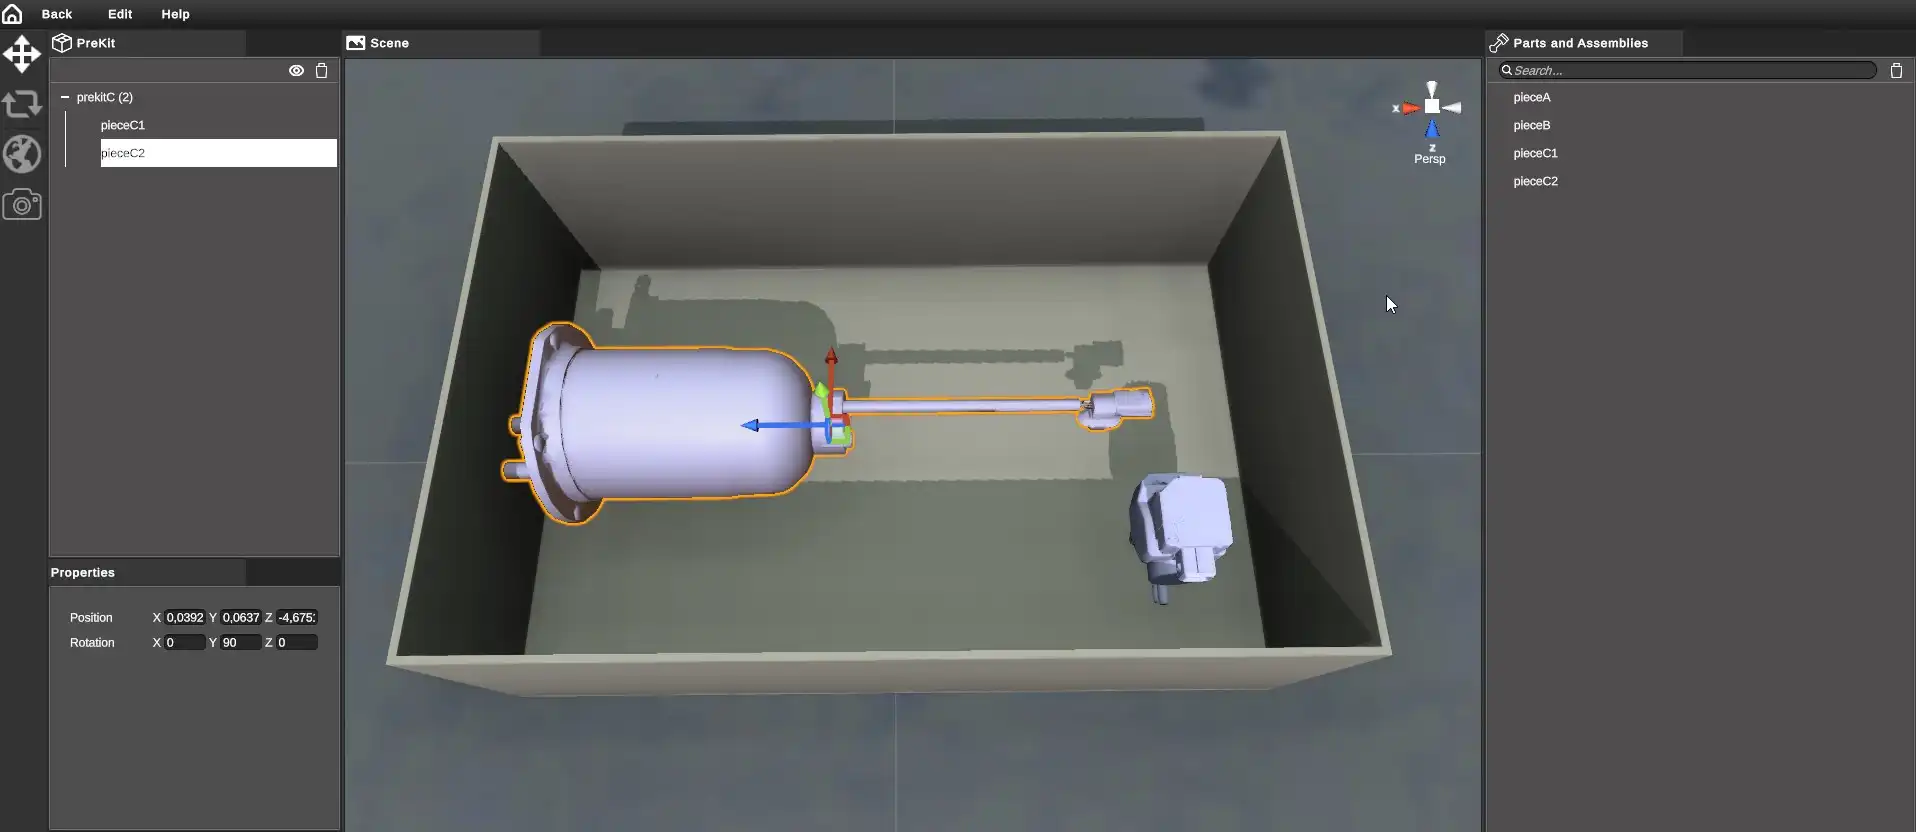
A prekit is a box that can contains a variety of parts. Prekits are placed on racks and then handled whole by operators. It is not possible to grab prekit parts individually. In simulation, only the prekit parts listed in the scenario will be displayed.
There are three ways to create a prekit:
- import a 3D model by right-clicking in the library, option "Import".
- drag a box from its library to the "Prekit" library.
- right-click on a box and select "Convert to Prekit".
To edit a prekit, right-click on it and select "Edit". The prekit editor lets you insert parts or assemblies into the prekit, and move these parts around in space.
Prepick
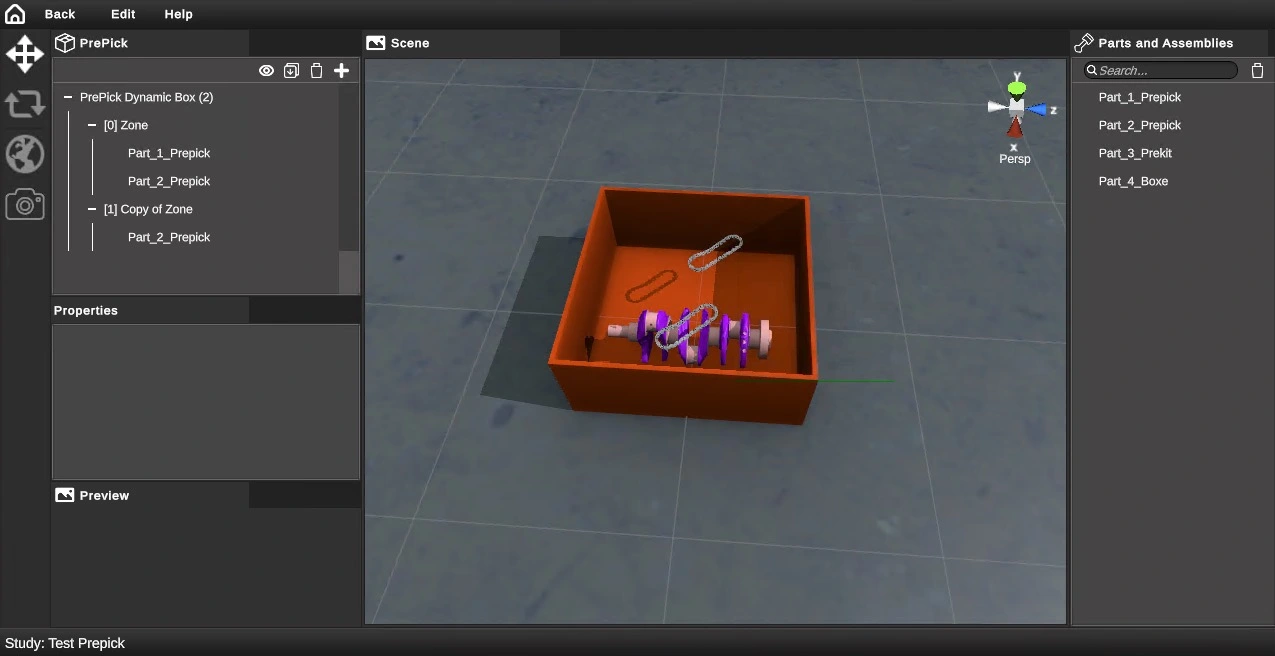
A prepick is a box that can contain a variety of parts grouped by zone. The prepicks are arranged on the racks. In simulation, the operator can grab prepick parts individually. Prepick parts are called up in the order of the scenario, and only one part is displayed per zone. This means that the contents of successive prepicks can be different.
There are three ways to create a prepick:
- import a 3D model by right-clicking in the library, "Import" option.
- drag a box from your library to the "Prepick" library.
- right-click on a box and select "Convert to Prepick".
To edit a prepick, right-click on it and select "Edit". The prepick editor allows you to insert parts or assemblies into the prepick, to move these parts in space and to distribute them into zones. Each zone can contain several parts.
Kitboxes
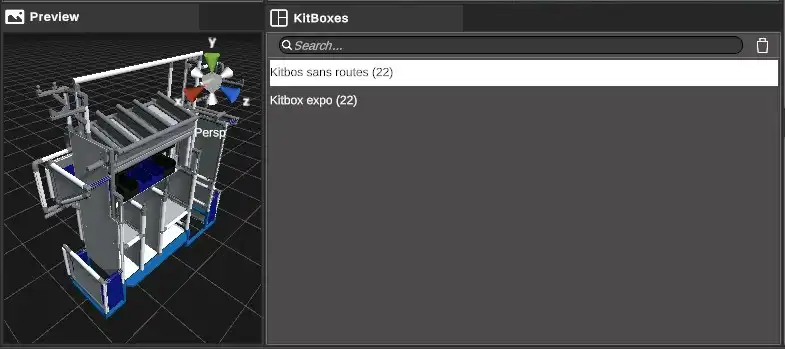
This section of the Library interface let to manage the kitboxes. The contextual menu (right click) allows to import or delete kitboxes.
Carts
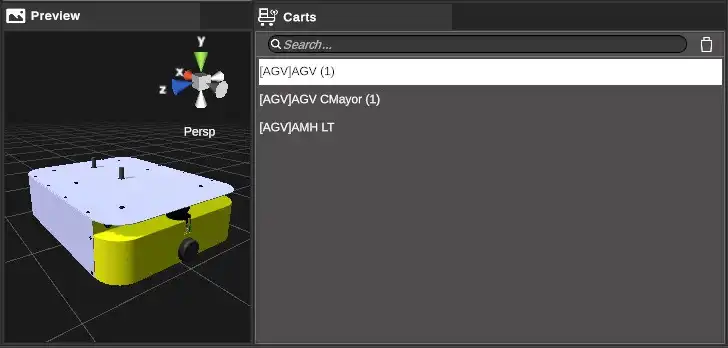
This section of the Library interface let to manage manuals carts and AGV.
The right click displayed the contextual menu that allows to choose between the import of a manual cart or an AGV.
The prefix [AGV] or [MAN] in front of the Library elements allows the user to differentiate the cart types directly.
Furniture
This Library section is empty at the application launch. We developed furniture’s editors that allows to create customized racks, enhancers, and pallet racks. You must only pick the wanted item type and define its properties in the ones available in the application. The furniture can be created automatically when importing a .json file.
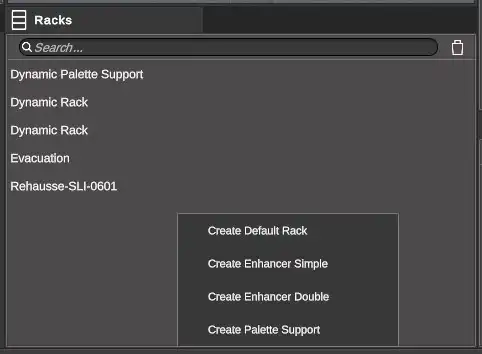
The racks
Racks are referenced under the name Rack... They are created via an editor and are named Dynamic rack by default.
Here is a view of the rack editor:
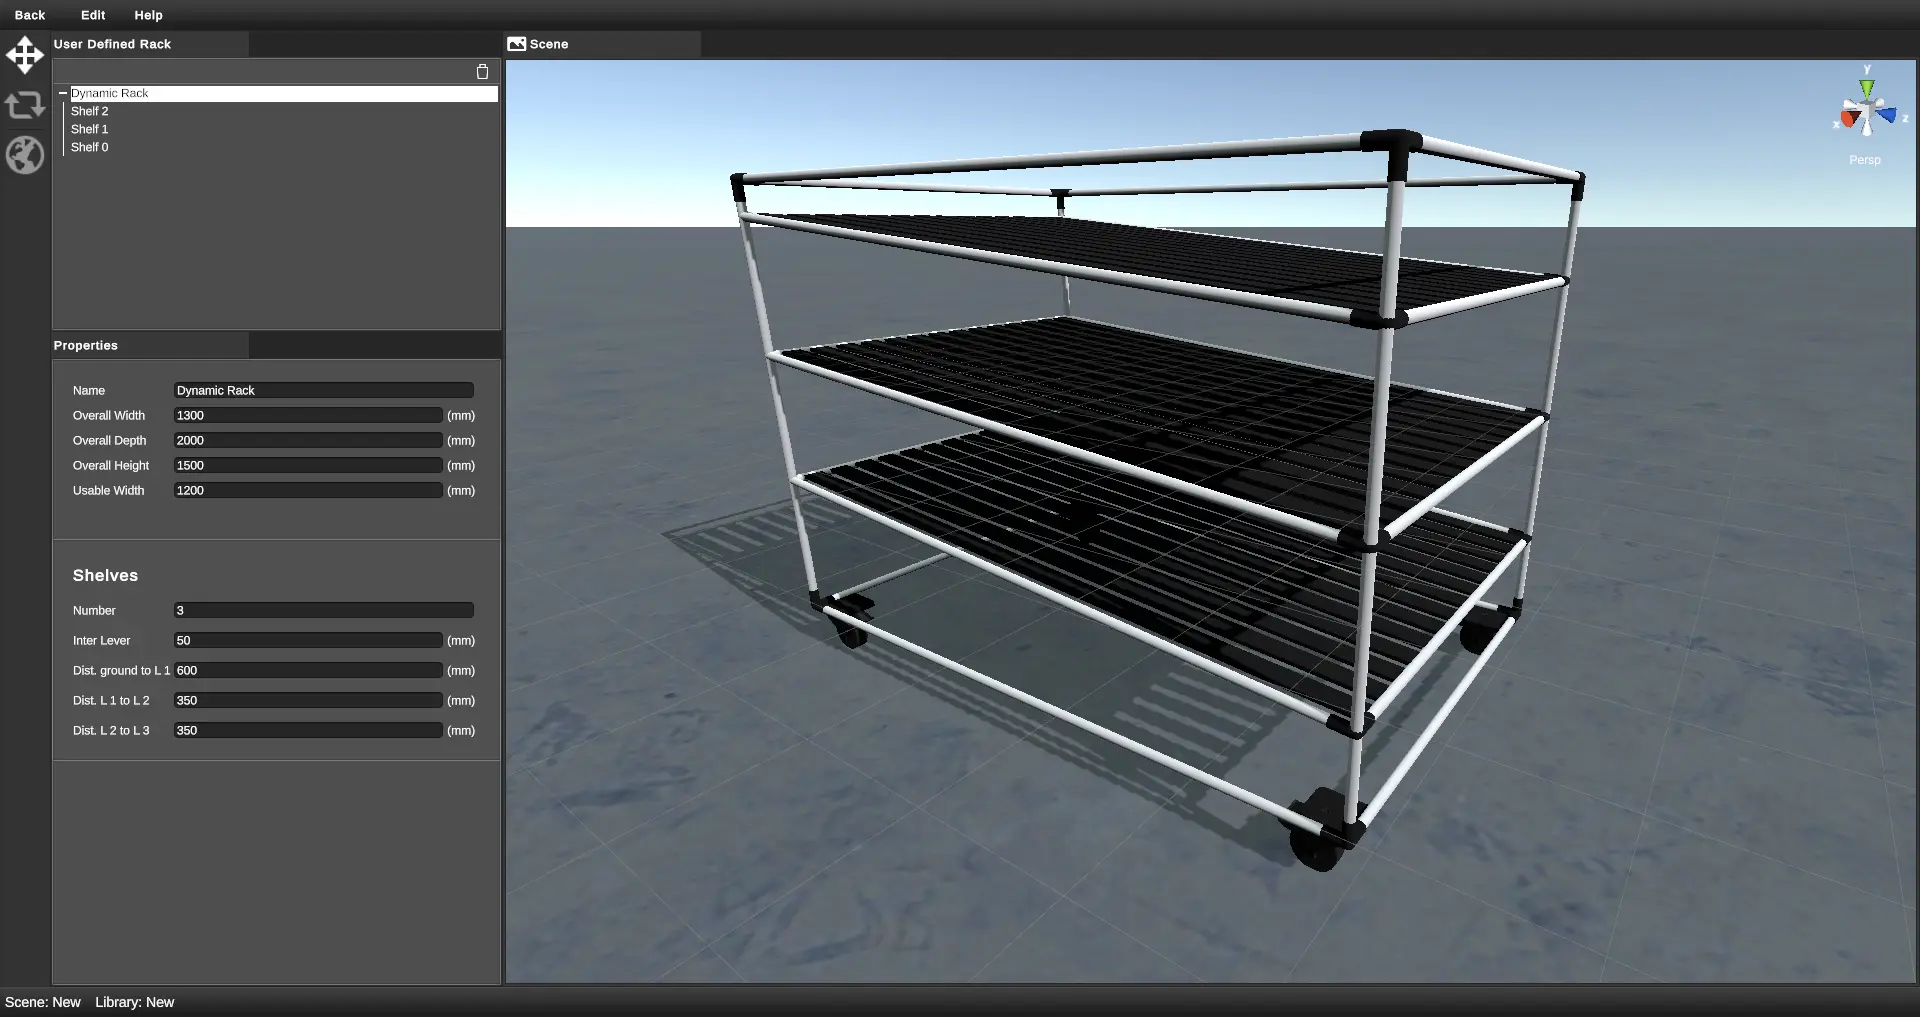
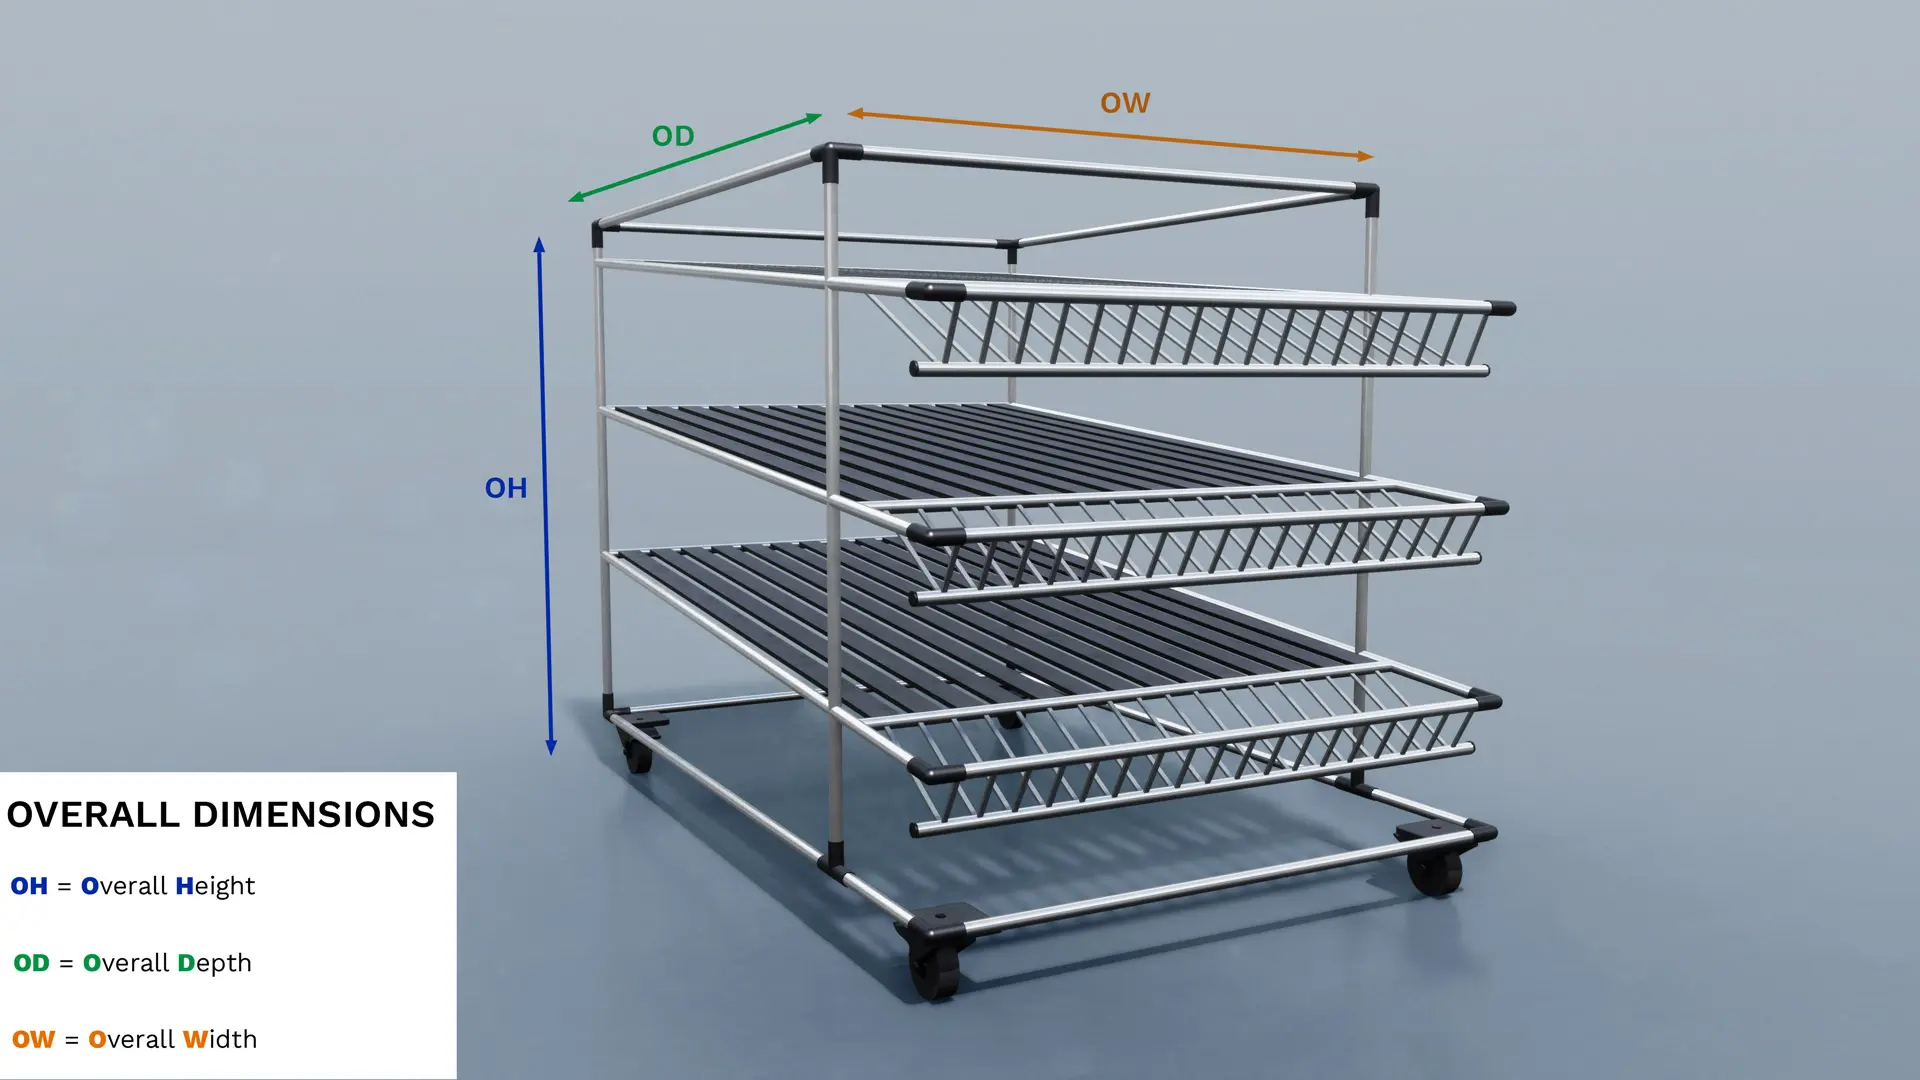
Racks created though the editor are defined by:
- Name
- Overall width: full width
- Overall height: full height
- Usable width
A rack can contain X shelves defined by:
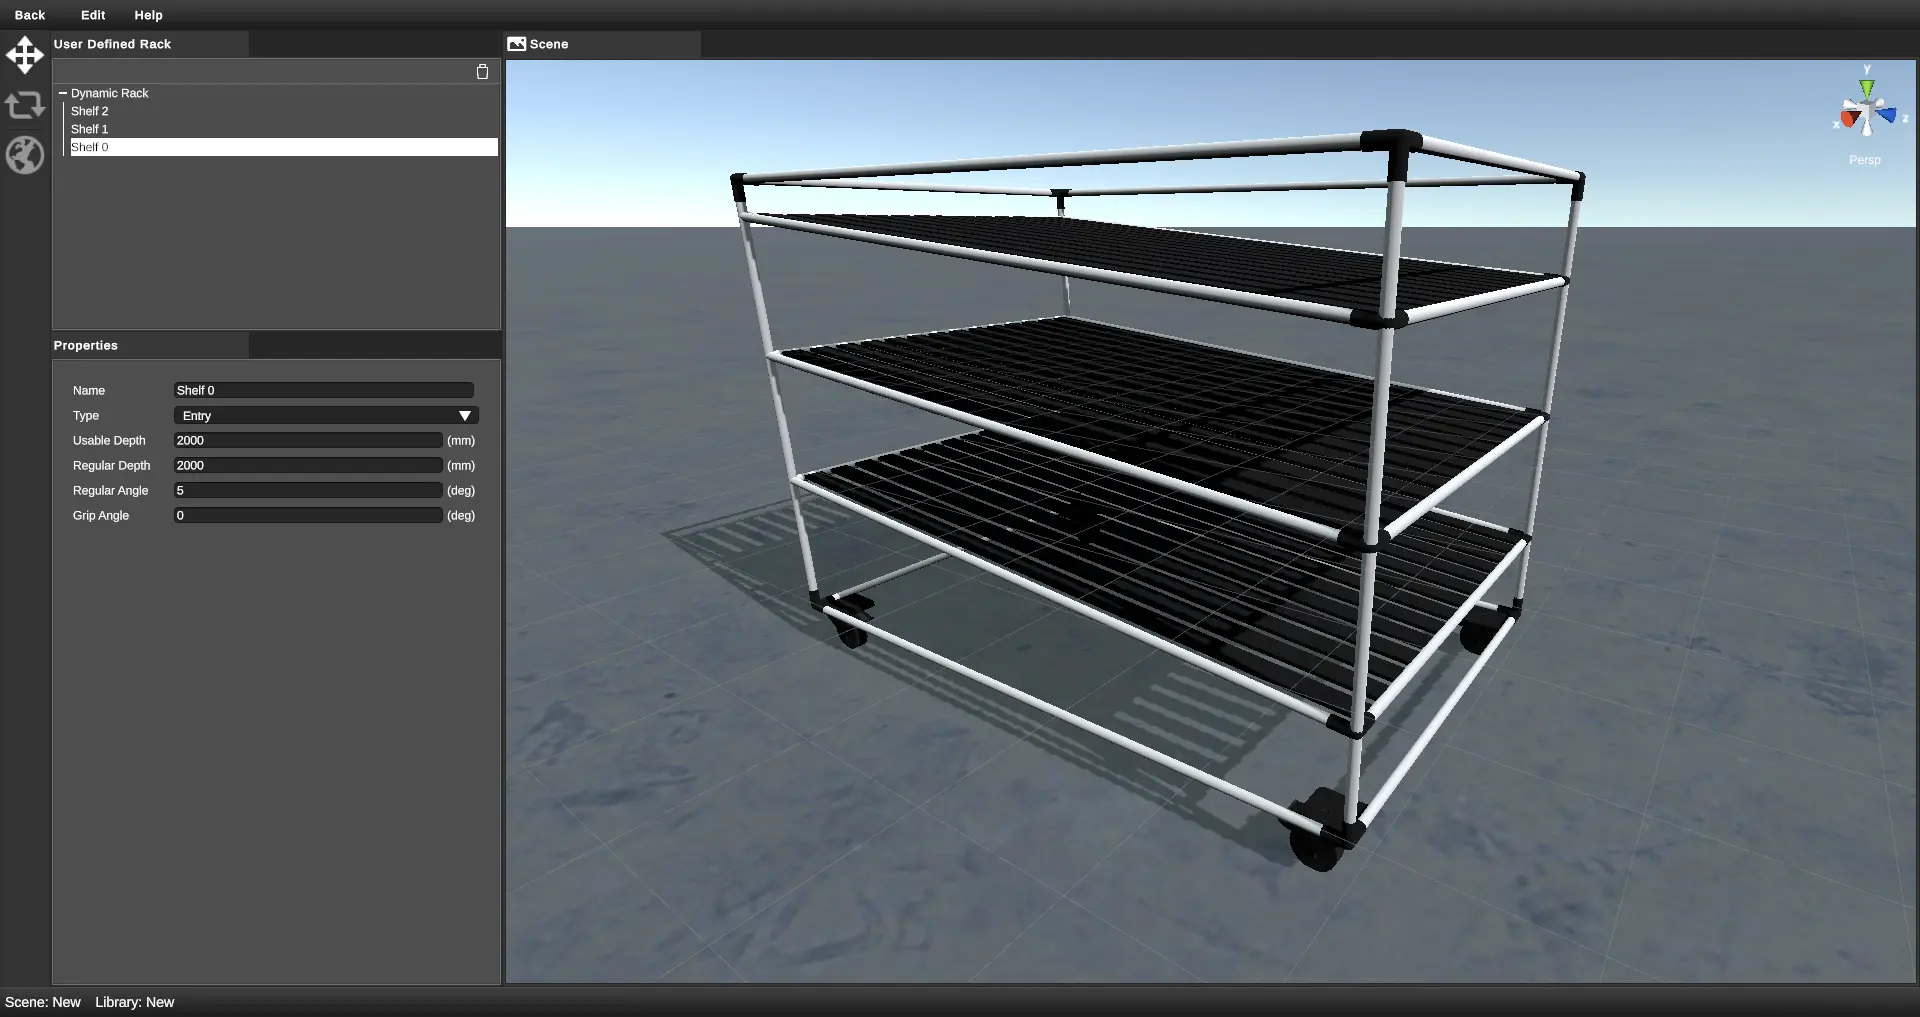
- Name
- Type: Entry / Evacuation
- Usable depth
- Regular depth: depth before the fall – fall being the inclination in front where the boxes are placed.
- Regular angle: inclination’s angle of the complete shelf.
- Grip angle: inclination’s angle of the fall.
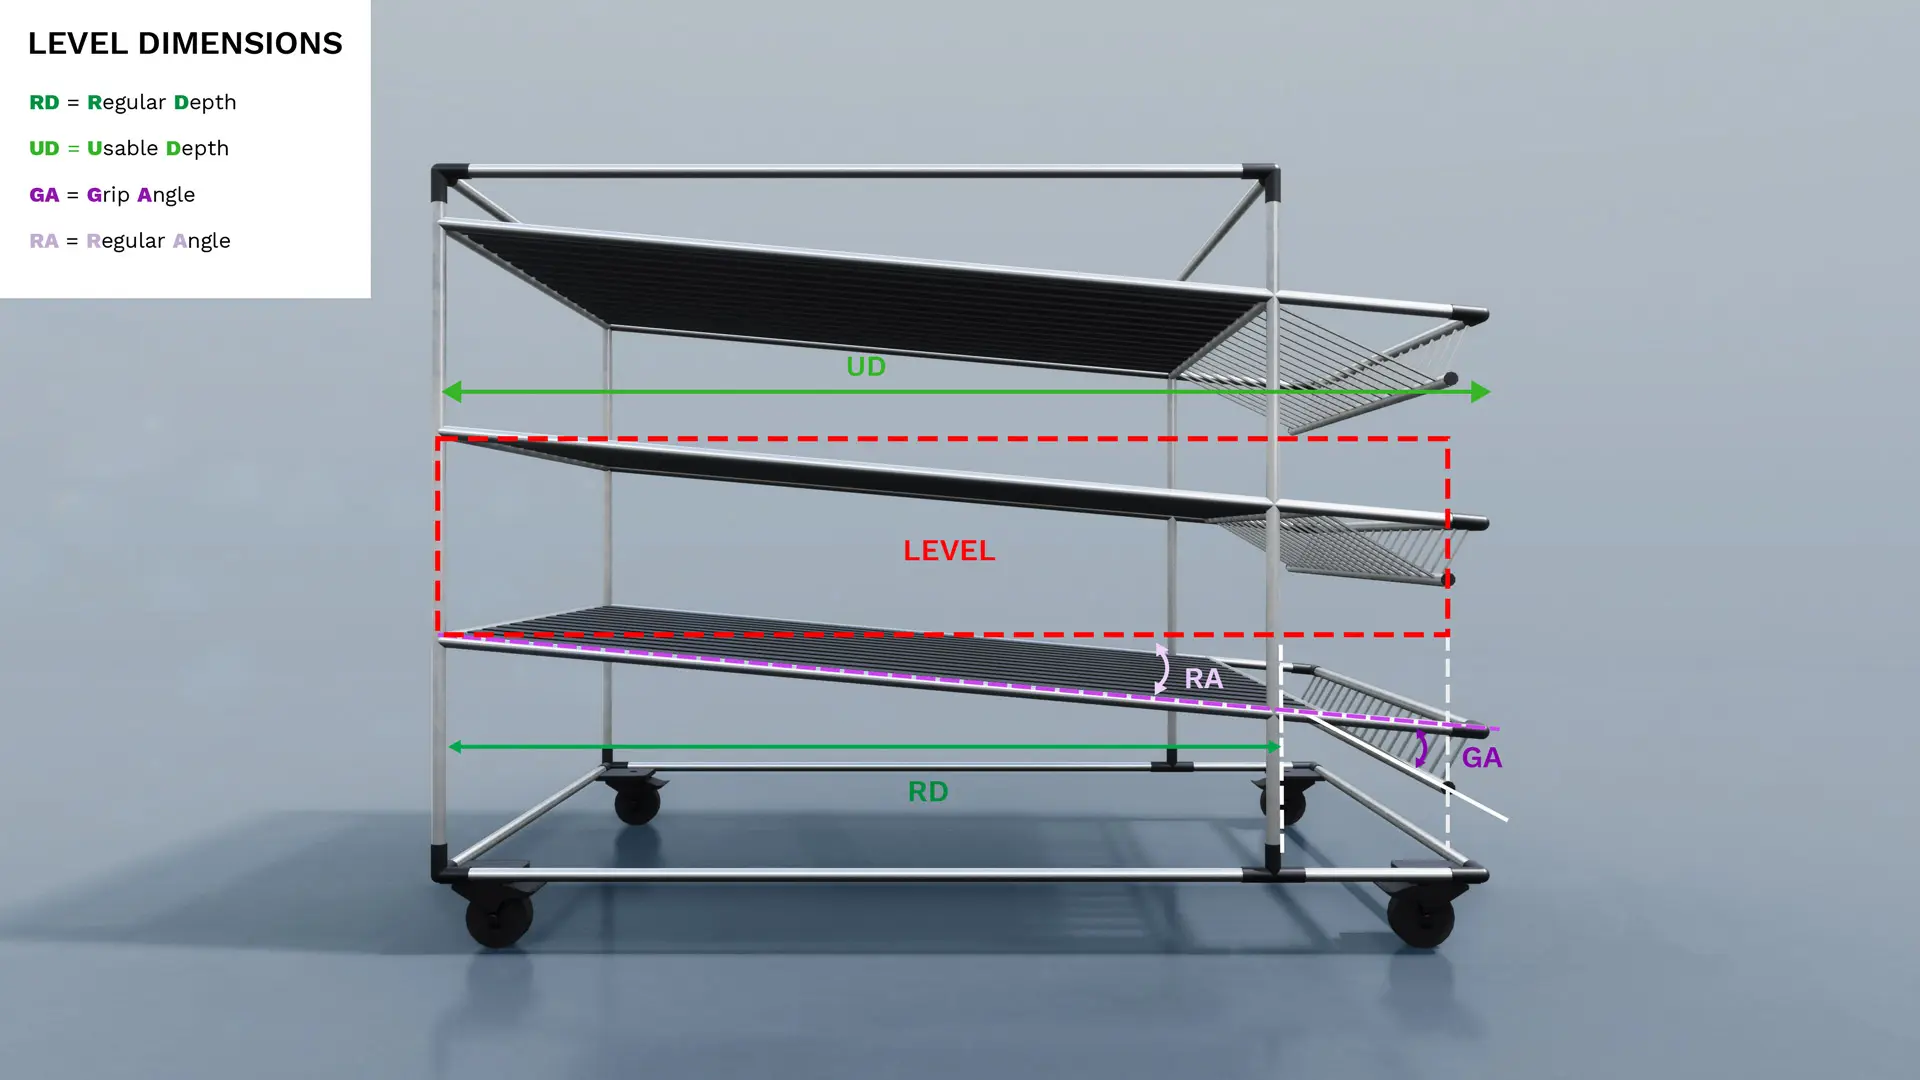
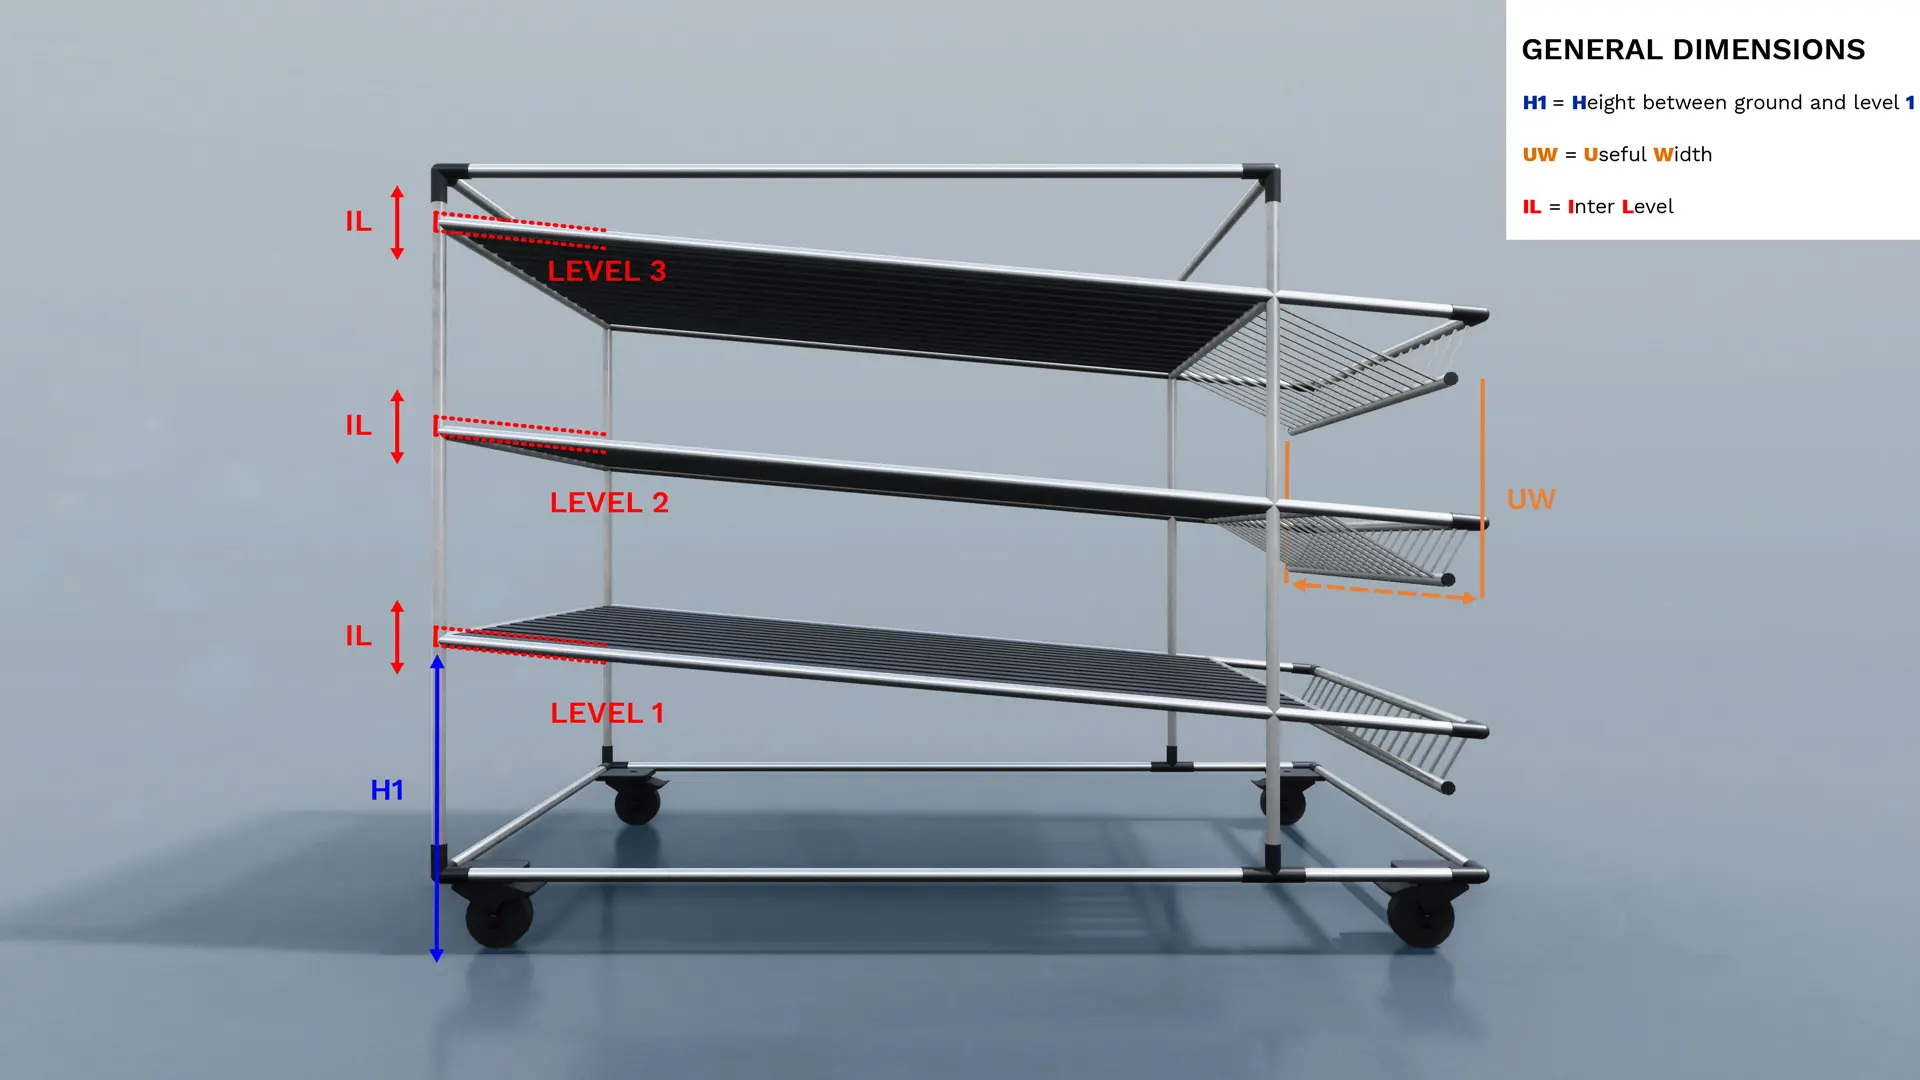
The rack shelves can be placed between themselves thanks to:
- Inter level: shelf’s width
- Dist. ground to L1: distance between the ground and the 1st shelf.
- Dist. L1 to L2: distance between the 1st shelf and the 2nd shelf ...
The enhancers
Here is a view of the simple enhancer editor:
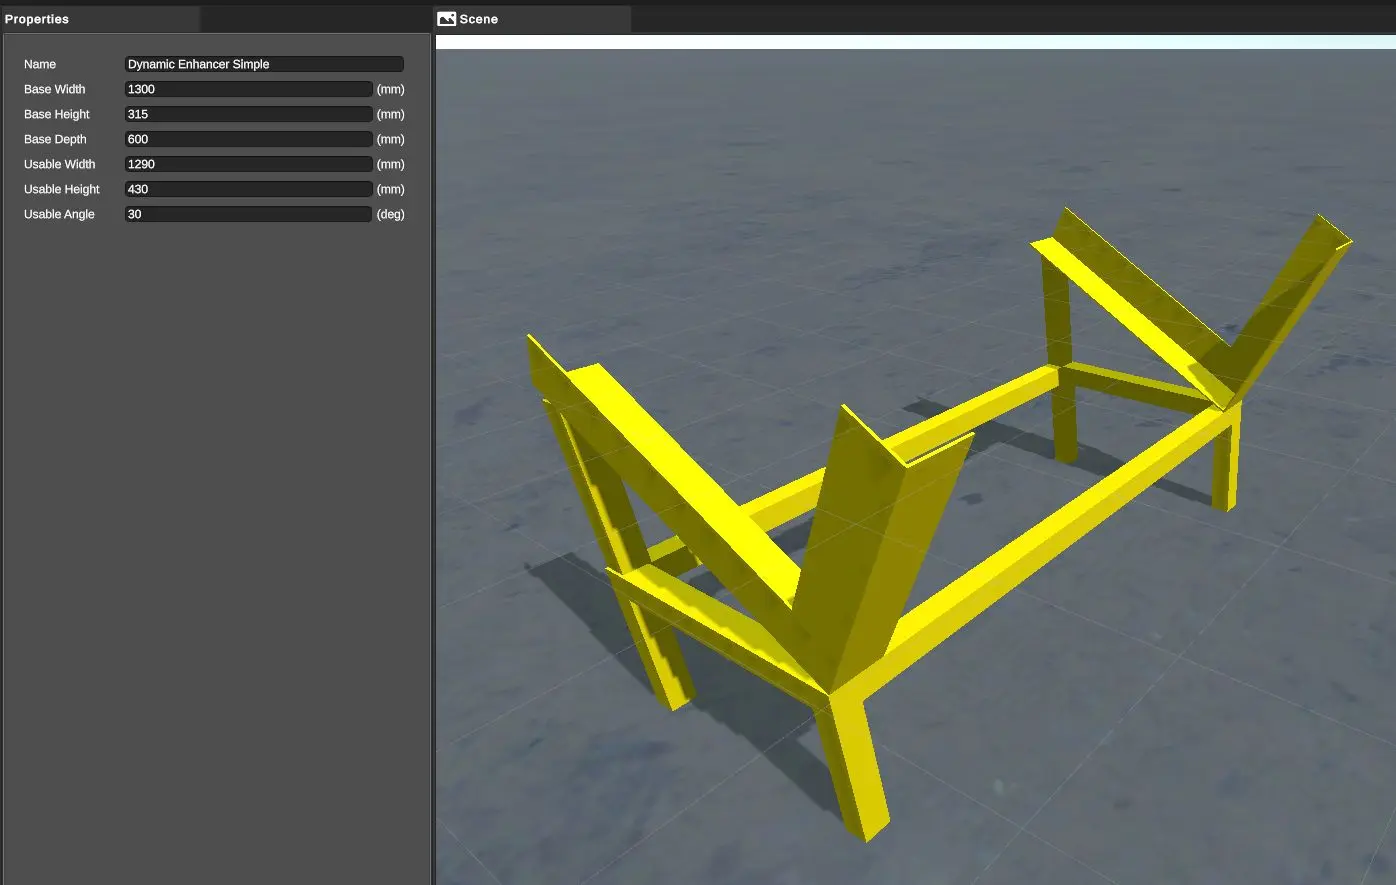
The simple enhancers’ Properties are customizable:
- Name
- Base Width
- Base Height
- Base Depth
- Usable Width
- Usable Height
- Usable Angle
And in a form of a double enhancer:
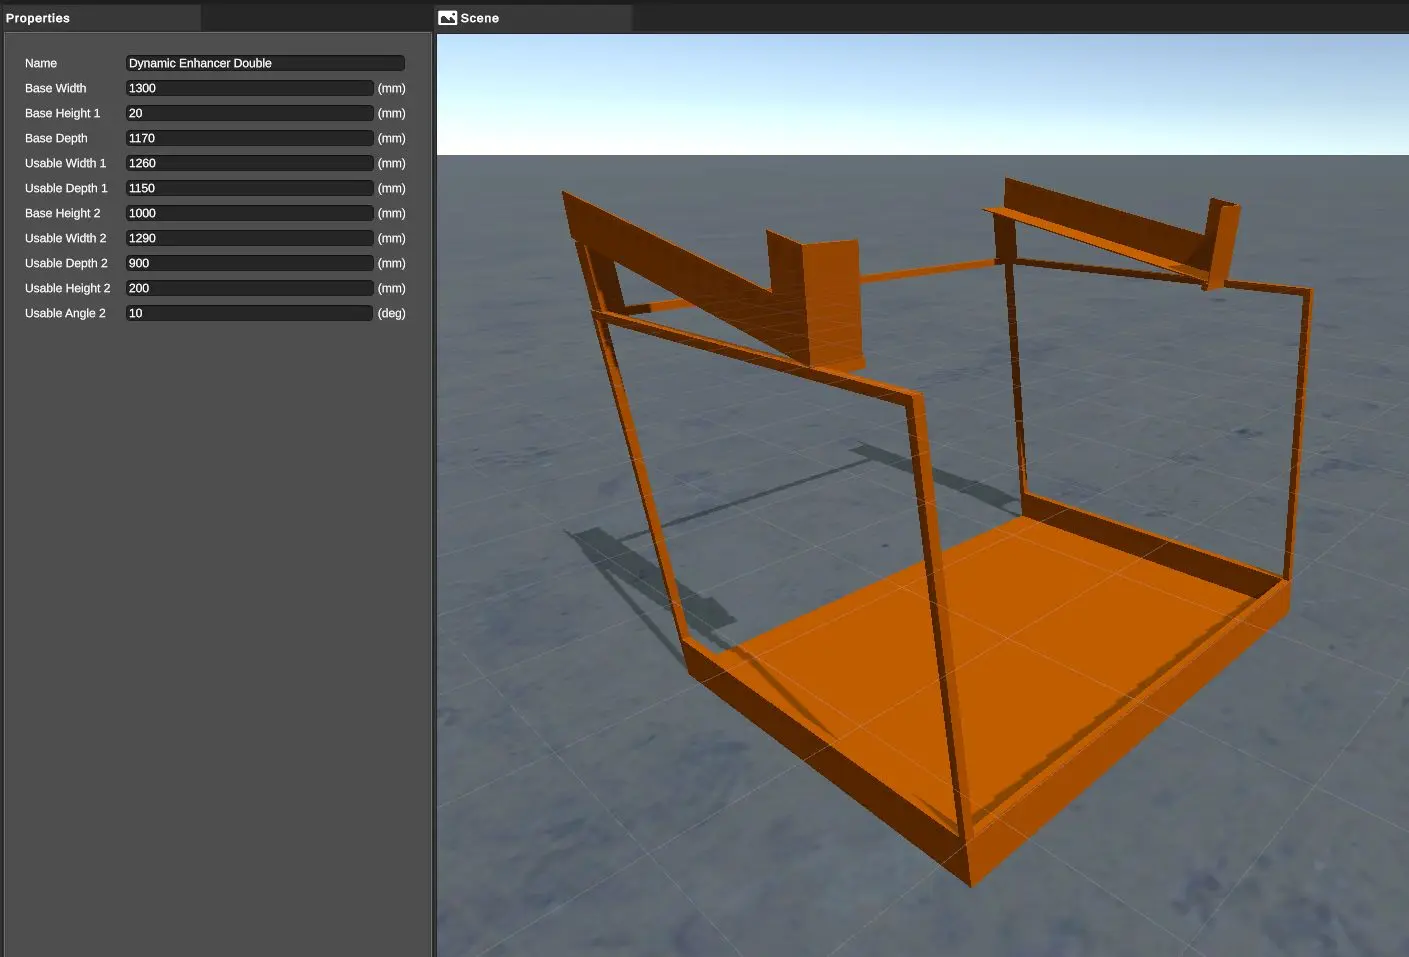
The double enhancers’ Properties are also customizable:
- Name
- Base Width
- Base Height 1
- Base Depth
- Usable Width 1
- Usable Depth 1
- Base Height 2
- Usable Width 2
- Usable Depth 2
- Usable Height 2
- Usable Angle 2
Boxes may be added later in these elements’ shelves.
Conveyors
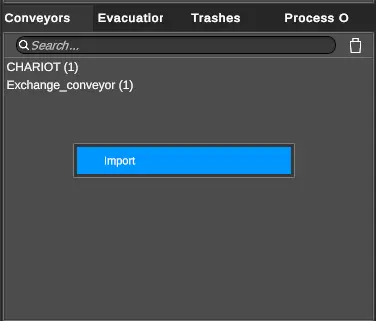
This section of the Library interface let to manage kitboxes’ conveyors.
Evacuation areas
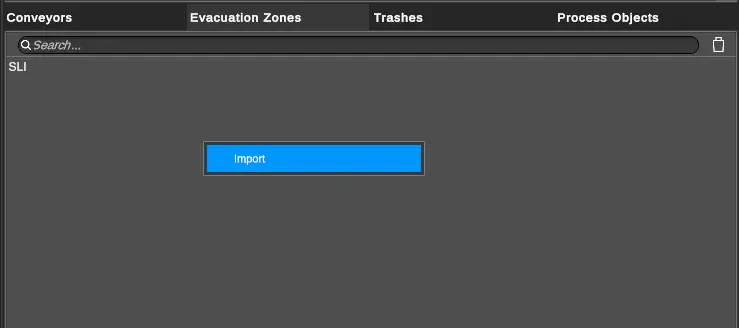
This section of the Library interface let to manage furniture that plays the role of packages evacuation areas.
Trashes
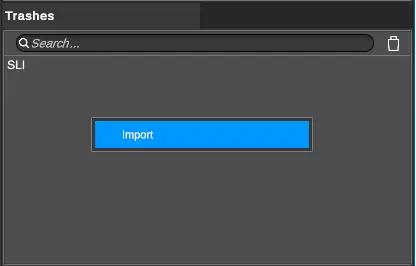
This section of the Library interface let to manage trashes.
Process objects
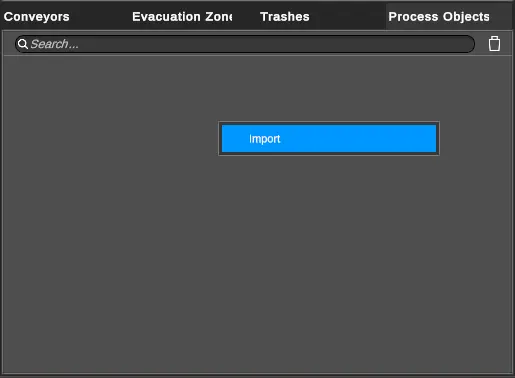
This section of the Library interface let to manage the various objects of the kitting area that cannot be put in any other library sections. These objects can be simple 3D objects in the scene without particular behavior. They are usually used to make a scene more realistic where the operators found their landmarks again.
Preview of the Libraries content
When we selected an element in the library, a view of the 3D element appeared in the Preview sub window. It allows to know if the 3D object is well oriented by default.
Example of an AGV’s preview selected in the library:

This 3D view gets the same navigation tools than the 3D central view: We can manipulate the camera with the buttons and wheel of the mouse. Also, we can use the POV manipulator in the upper right corner to orient ourselves depending on an axe or go to the Orthographic mode.