Export medias
Media export captures the 3D scene to create images or video files. The position of the active camera in the scene is used to generate the image. There are a couple of settings and tools to help you create your media available in the “Capture” tab.
List of options & settings of the “Capture” tab.

Framing
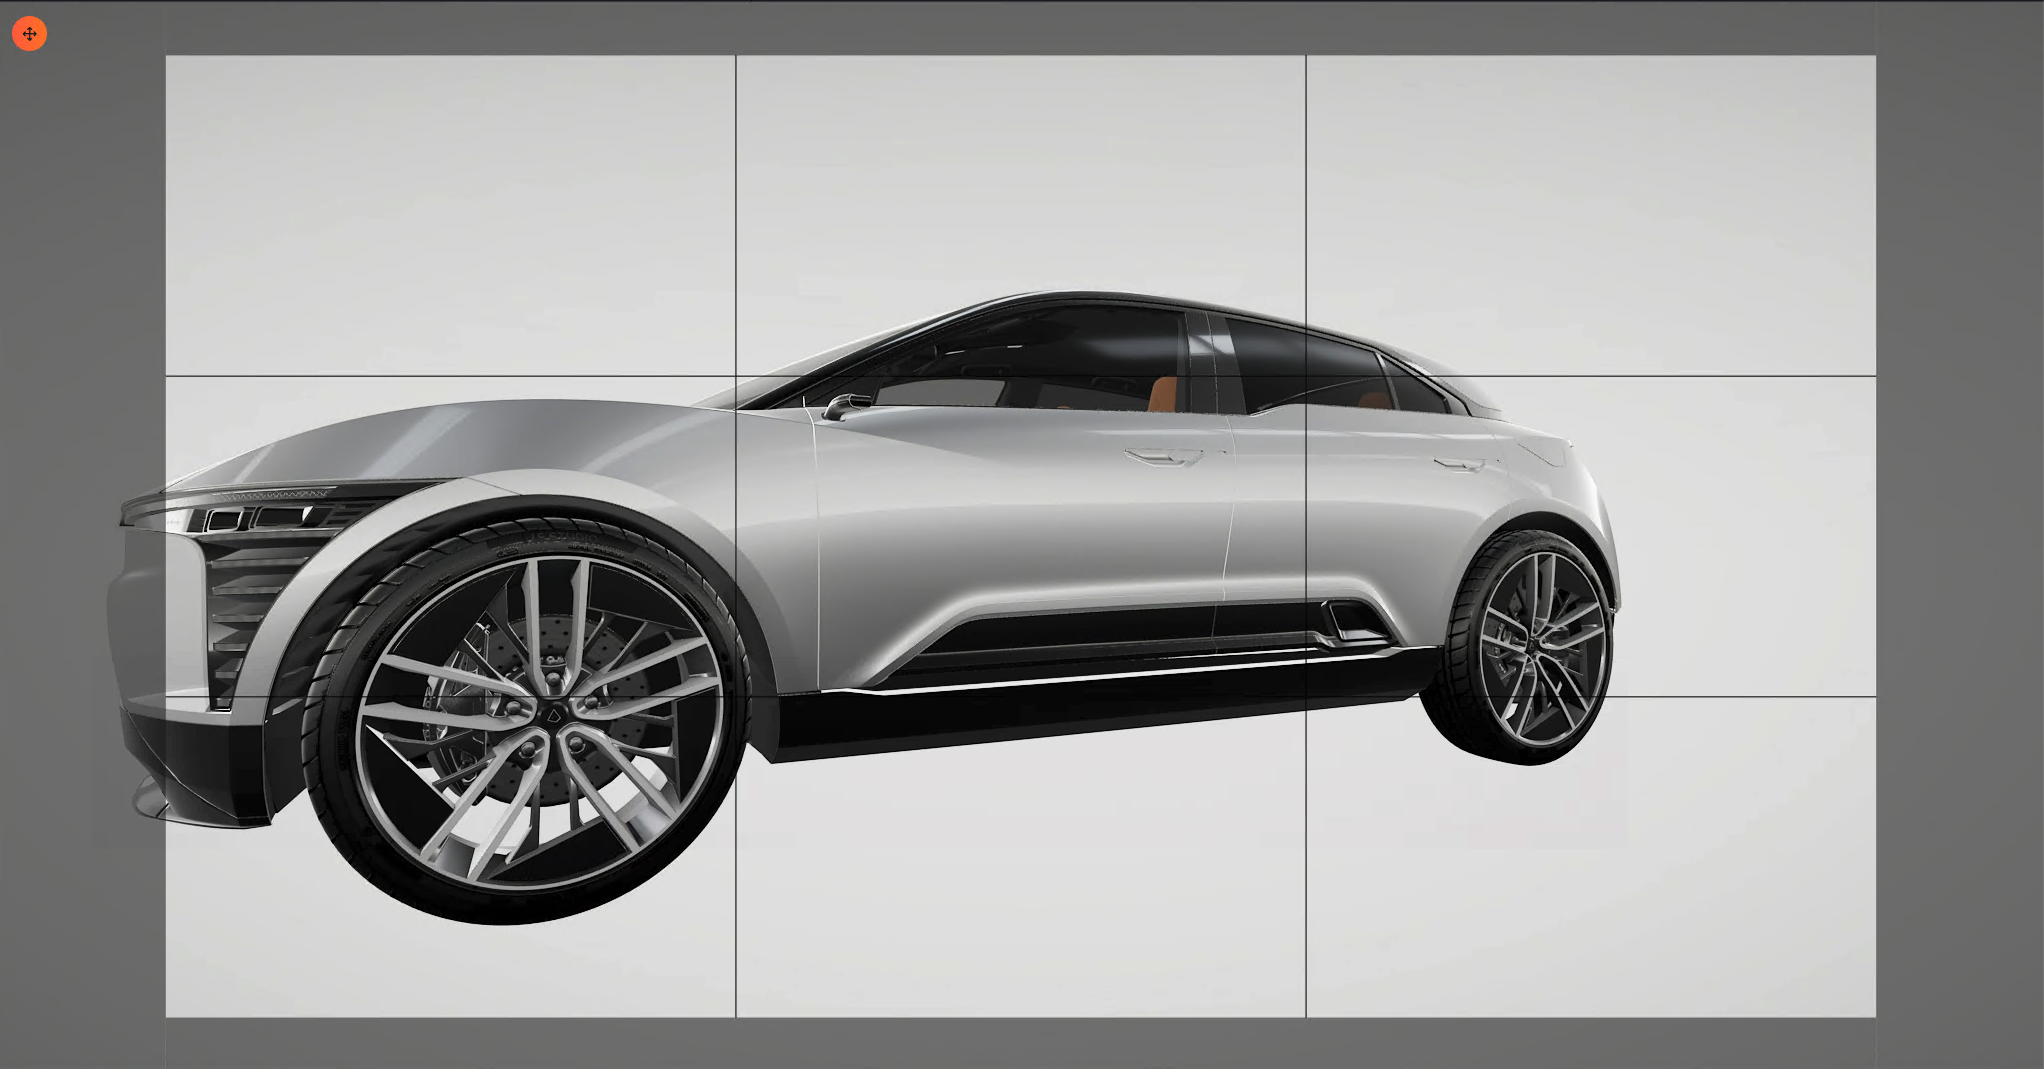
The center of the viewport (in white in the screenshot below) is the active zone. This is the zone which will be exported in the media. Outside of this zone (in grey) is the security zone. The product is displayed in this area, but it’s not rendered in the media.
To help you adjust the frame, you can activate the “Capture frame guides” in the “Visual” tab. A three-by-three grid will then be displayed in front of your product. This grid is not exported in the final media.
Define the resolution
Final media resolution can be changed in the “Capture” tab from a list of standard presets:
| Preset name | Resolution (pixels) |
|---|---|
| 720p | 1280x720 |
| 1080p | 1920x1080 |
| 1440p | 2560x1440 |
| 4k | 3840x2160 |
Define save folder
You can change the save folder where your medias will be exported by clicking on the folder icon near the “Save folder” option in the “Capture” tab.
Define framerate
For video manipulation recording, you can change the framerate (number of frames per second) of the final video from a list of standard presets:
- 24 FPS
- 30 FPS
- 60 FPS
The higher the framerate is, the smoother the video will be.
Add transparency
For image only, you can remove the background behind the product and export it as transparent by activating the “Transparent background” option. This option is useful if you want to use your images in presentation.
Capture images
To export an image from your scene you can click on “Export image” or use F9. Then, define the name of the image and save it on your computer to start the export.
Record video
You can record a video from your manipulation in the scene. To start a recording, click on “Record video” button or use F10.
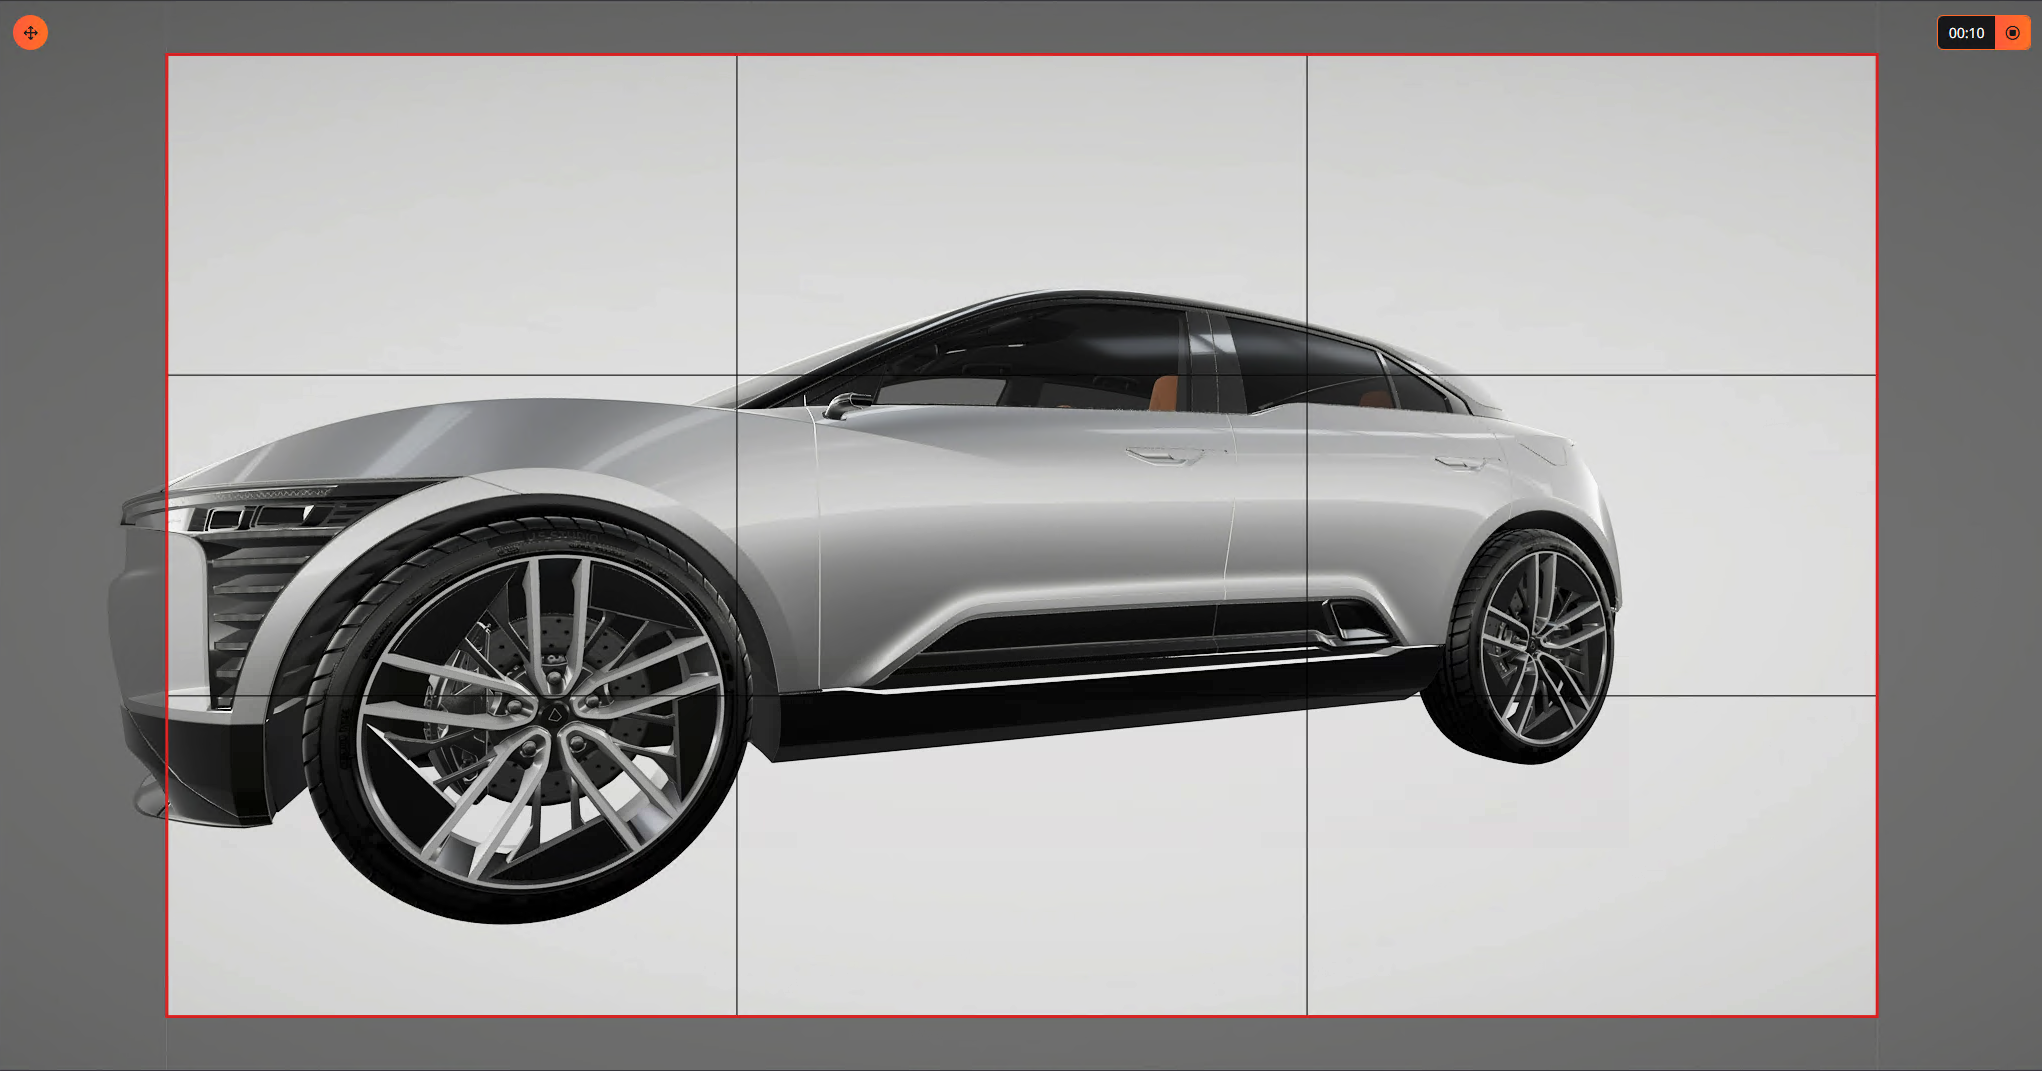
A red outline will be displayed around the viewport to inform you that the recording is in progress. A counter is displayed on the top right corner with the duration of the manipulation.
Click on the stop icon in the top right counter to stop the recording. Define the save folder and name of your video to start the export of the final video.