Motion capture and ergonomics#
Full body motion tracking is a technology that allows XR Twin to capture and record the movements of a person's body in three-dimensional space.
This is typically done using sensors that are placed on the body parts. The sensors capture in real time the body posture and send the data to XR Twin, which then processes the information and creates a 3D avatar that reproduces the person's movements.
This digital human model is then used to compute the ergonomic scores according to the relevant standards (usually Rapid Upper Limb Assessment aka RULA).
LS Suit for motion capture#
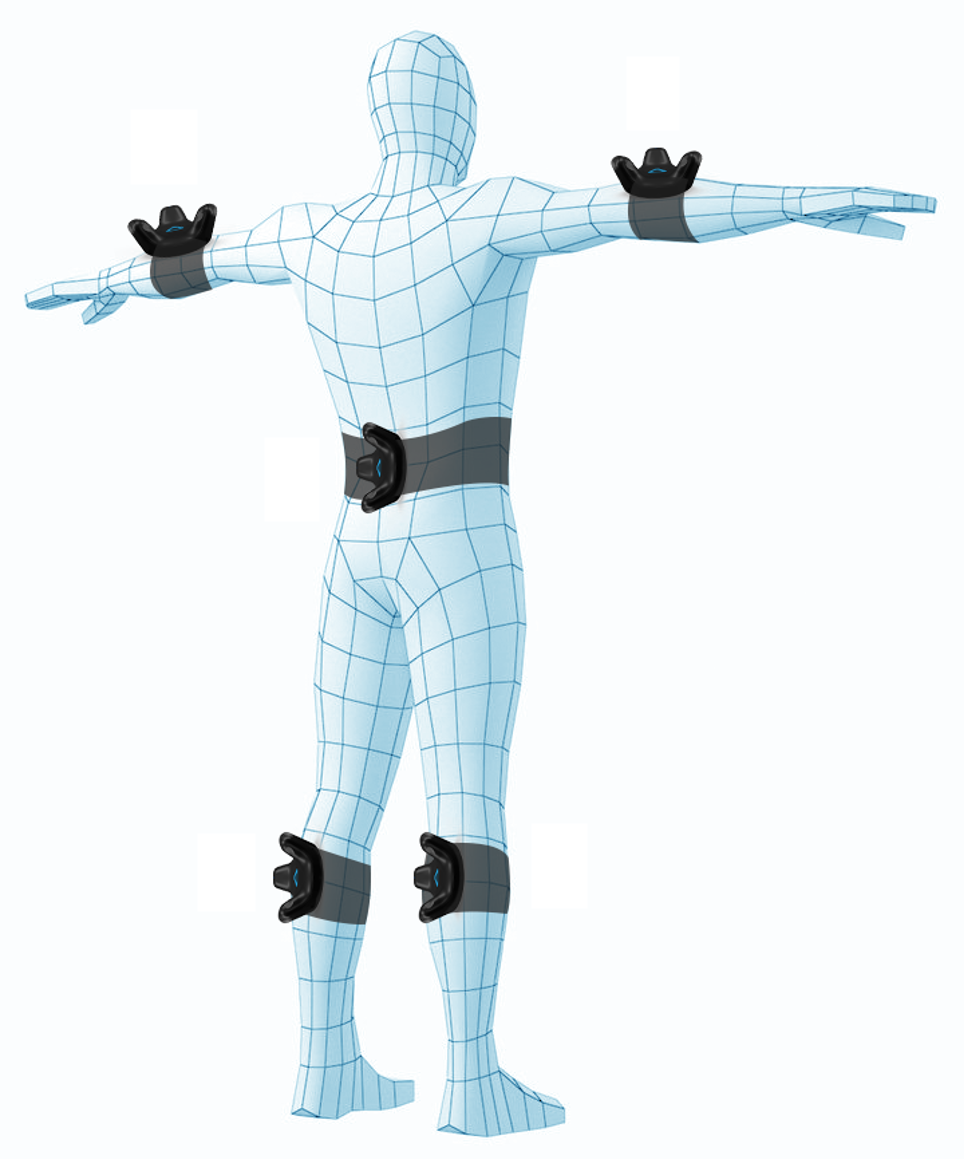
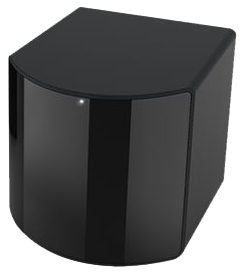
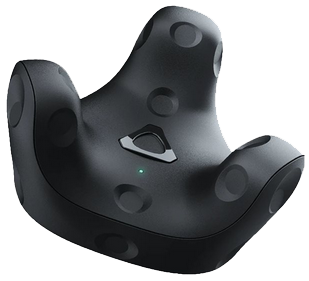
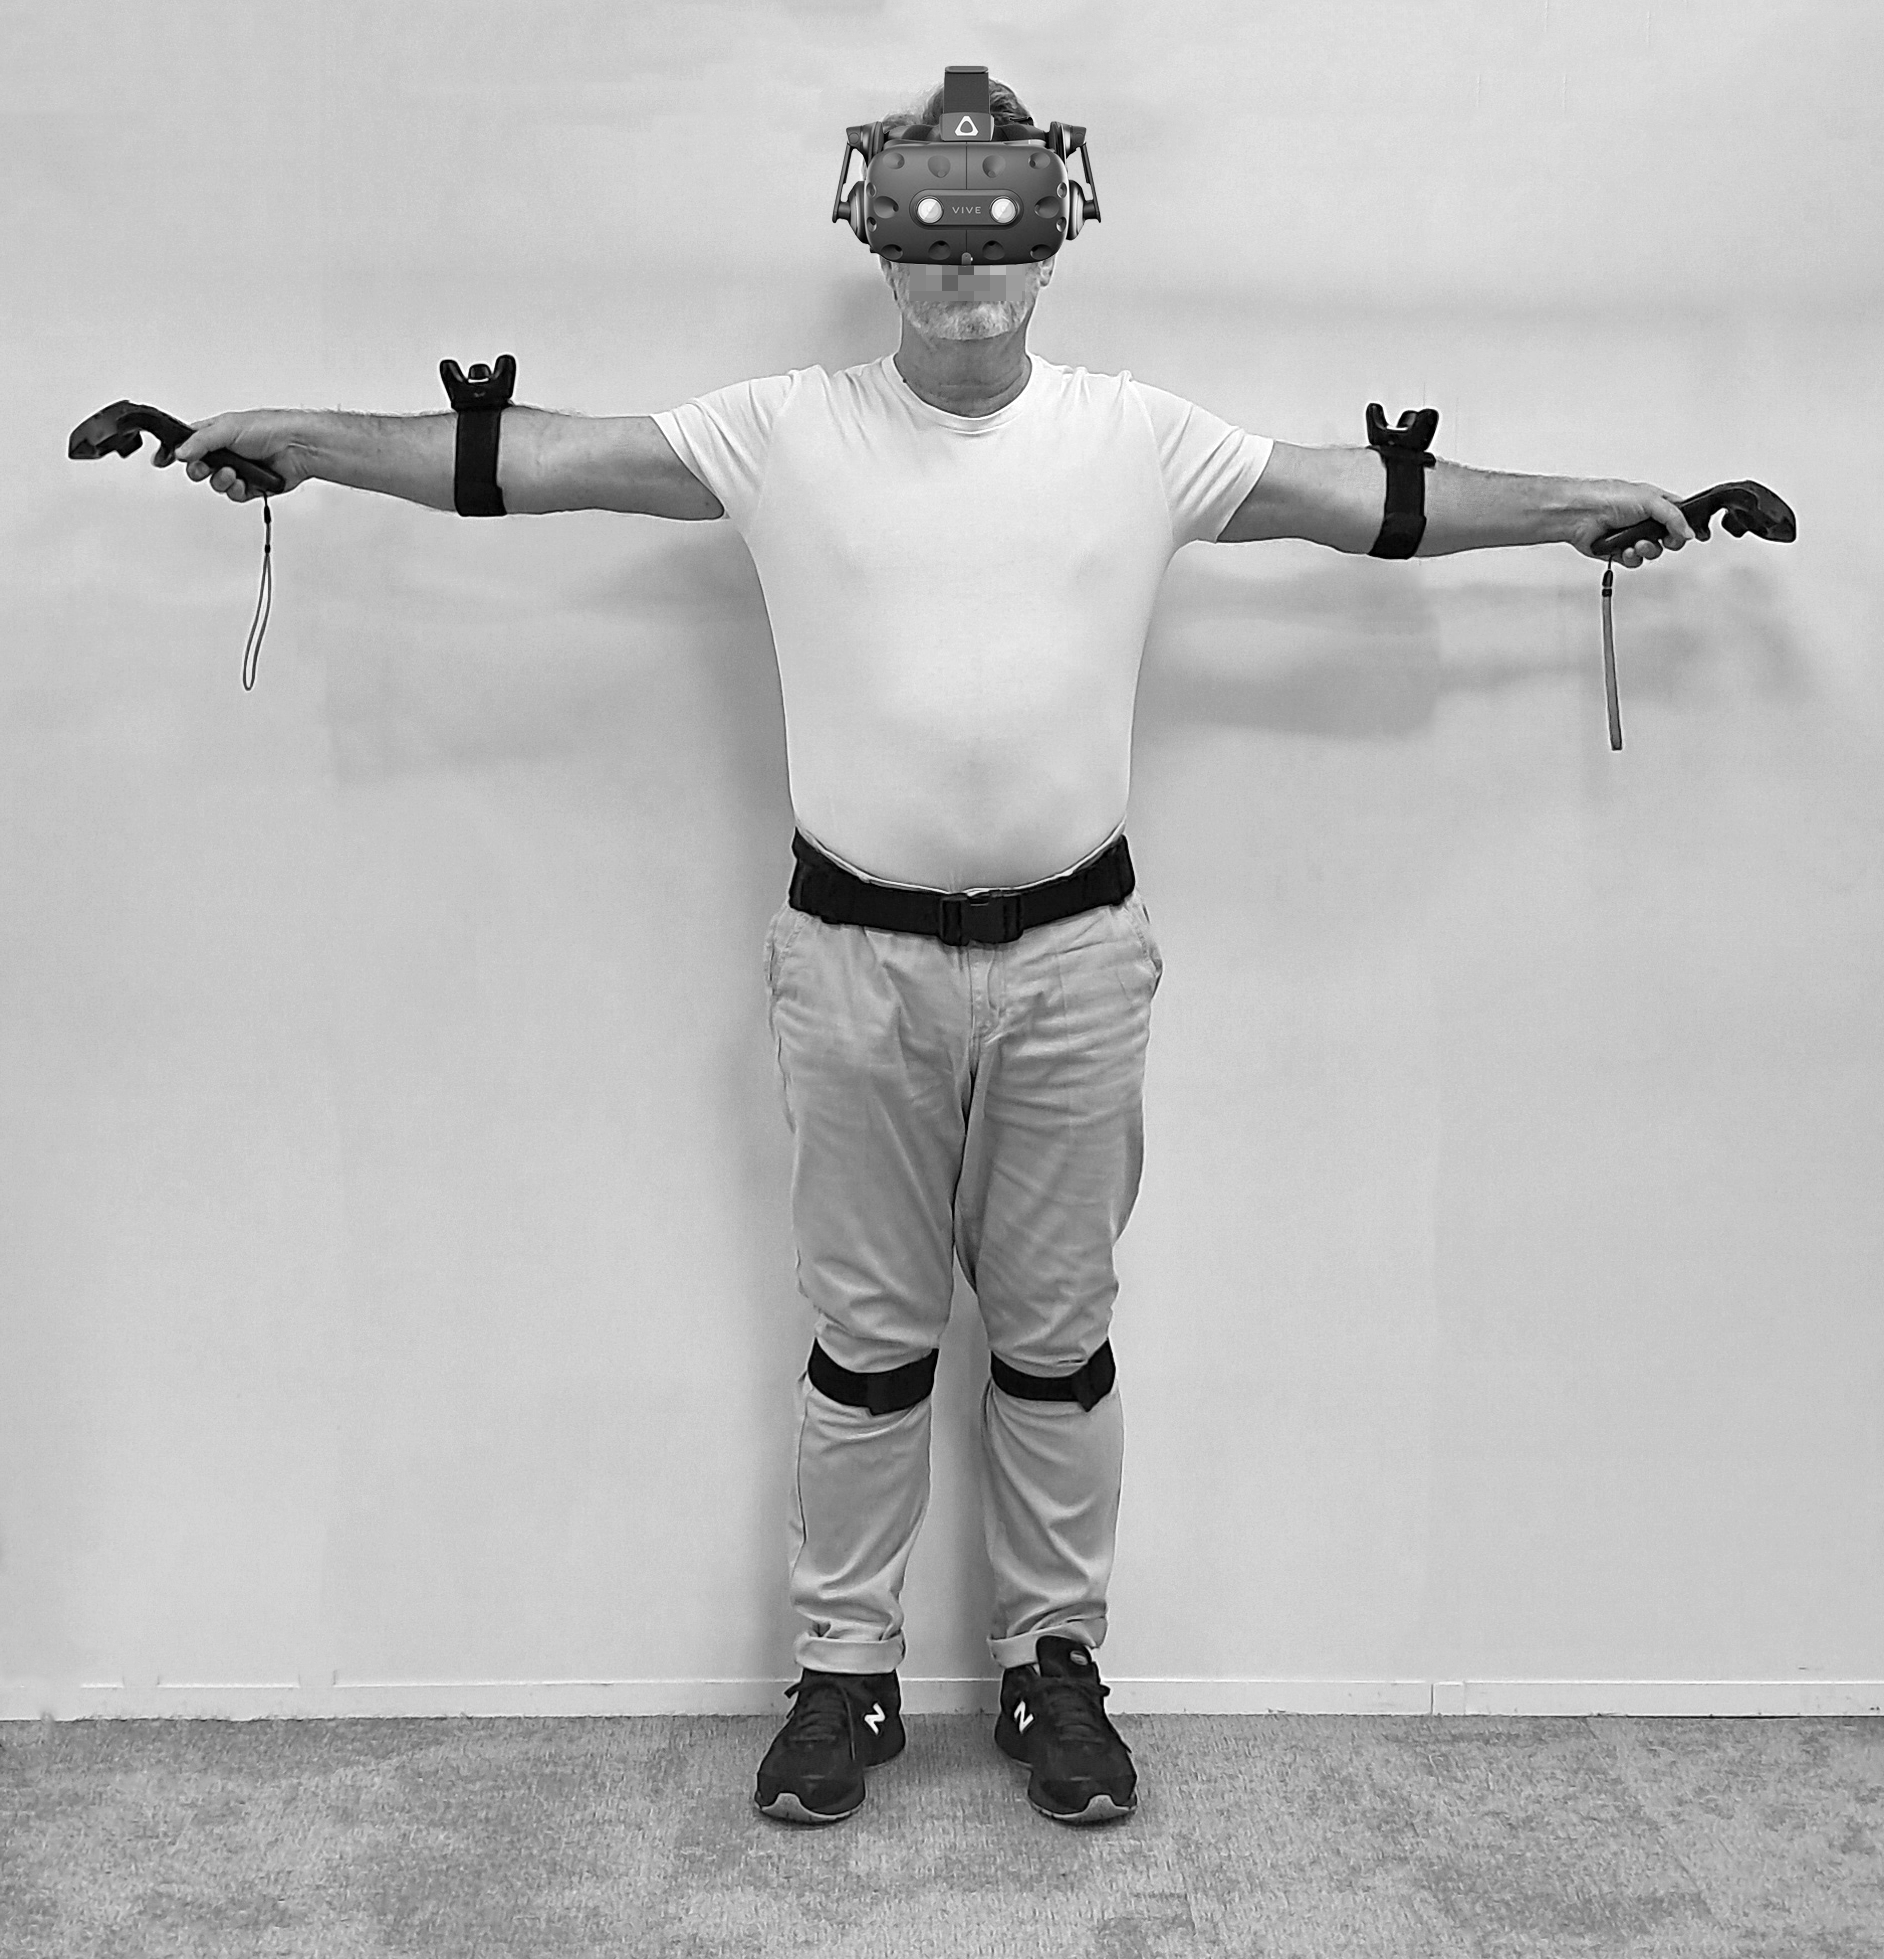
LS Group has created a tracking suit using 5 devices (5 VIVE Trackers fixed on velcro straps) placed on both arms, legs and around the belt. This suit is named "LS Suit".
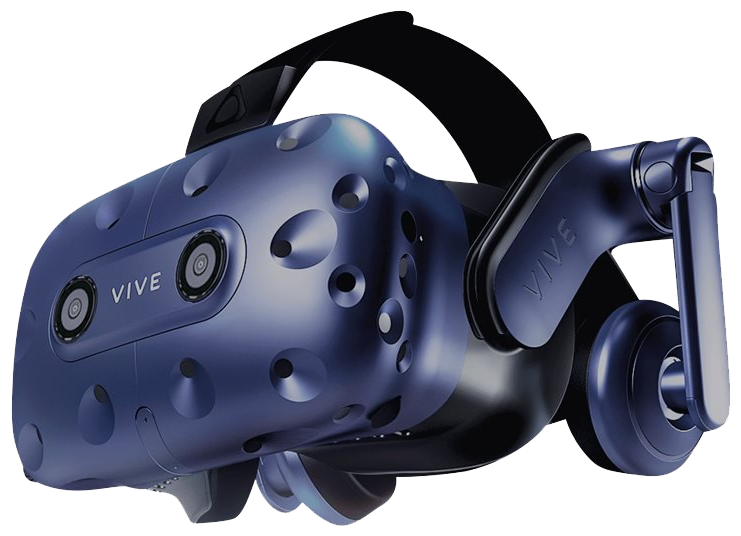
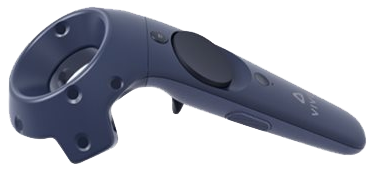
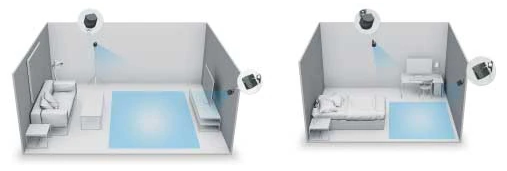
The LS Suit requires a VIVE virtual reality tracking system consisting of 2 (or more) fixed base stations (wall-mounted or tripod-mounted) and a compatible headset and controllers (usually a VIVE Pro or Pro2 headset).
Setup your LS Suit#
The procedure described here concerns the VIVE Pro (or VIVE Pro2) headset with VIVE Trackers 3.0.
Pay attention
If another VR headset has been used in the meantime, remember to set the correct OpenXR Environment settings in SteamVR. Learn more about VIVE Trackers first-time installation requirements in VR hardware section.
Setup the hardware#
We assume that your hardware has been first-installed and configured according to our recommendations. This way, subsequent start-ups will be quick and easy:
-
Connect and power on:
- Connect the suggested USB hub with the 5 VIVE dongles to your PC,
- Connect the VIVE Link Box to your PC, and the VR headset to that box,
- Powering the Base stations,
- Switch on the VIVE Link Box, both VIVE controllers, and the 5 VIVE Trackers one after one (order does not matter),
- All controller and tracker LEDs should be green". If off (standby mode ?), switch on again. If blue, see Install the VIVE Trackers to pair again.
-
From your computer, open the SteamVR app,
-
Make sure SteamVR successfully recognizes all the devices: correct headset type, 2 controllers, 2 (or more) base stations and 5 trackers. Also check that they display a solid device icon (blinking would mean that signal is lost, disturbed, or that the device has gone into standby mode).

-
Setting up your play area (see Play area)
-
From SteamVR, click
 , and then select Room Setup
 -
Select Standing only or Room-scale (recommended), according to your needs
-
Review the prompts and follow the on-screen instructions to complete the process.
-
Boundaries
With Room-scale mode, when tracing the boundaries of the play area, make sure that the floor is cleared. Do not trace across space occupied by things (such as a table or a chair) since this may cause you to trip into the object while in VR.
Floor height
Pay close attention to the calibration procedure of the VR headset, especially when calibrating the floor height. An incorrect floor height calibration will lead to inaccurate body tracking and ergonomics assessment, potentially affecting the reliability of your analysis.
Auto trackers assignment
Since XR Twin 24.2, you can switch on your VIVE Trackers in any order. The roles assigned to the Trackers in SteamVR will be used during the XR Twin's calibration phase.
At this stage, your motion capture hardware equipment is ready for Ergo simulation in XR Twin.
Wear the LS Suit#
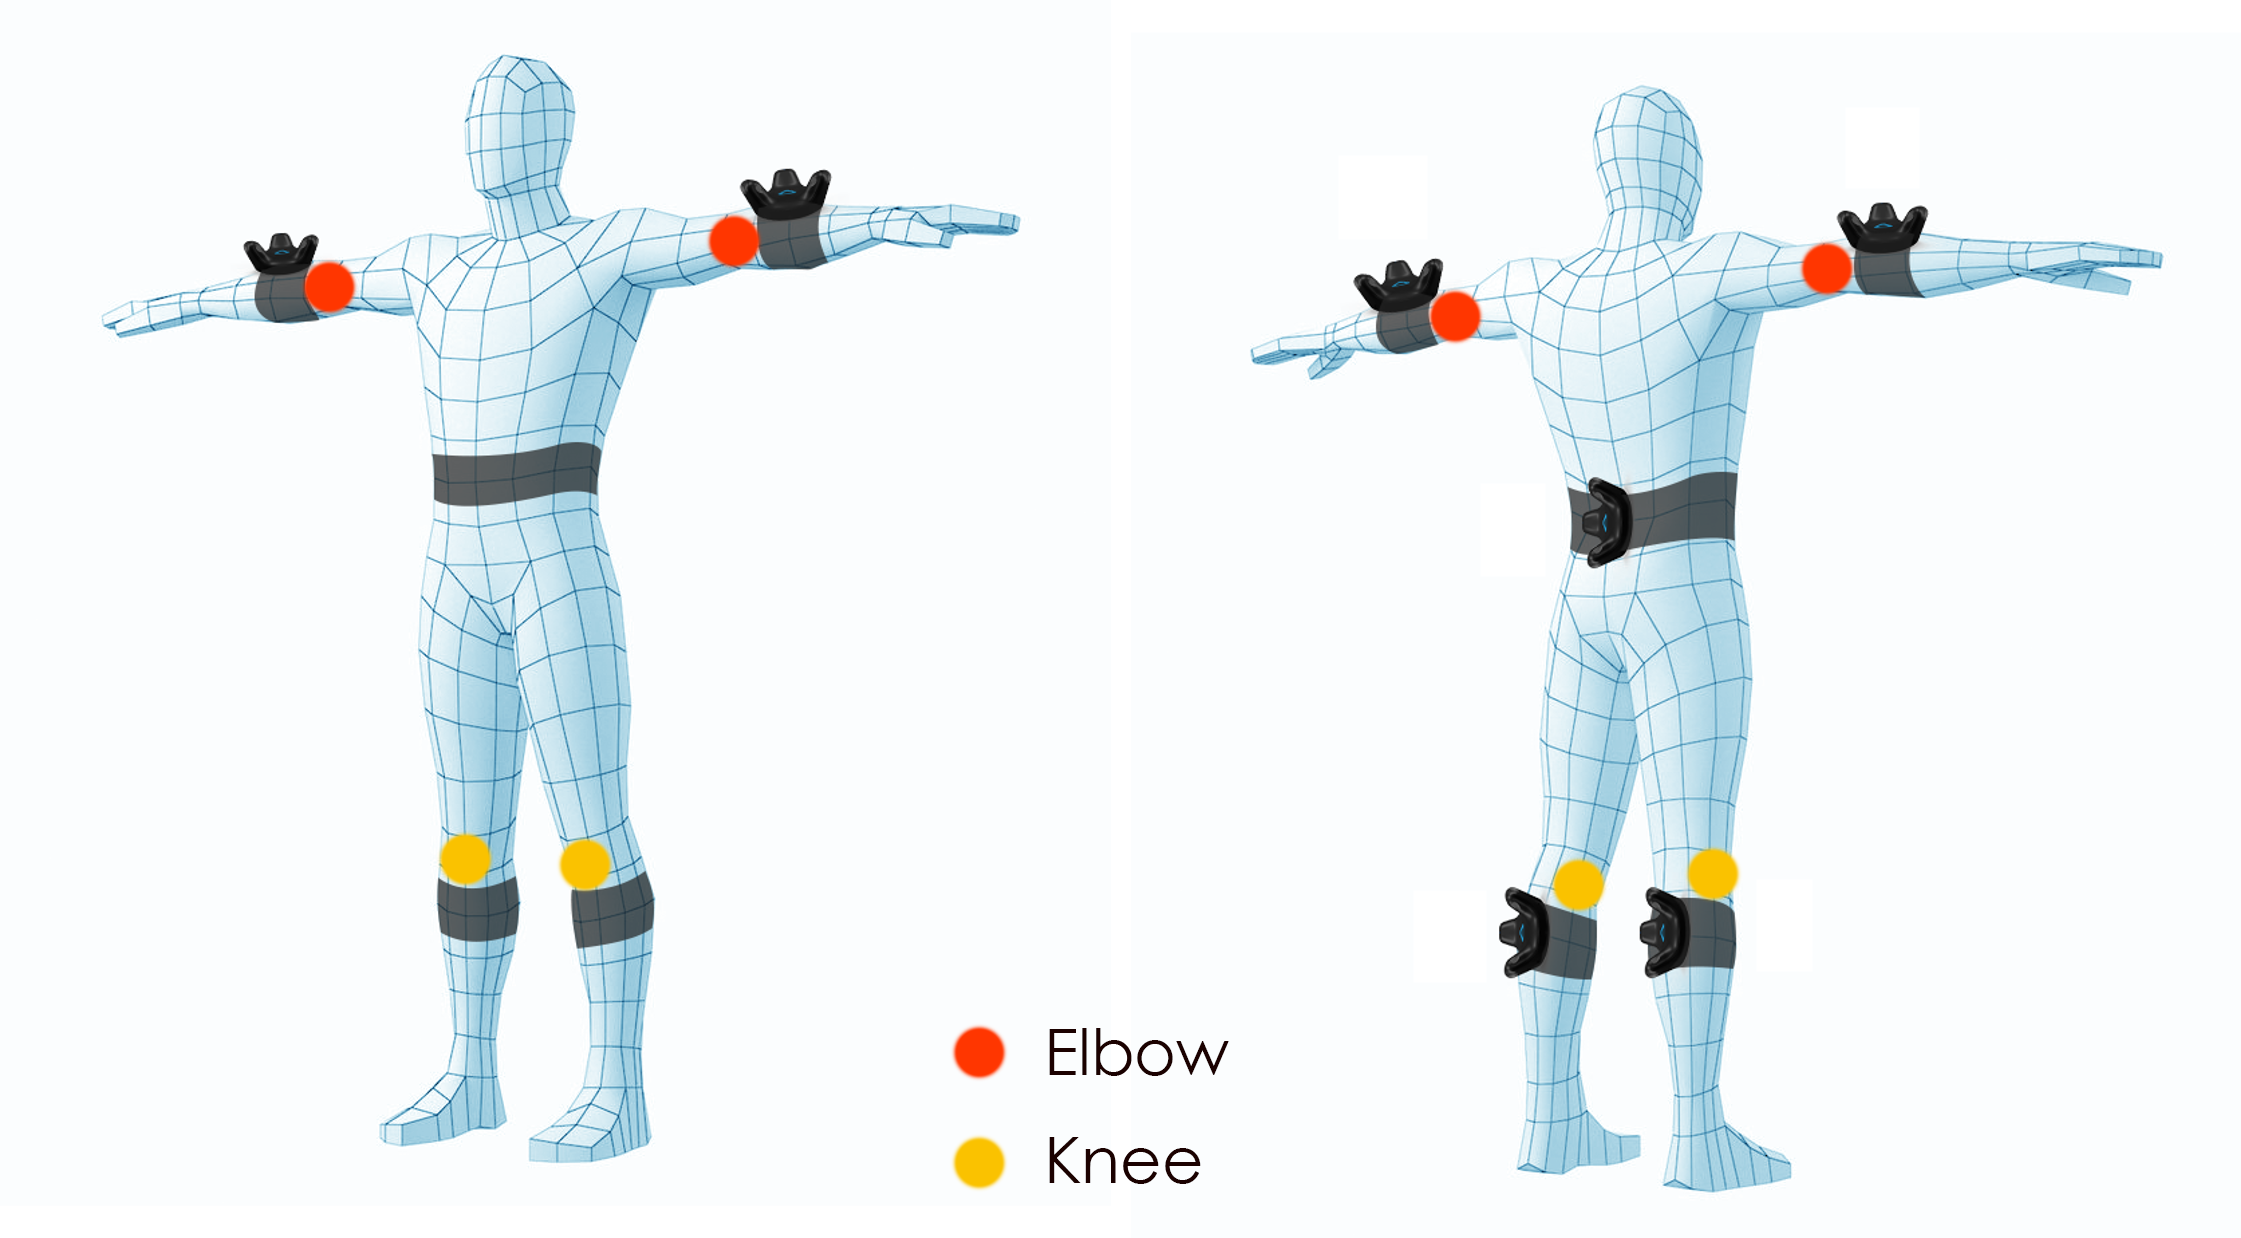
Wear the suit as shown above and pay attention to the labels of each device:
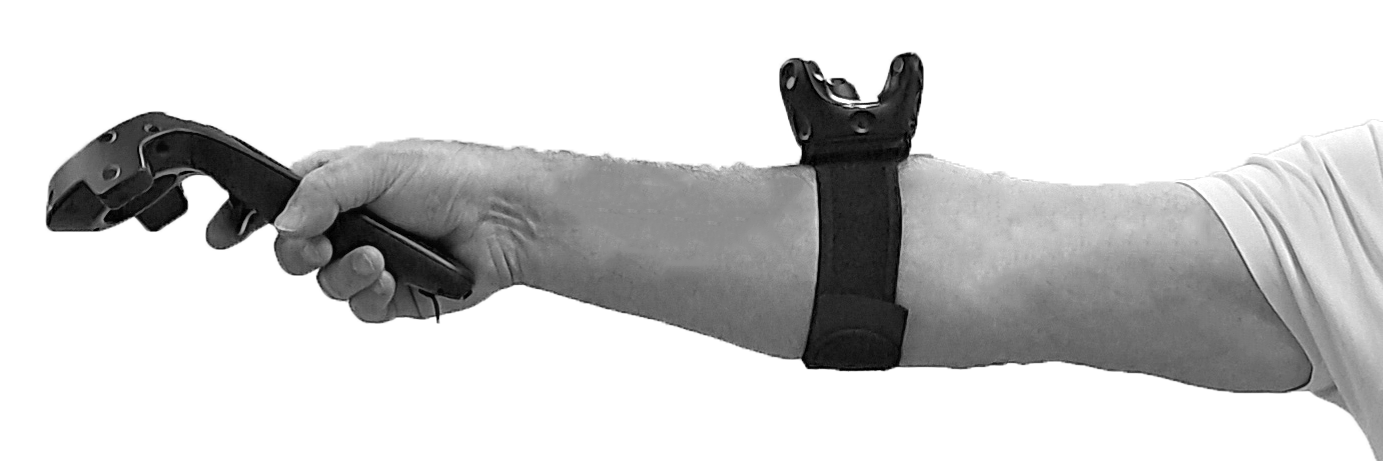
- The "ELBOW" Trackers should be in "T-Pose", facing up, and placed on the forearm, 5 cm past the elbow (center of tracker vs elbow joint).
- The "KNEE" trackers should be placed on the leg, facing backwards, just above the calf and 5 cm below the knee (center of tracker vs knee joint).
Using the Motion Capture suit in XR Twin#
Prerequisite: Before opening your XRTwin project, make sure that both your VR and LS Suit hardwares are set up (see above), device LED's are green and SteamVR's icons are blue.
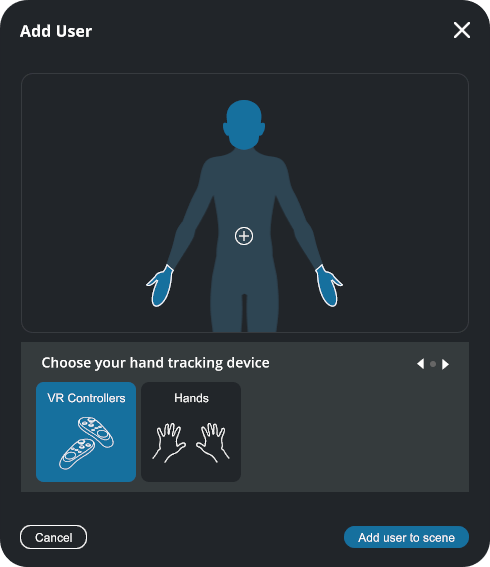
After opening your project, in Edition mode, change for an "ergonomics" User:
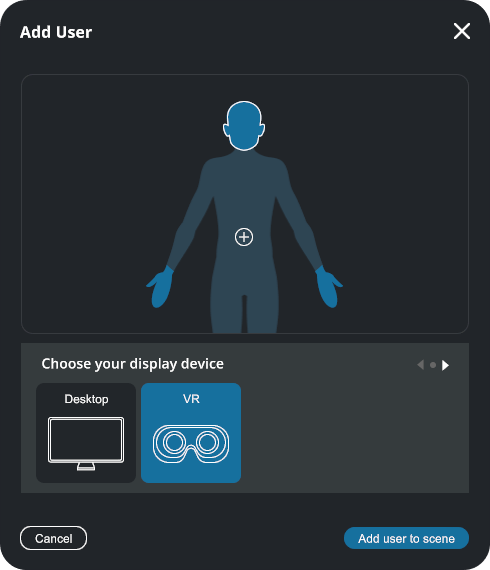
- In the Hierarchy panel, click the Open button
 to the right of User to open Add User pop-up,
 - Select VR as Display device,
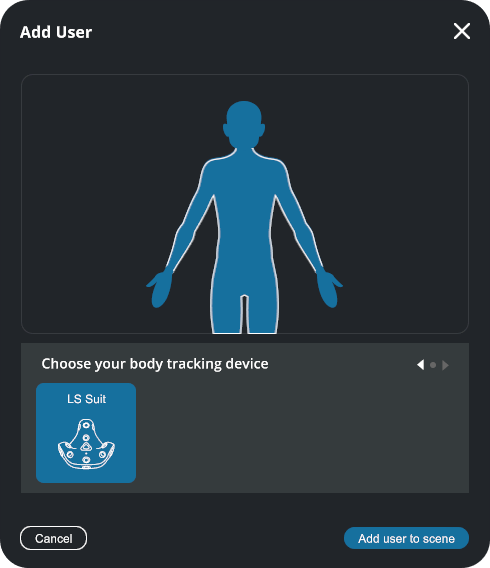
- Click the silhouette's hand (or click Next arrow
 ) then keep VR Controllers as hand tracking device (the default),
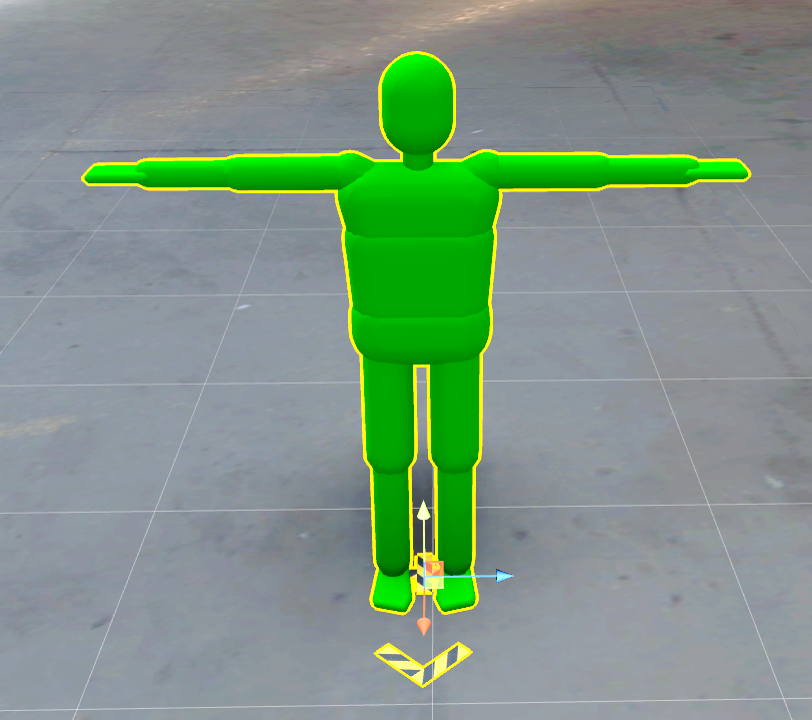
 - Click the silhouette's + (or click Next arrow again) then select LS Suit as body tracking device (see more about User in the Configure user page).


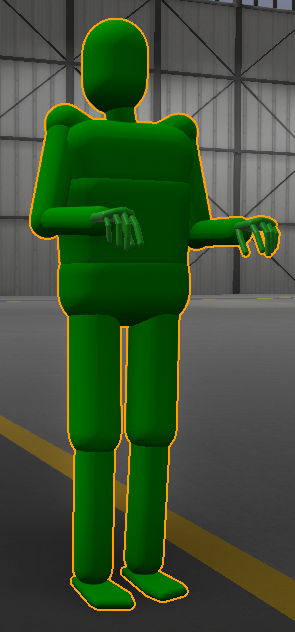
This will create a colorful ergonomic model in T-Pose in your scene:
User measurements#
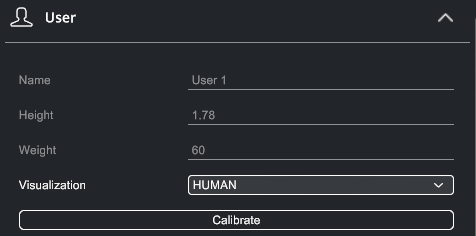
To achieve an accurate posture estimation and body tracking, it is important to specify the user morphology.
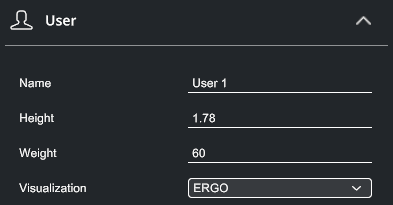
- Select the User in the Hierarchy panel.
-
Right in Inspector panel,
- Set the Height (the size of the person wearing the LS Suit). Note that this is important.
- Option: Set the Weight. You can adjust the person's corpulence if you wish. This parameter has no influence on the results.
-
This will update the avatar accordingly.
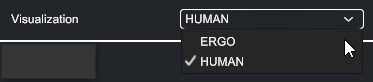
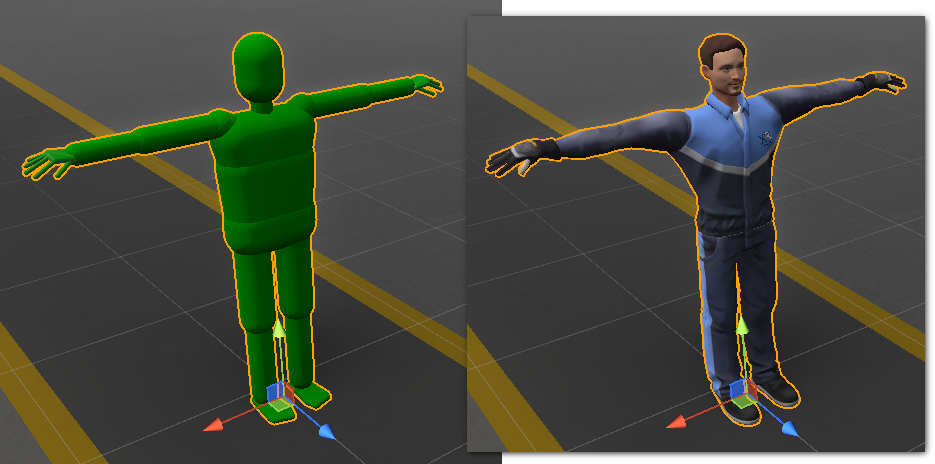
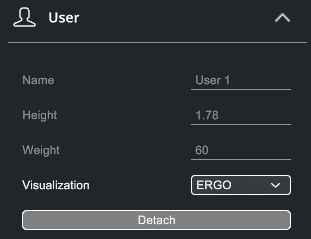
- You can also toggle the Visualization of the avatar (can be displayed as HUMAN (working clothes) or ERGO (colored ergonomic model)).
Start simulation#
It's time to begin an ergonomic simulation:
- From the Edition mode, click the Start button
 .
. - You can slide your head into the VR headset and grab the controllers.
Calibration#
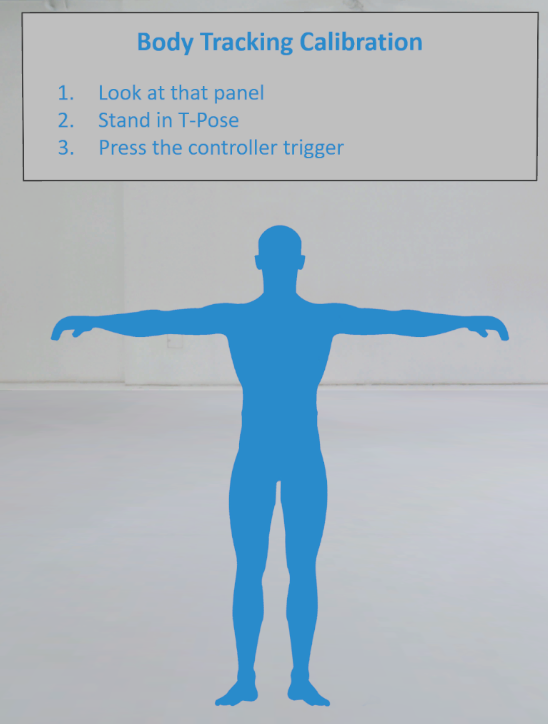
When you launch the simulation with an LS Suit user, the Body Tracking Calibration instruction panel is displayed in the 3D scene and in your headset.
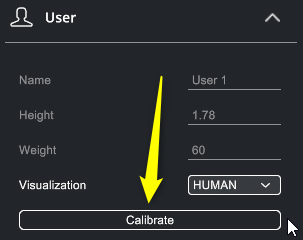
At the same time, the Calibrate button is added to the User component in the Inspector panel.
Follow the calibration instructions:
- With your headset on, face towards the Body Tracking Calibration instruction panel.
-
Stand in a T-pose.
- Keep your legs together and your head facing forward (look at the horizon).
- Hold your controllers in a natural posture (with a positive tilt of approximately 30° and no roll), your wrists in line with your forearms.
- In this posture, keep both forearm trackers facing upward.
-
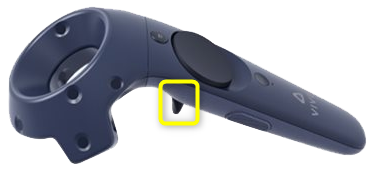
Press the right controller trigger once to calibrate.
-
The system will detect your position, and the colored avatar will move toward you. This process may take a few seconds. Hold the pose until the VR instruction panel disappears.
- If the calibration is successful, your avatar should move according to your body movements.
Alternative
Alternatively, from the screen, you can ask a colleague to click on the Calibrate button in the User properties component. They can also Detach you, so you can calibrate again.
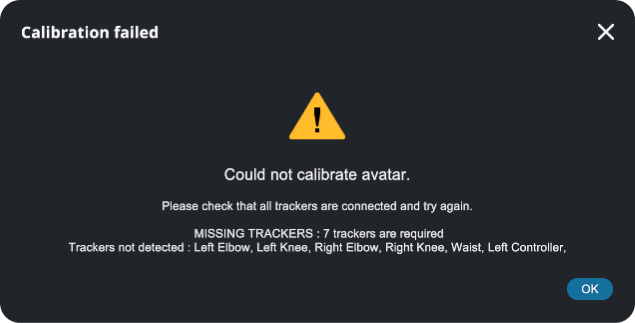
If calibration fails:
If the calibration procedure fails due to missing trackers, for example, error messages will appear on the virtual information panel and on the screen (see example below).
In this case, check devices and calibrate again:
- Remove your headset and inspect your devices. In SteamVR, both the controllers and the trackers must be active. Sometimes, they will turn themselves to standby mode.
- Detach:
- On screen, click on the Detach button in the User properties component,
- Put your headset back on and repeat the calibration steps.
- As an alternative, you can restart calibration from the headset:
- Press the controller's Menu button to display the VR Menu,
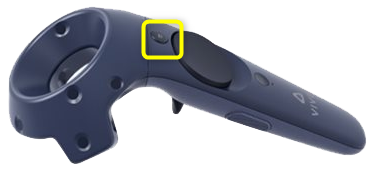
- Select the Settings tab (gear icon),

- Select Start Calibration,
- Repeat the calibration steps.
- Press the controller's Menu button to display the VR Menu,
If the error persists, see Troubleshooting below.
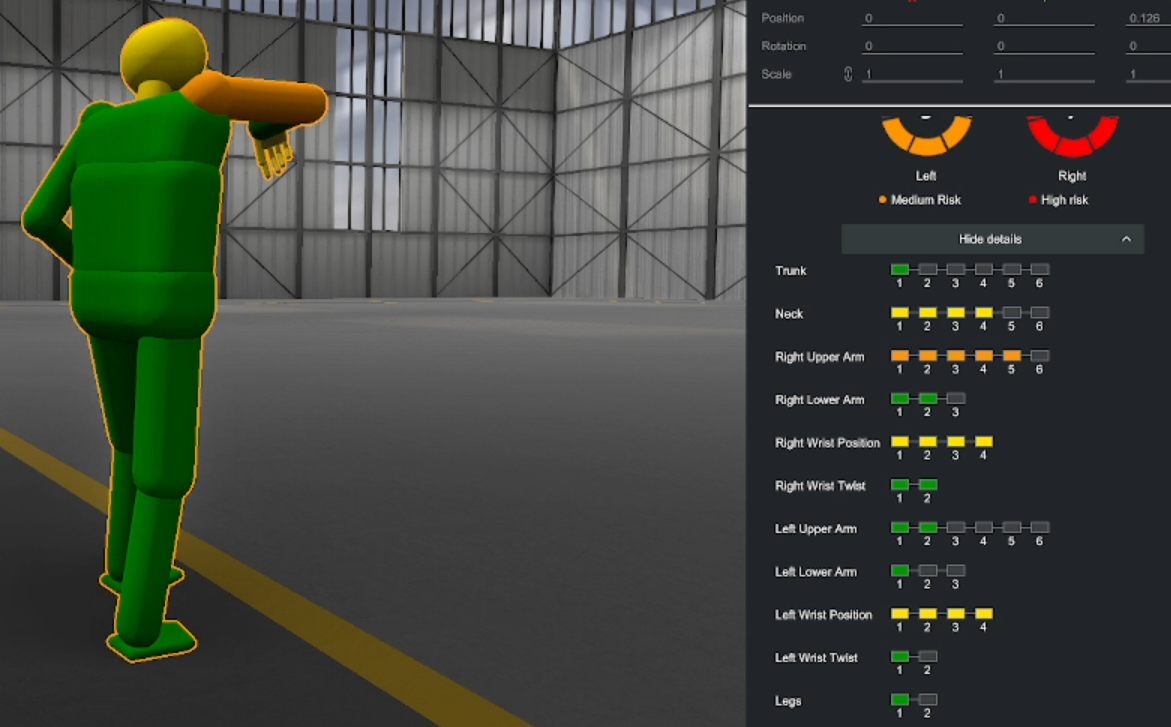
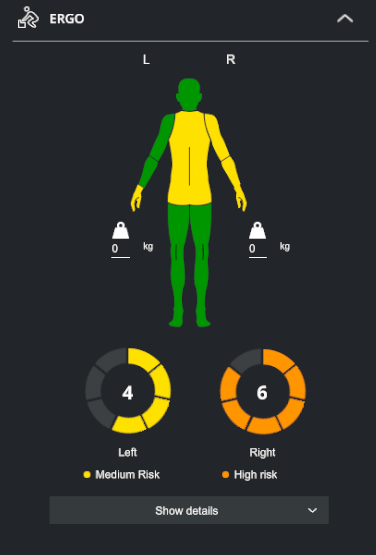
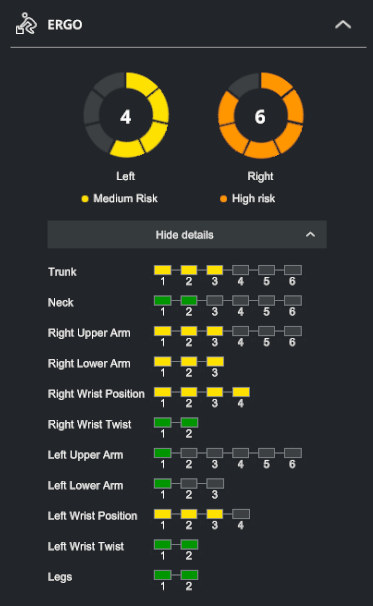
Ergonomic assessment#
An assessment is displayed in the Ergo section of the Inspector on the right. Expand Show details to reveal scores for each body part.
Score#
XR Twin provides a real time calculation of the user's ergonomics score following the RULA methodology (see RULA worksheet).
The RULA score calculation is also accessible during XRTwin's Replays using recorded motion capture (see Record your simulation then Watching your records).
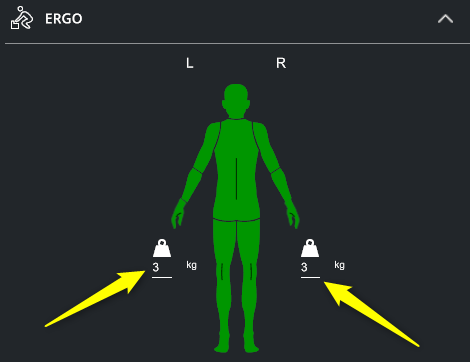
Weight carried#
If you are carrying loads, you can indicate the weight carried by each arm, in kg, in the field(s) below this weight icon :  .
.
RULA: a survey method for the investigation of work-related upper limb disorders
RULA (Rapid Upper Limb Assessment) is a survey method developed for use in ergonomics investigations of workplaces where work-related upper limb disorders are reported.
Read full article to learn more on this assessment method from McAtamney and Corlett, 1993.
If you wish to use your own custom assessment method, please contact us at mailto:xrtwin-support@ls-group.fr.
Troubleshooting#
You may encounter errors during calibration. For example, one of your trackers may have gone into standby mode, or you may have inverted two trackers.
-
First, click Detach, check your devices and then try a new calibration.
-
If some trackers are not detected during calibration process, possible that they aren't seeing by the base stations. Stand up and turn around to wake up sensors and detection. This may take a few seconds.
-
If that doesn't work, try switching back to Editor mode. To do this, on screen, click on the Stop button to return to Edition mode, check your devices, and then click on Start button to restart the simulation. Then run the calibration steps again.
-
If the error persists, it may be necessary to start from scratch to reset all services.
In this case, we advise you to:- Exit XR Twin, quit SteamVR (all devices will be turned off automatically). You may even need to reboot your PC.
- Then, restart SteamVR, turn on all devices and check them, restart XR Twin and open your project again.
- When you are back in simulation mode, do a new Calibration.