Start simulation#
With XRTwin, you can test your scene by running a simulation. In Simulation mode, objects react to the laws of physics according to the behavior you've assigned them. Depending on the current user, you can interact with objects on-screen (desktop mode) or through virtual reality with your headset and other virtual devices.
Start a simulation session#
To initiate a simulation session in XR Twin, follow these steps:
1. Open your Project#
From the Launcher, select and open the XR Twin project you want to simulate. You can double-click on the thumbnail.
The project opens in EDITOR Mode.
2. Editor Mode#
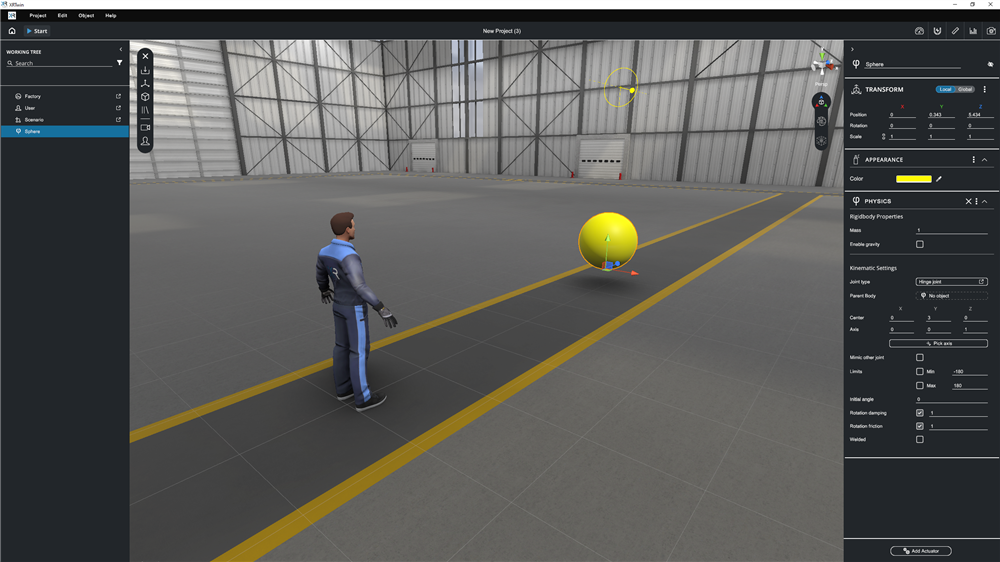
Before starting the simulation you are in EDITOR Mode. In EDITOR Mode, physics simulation is off. You have complete freedom to modify the scene: add primitives, import CAD models, apply physic behaviors and adjust properties as needed. You can add the User you want to use: Desktop, VR with controllers or hand tracking, VR for ergonomics.
Ensure that the project is prepared and ready for simulation. You can optimize your project through iteration and run as many simulations as you want.
3. Start Simulation#
Once you've prepared the scene in EDITOR Mode, click on the "Start" button.
This action switches the XR Twin environment to SIMULATION Mode.
4. Simulation Mode#
In SIMULATION Mode, scene modification is disabled and objects behave according to physics laws. You can interact with the simulation to observe how objects move in the virtual environment.
Desktop user:
With a Desktop user, you navigate using your keyboard and mouse.
Double-click to center an object, use mouse combined with keyboard keys to rotate around it, take measurements, and capture screenshots. Activate the Manipulator tool  to act on objects to which you have given a physical behavior.
VR user:
With a VR user, you can see your models at their actual size in your headset and move around using your controllers.
Display the VR menu to change Navigation Mode, select a tool, or recalibrate your size. Use your virtual hands to interact with objects that have been assigned a physical behavior (press the trigger on the controller to grab). To act remotely, select Laser-Grab in the VR menu. See more below.
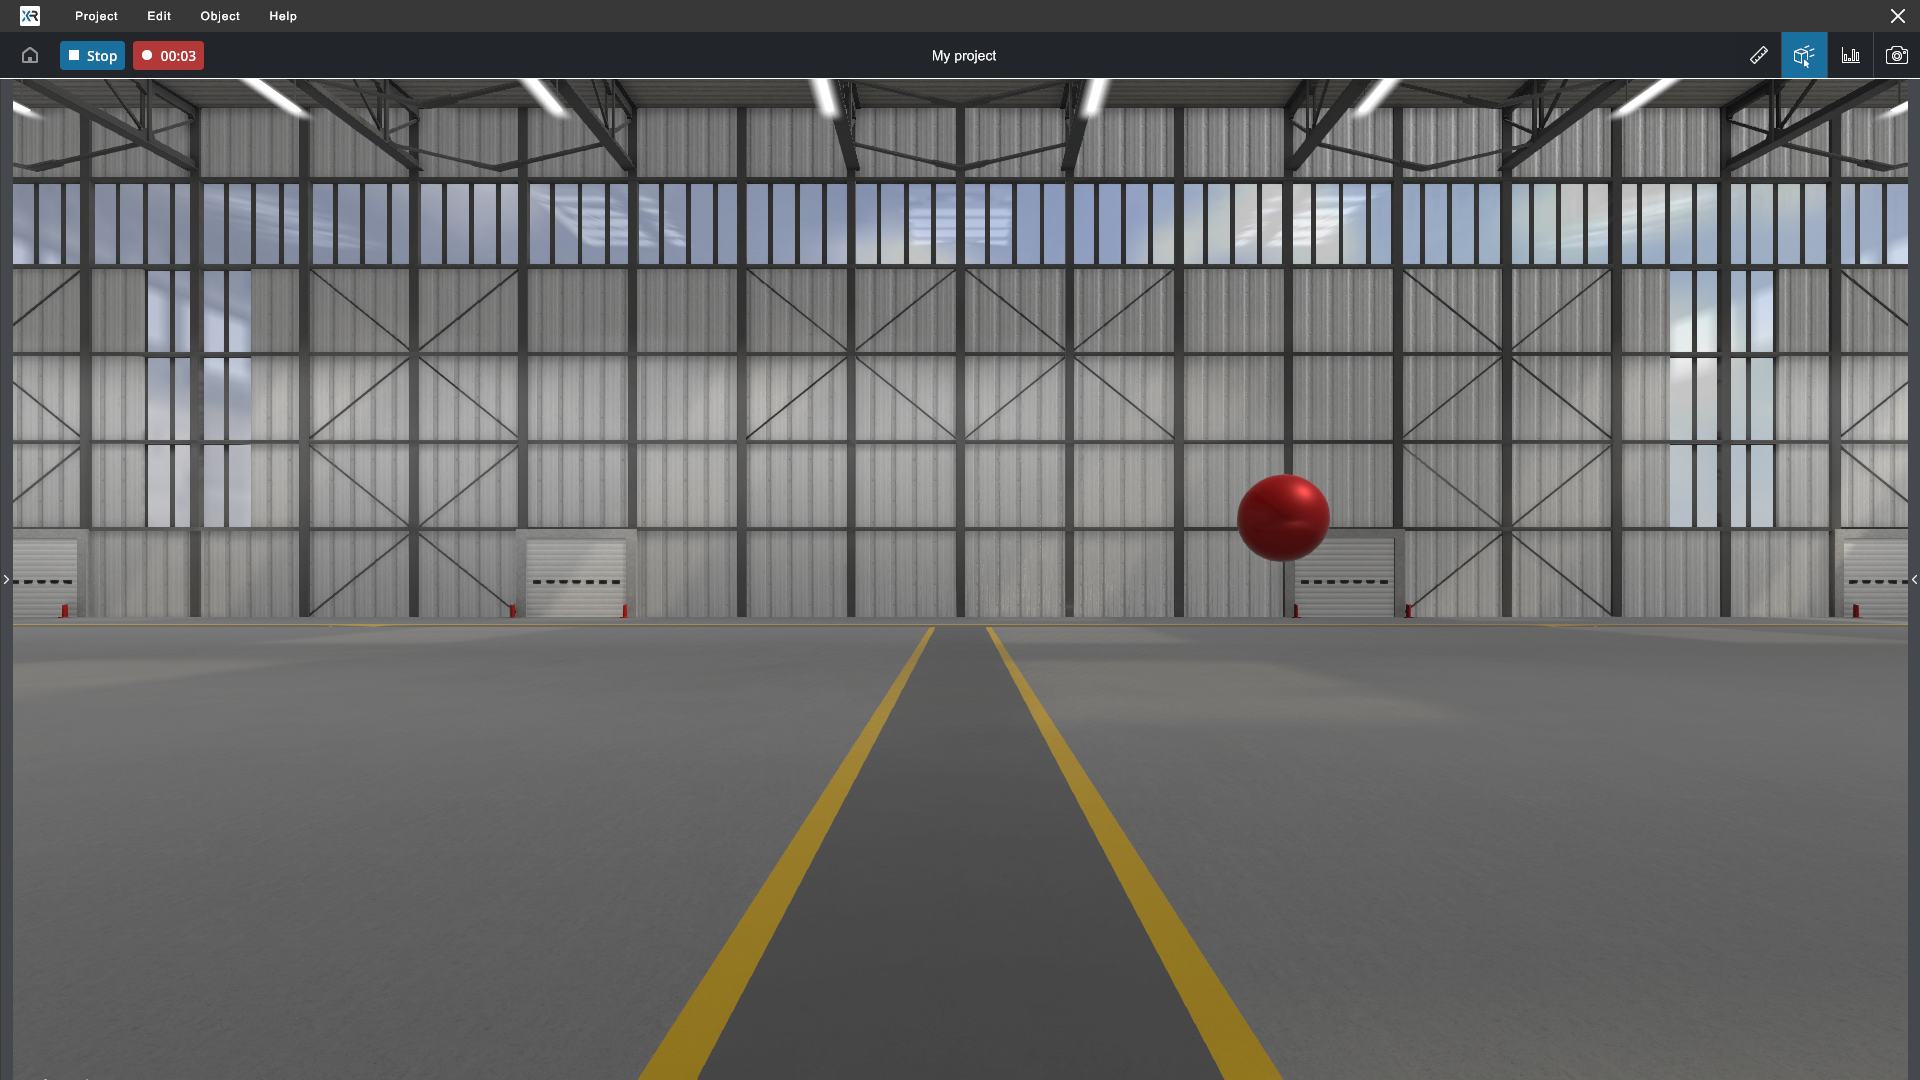
5. Stop Simulation#
To stop the simulation, click the Stop button in the top left corner.
This action resets object positions and returns the environment to EDITOR mode for further editing and refinement.
What can I do in SIMULATION Mode ?#
Desktop use case#
No extra material needed to begin, just you screen, keyboard and mouse.
- Use keyboard and mouse to change the viewpoint (shortcuts dependent on current navigation style presets).
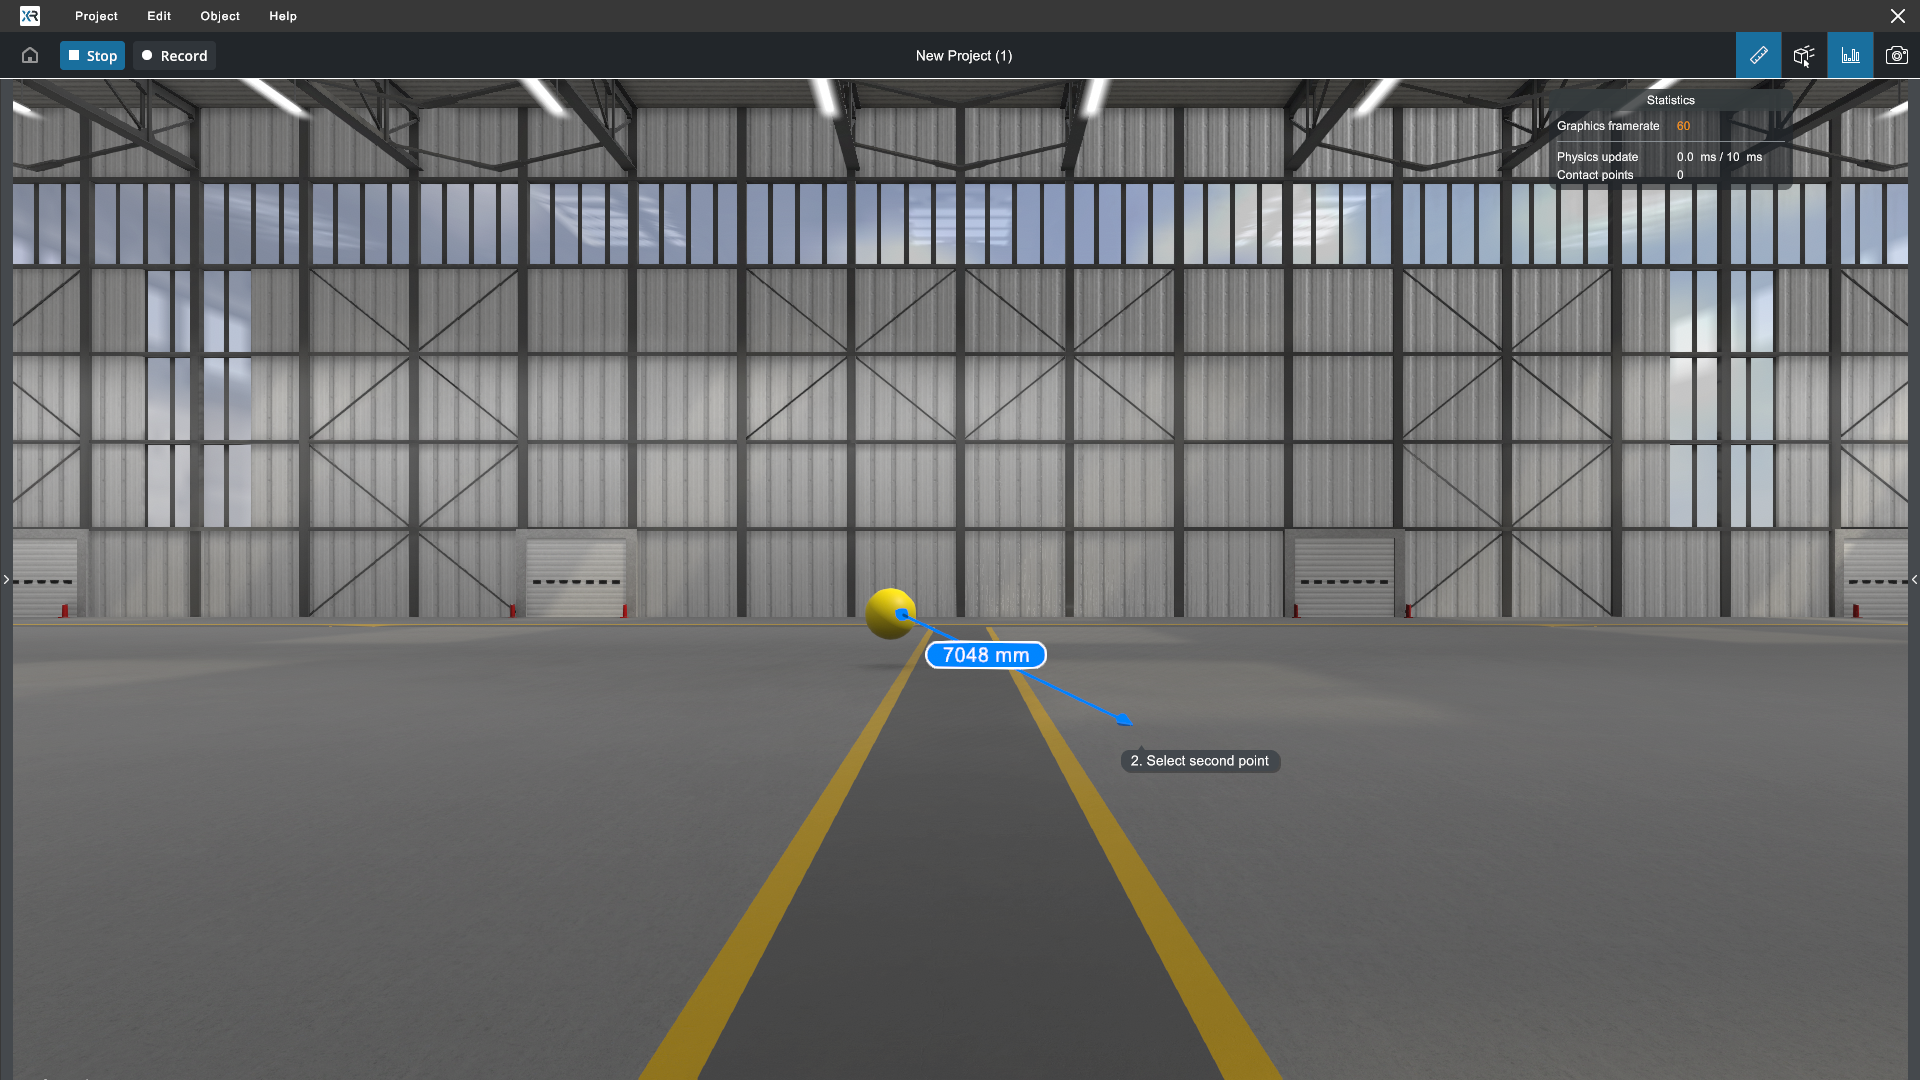
- Use the desktop elastic manipulator tool to pull and move objects. Use the measure tool
 to trace and display vectors and their numeric values. Take screenshots with the photo tool
  .
. - Test your physical joints, assemblies and scenarios.
- And more (using a spacemouse, a force feedback arm...).
Virtual reality use case#
Use your virtual reality equipment to carry out 1:1 project reviews, interact with your controllers, or use hand tracking to interact directly with your hands. You can also initiate an ergonomics session.
-
Use your virtual hands to interact with objects that have been assigned a physical behavior (press the trigger on the controller to grab).
-
Display the VR Menu and:
- Select a tool to create measures, explore the inside of your models with cross section, take photos, write your comments.
-
Select the Laser Grab tool to act remotly.


-
Recalibrate your size (Start Calibration) so that your foots hits the ground :-)
-
Change Navigation Mode (Teleport (default), Fly, Walk, Elevator).

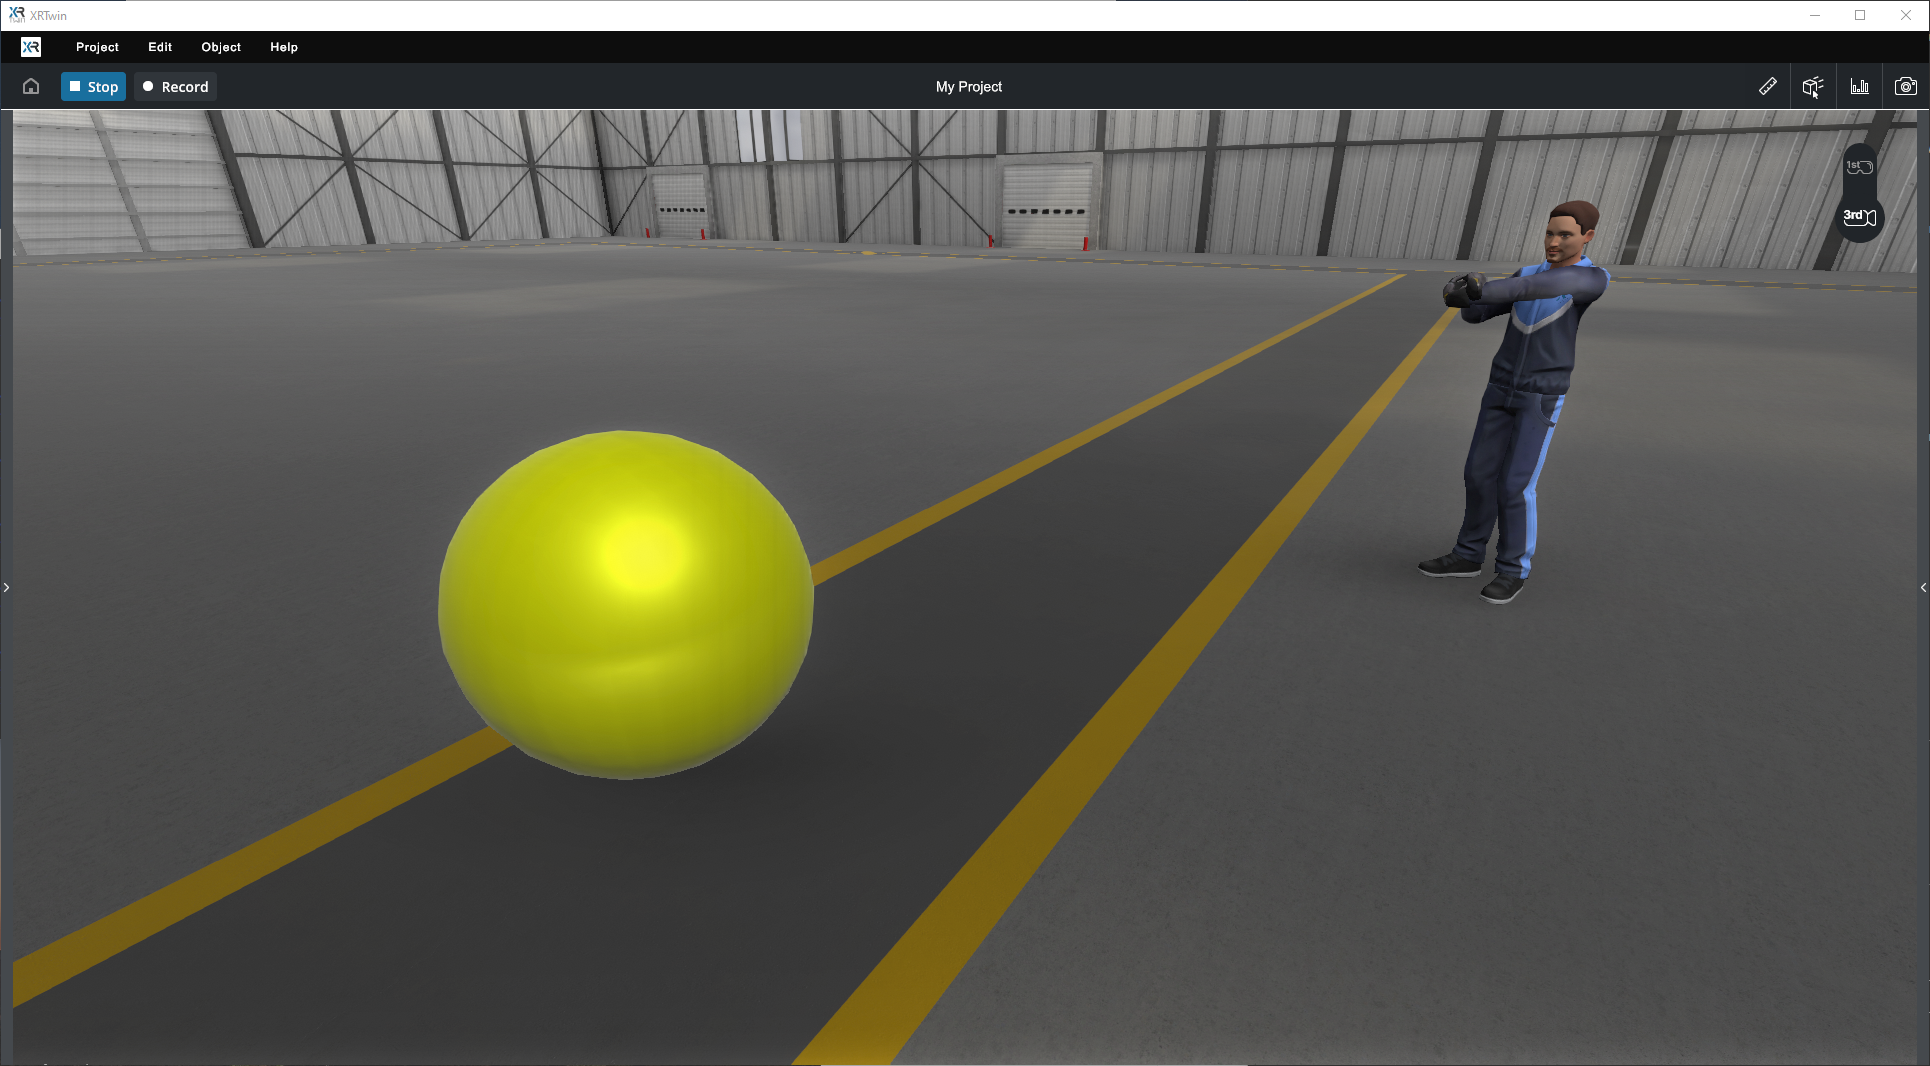
1st or 3rd person view#
In Simulation mode with a VR player, you can share your experience on the PC screen.
By default, you are in first-person view  , and the screen displays the video flow from the left eye of the headset. If the user moves around a lot, it may not be very comfortable for outside observers...
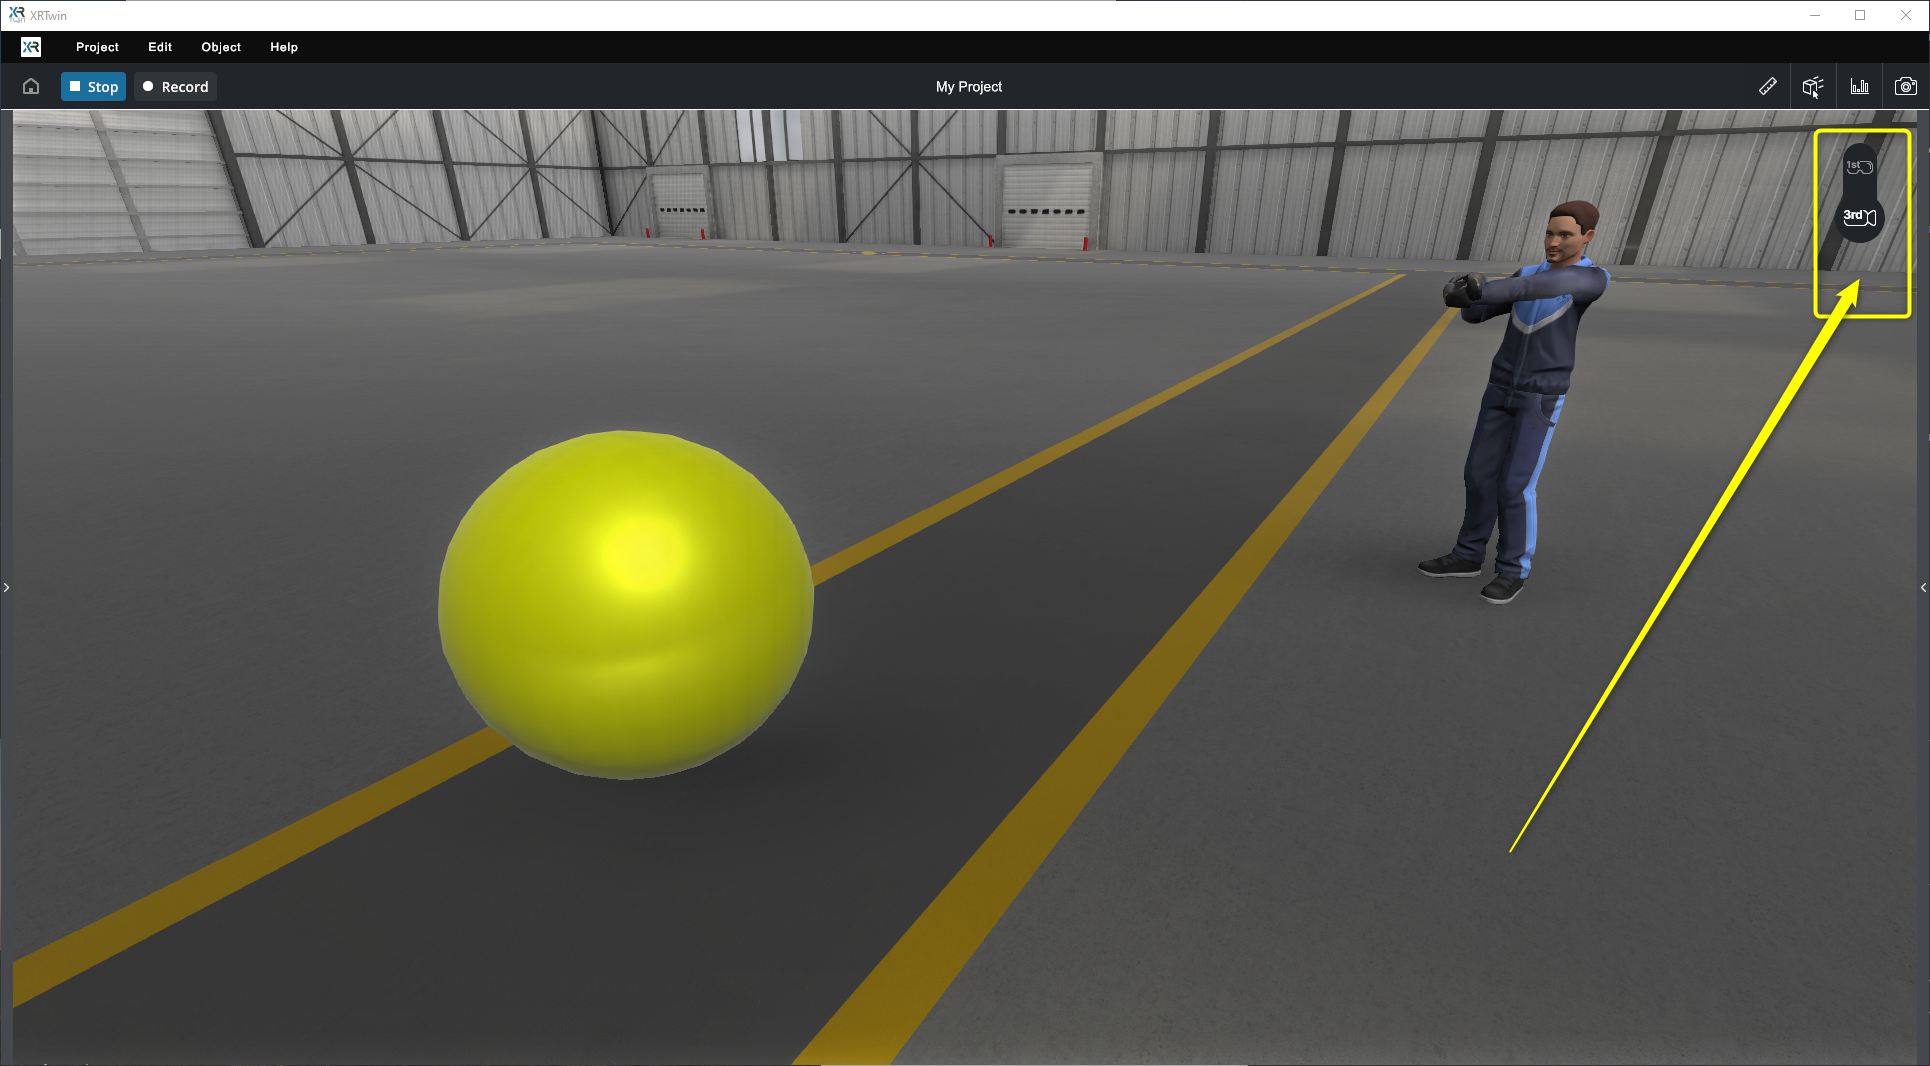
At any time, your colleagues can switch to third-person view  , a way to observe VR users from a comfortable external perspective on the PC screen or a shared big screen. They will become a Desktop user and have access to all the associated tools (orient and move camera freely, measure, stats, photo, select an object to highlight it or double-click to frame it, center on VR player, etc.). Ideal for collaborative reviews, demos, and training with a local audience.

Center player in 3rd person view#
If the VR player is no longer visible in the third view's Desktop user field of view, click the third view icon again to center the player. The third view camera will move so that the player is centered on the screen.
Center objects in 3rd person view#
Double-click on any object to center it in Desktop view.
Show object to VR user#
When your colleagues watch your experience on the PC screen as a third-person view Desktop user, they can select objects. The selected object(s) are displayed with an outline that can be seen by the VR user. This way, colleagues can guide the VR user by pointing out an object to check or manipulate.
As 3rd person view, you cannot manipulate objects
Only the VR player can manipulate physical objects. As a desktop user in a third-person view, you can select objects, but you cannot move them. Note that the Manipulate Objects tool is inactive.
Learn more about VR interactions in VR in XR Twin section.
Record your simulations#
During Simulation sessions, you can create full 3D recordings. Click the Record button  to start the recording. Click the Stop button
  to stop the recording. Recording files are automatically saved in the project-ID folder.
You can replay all your recordings Later in Replay mode, in full 3D space, as a Desktop observer or a VR observer. See Record simulation and Watch your records sections.
Copy transforms#
During a Simulation or a Replay session, you can copy the transform properties of the selected object in order to paste them later on the same or another object when you are back in EDITION mode.
- During a Simulation or Replay session, select an object. Unfold the Hierarchy panel, if needed,
- From the Property panel, in the TRANSFORM component, click the 3-dots menu icon
 and select Copy,
 - When you return to Edition mode after stopping the simulation,
- Select the destination object. In the TRANSFORM component, click the 3-dots menu icon and select Paste.
Example: During a VR tuning session, you move the handle of a hopper to find the most appropriate position. You can copy the current position to apply these values as soon as you return to Editor mode. Little by little, you optimize your project.
Copy transforms restrictions
In Simulation or Replay mode, you can only copy the transform properties (translation, rotation, and scale values) of one object at a time. The clipboard updates when you copy again. You cannot paste in these modes and all other components are deactivated for copying. You can only paste later, when back in Design mode. These restrictions will be relaxed in a future version.