Your first project#
At this stage everything is installed, your license is active and you are now ready to create your first XR Twin project.
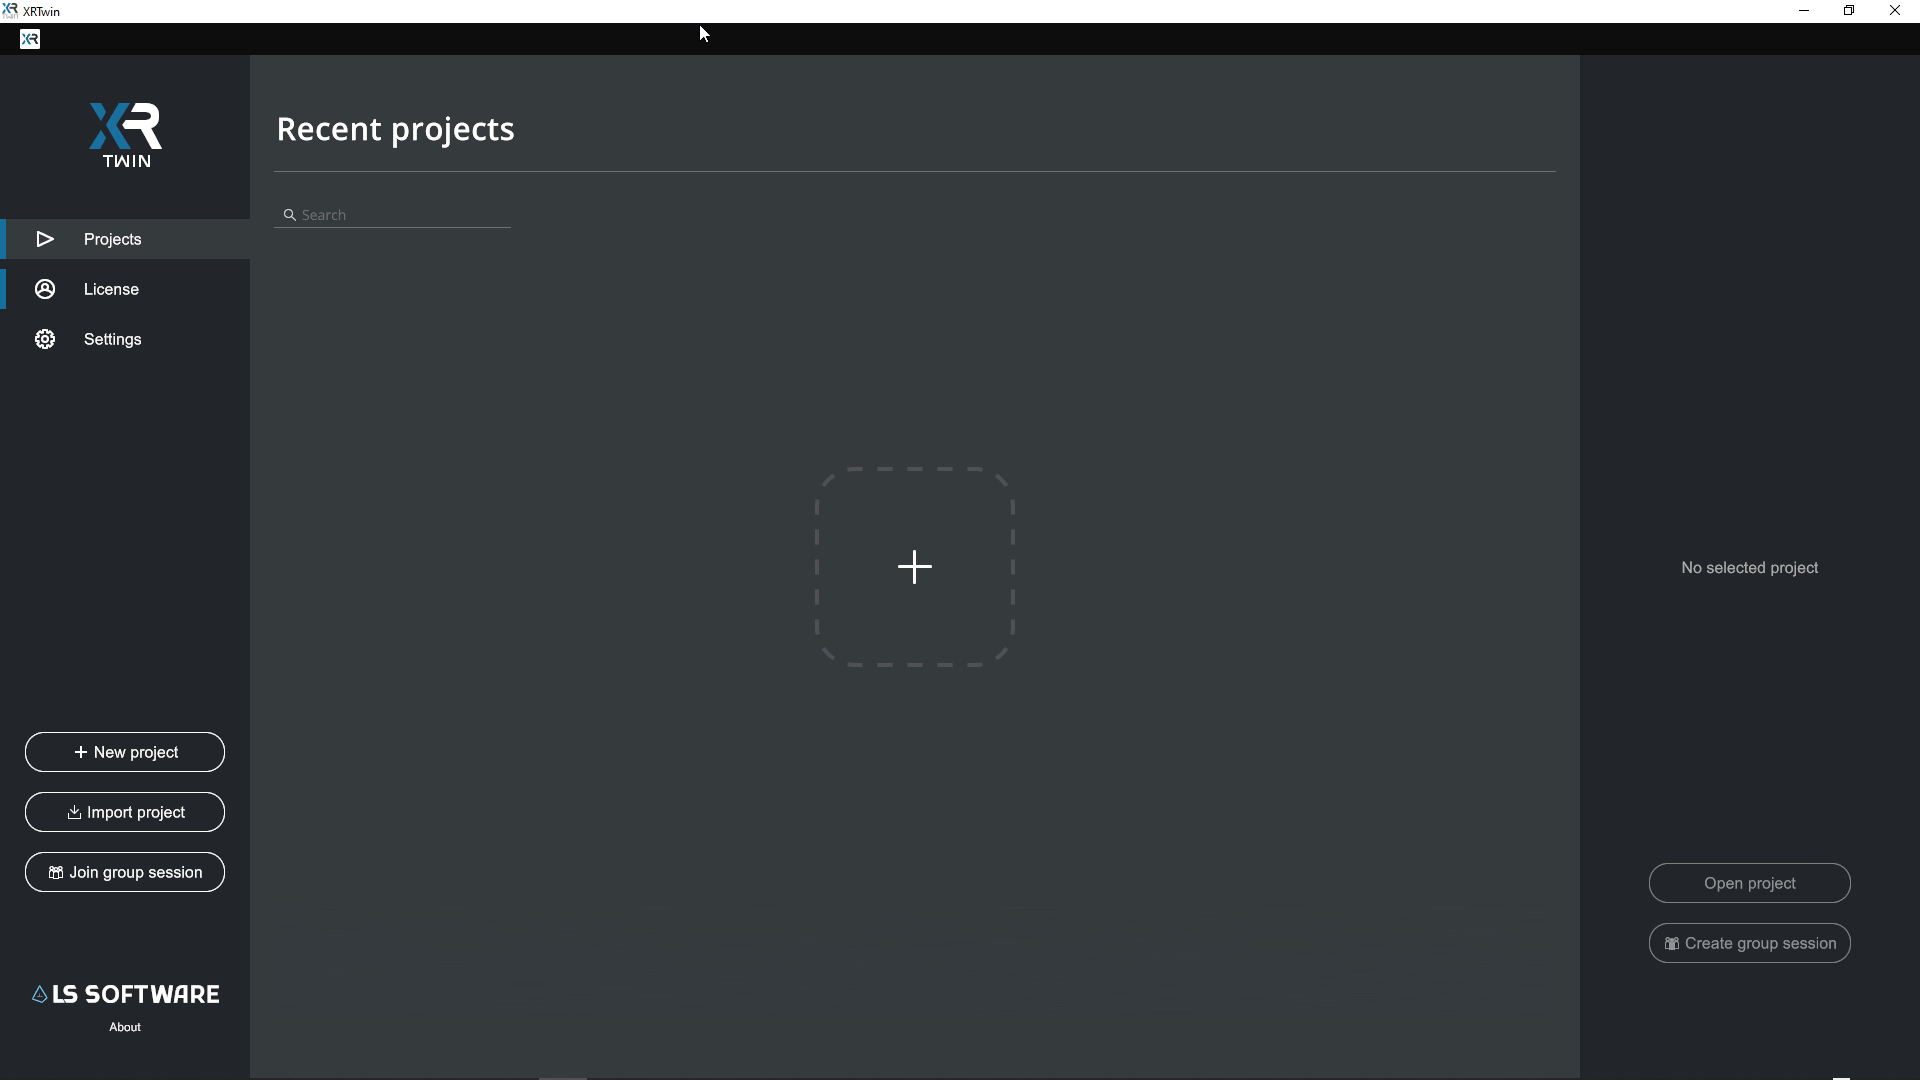
The user interface starts with the Project Launcher view. Here you can manage your XR Twin projects: create, import, duplicate, archive, share and collaborate with your team and more.
Creating a project#
To create a new empty project from the Project Launcher:
- Click on the New project button in the left side panel.
- A new project thumbnail appears in the Recent projects center panel.
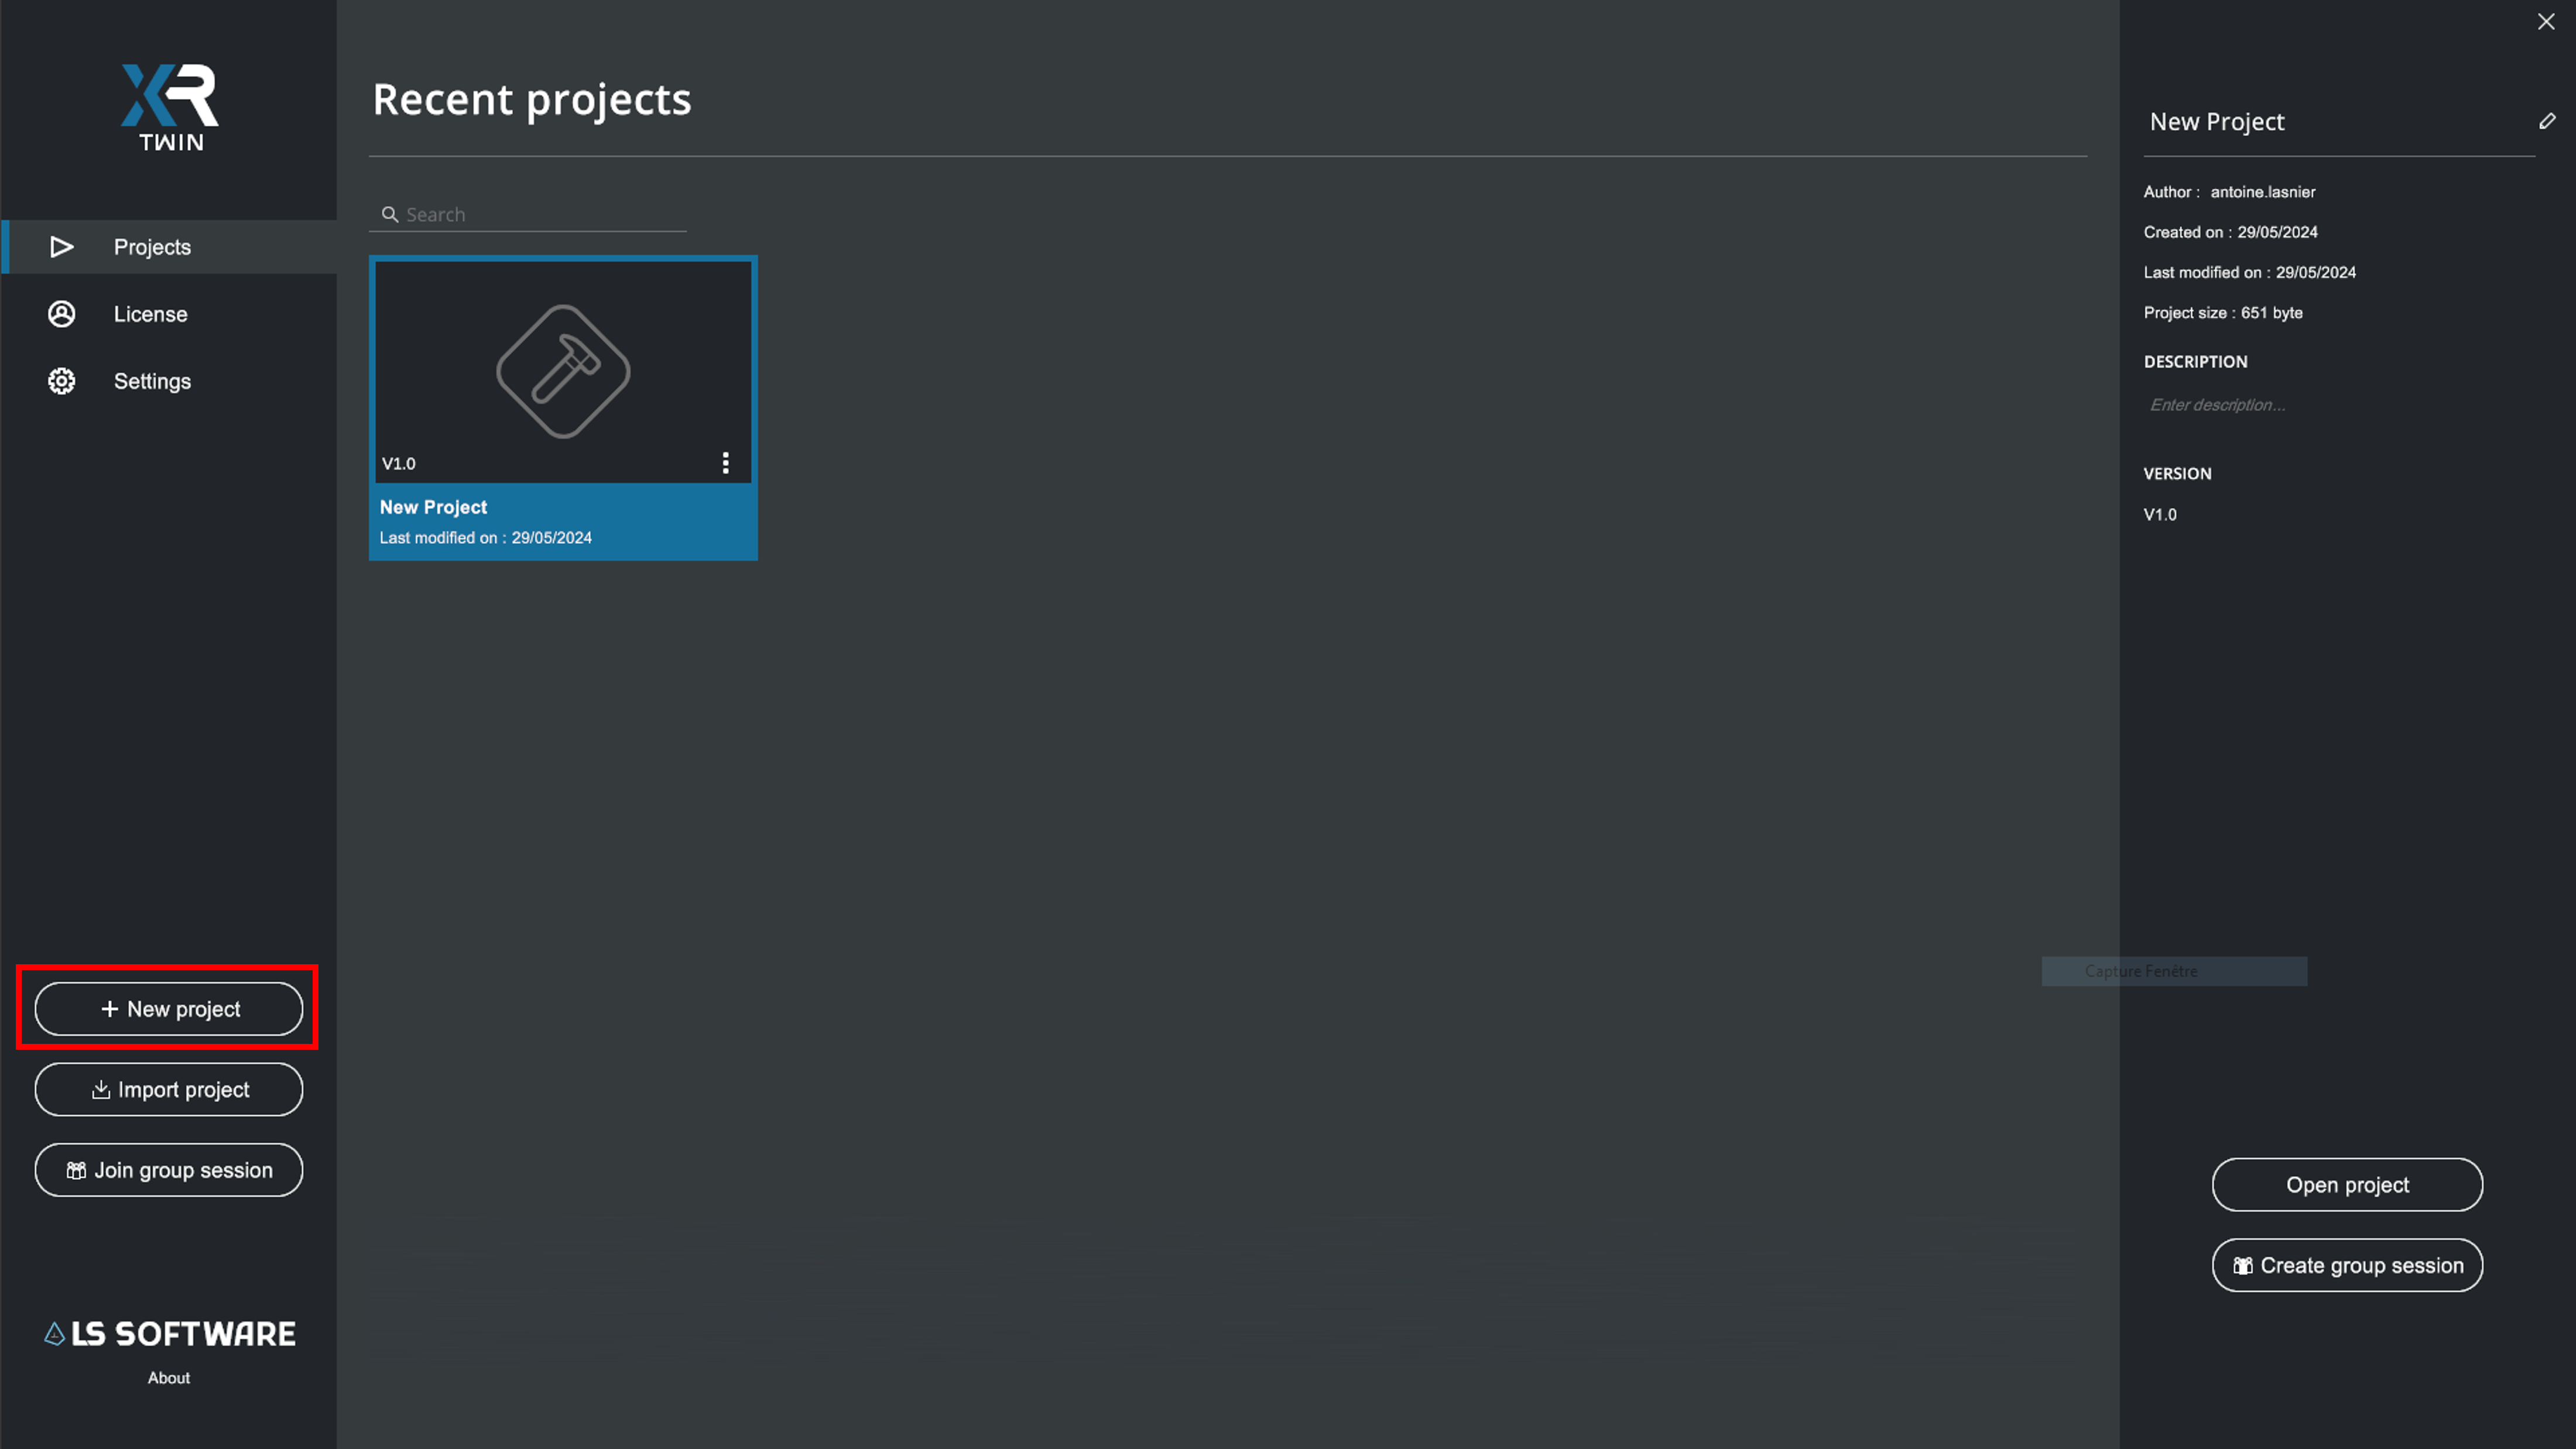
- Complete the project's information in the right side panel (Title, Author, Description). See Project information below.
- Open your project by clicking on the Open project button in the bottom-right corner.
Project Information#
Filling in project information is advised in order to facilitate later project management.
To Edit project information, click on the  button at the top of the right side panel.
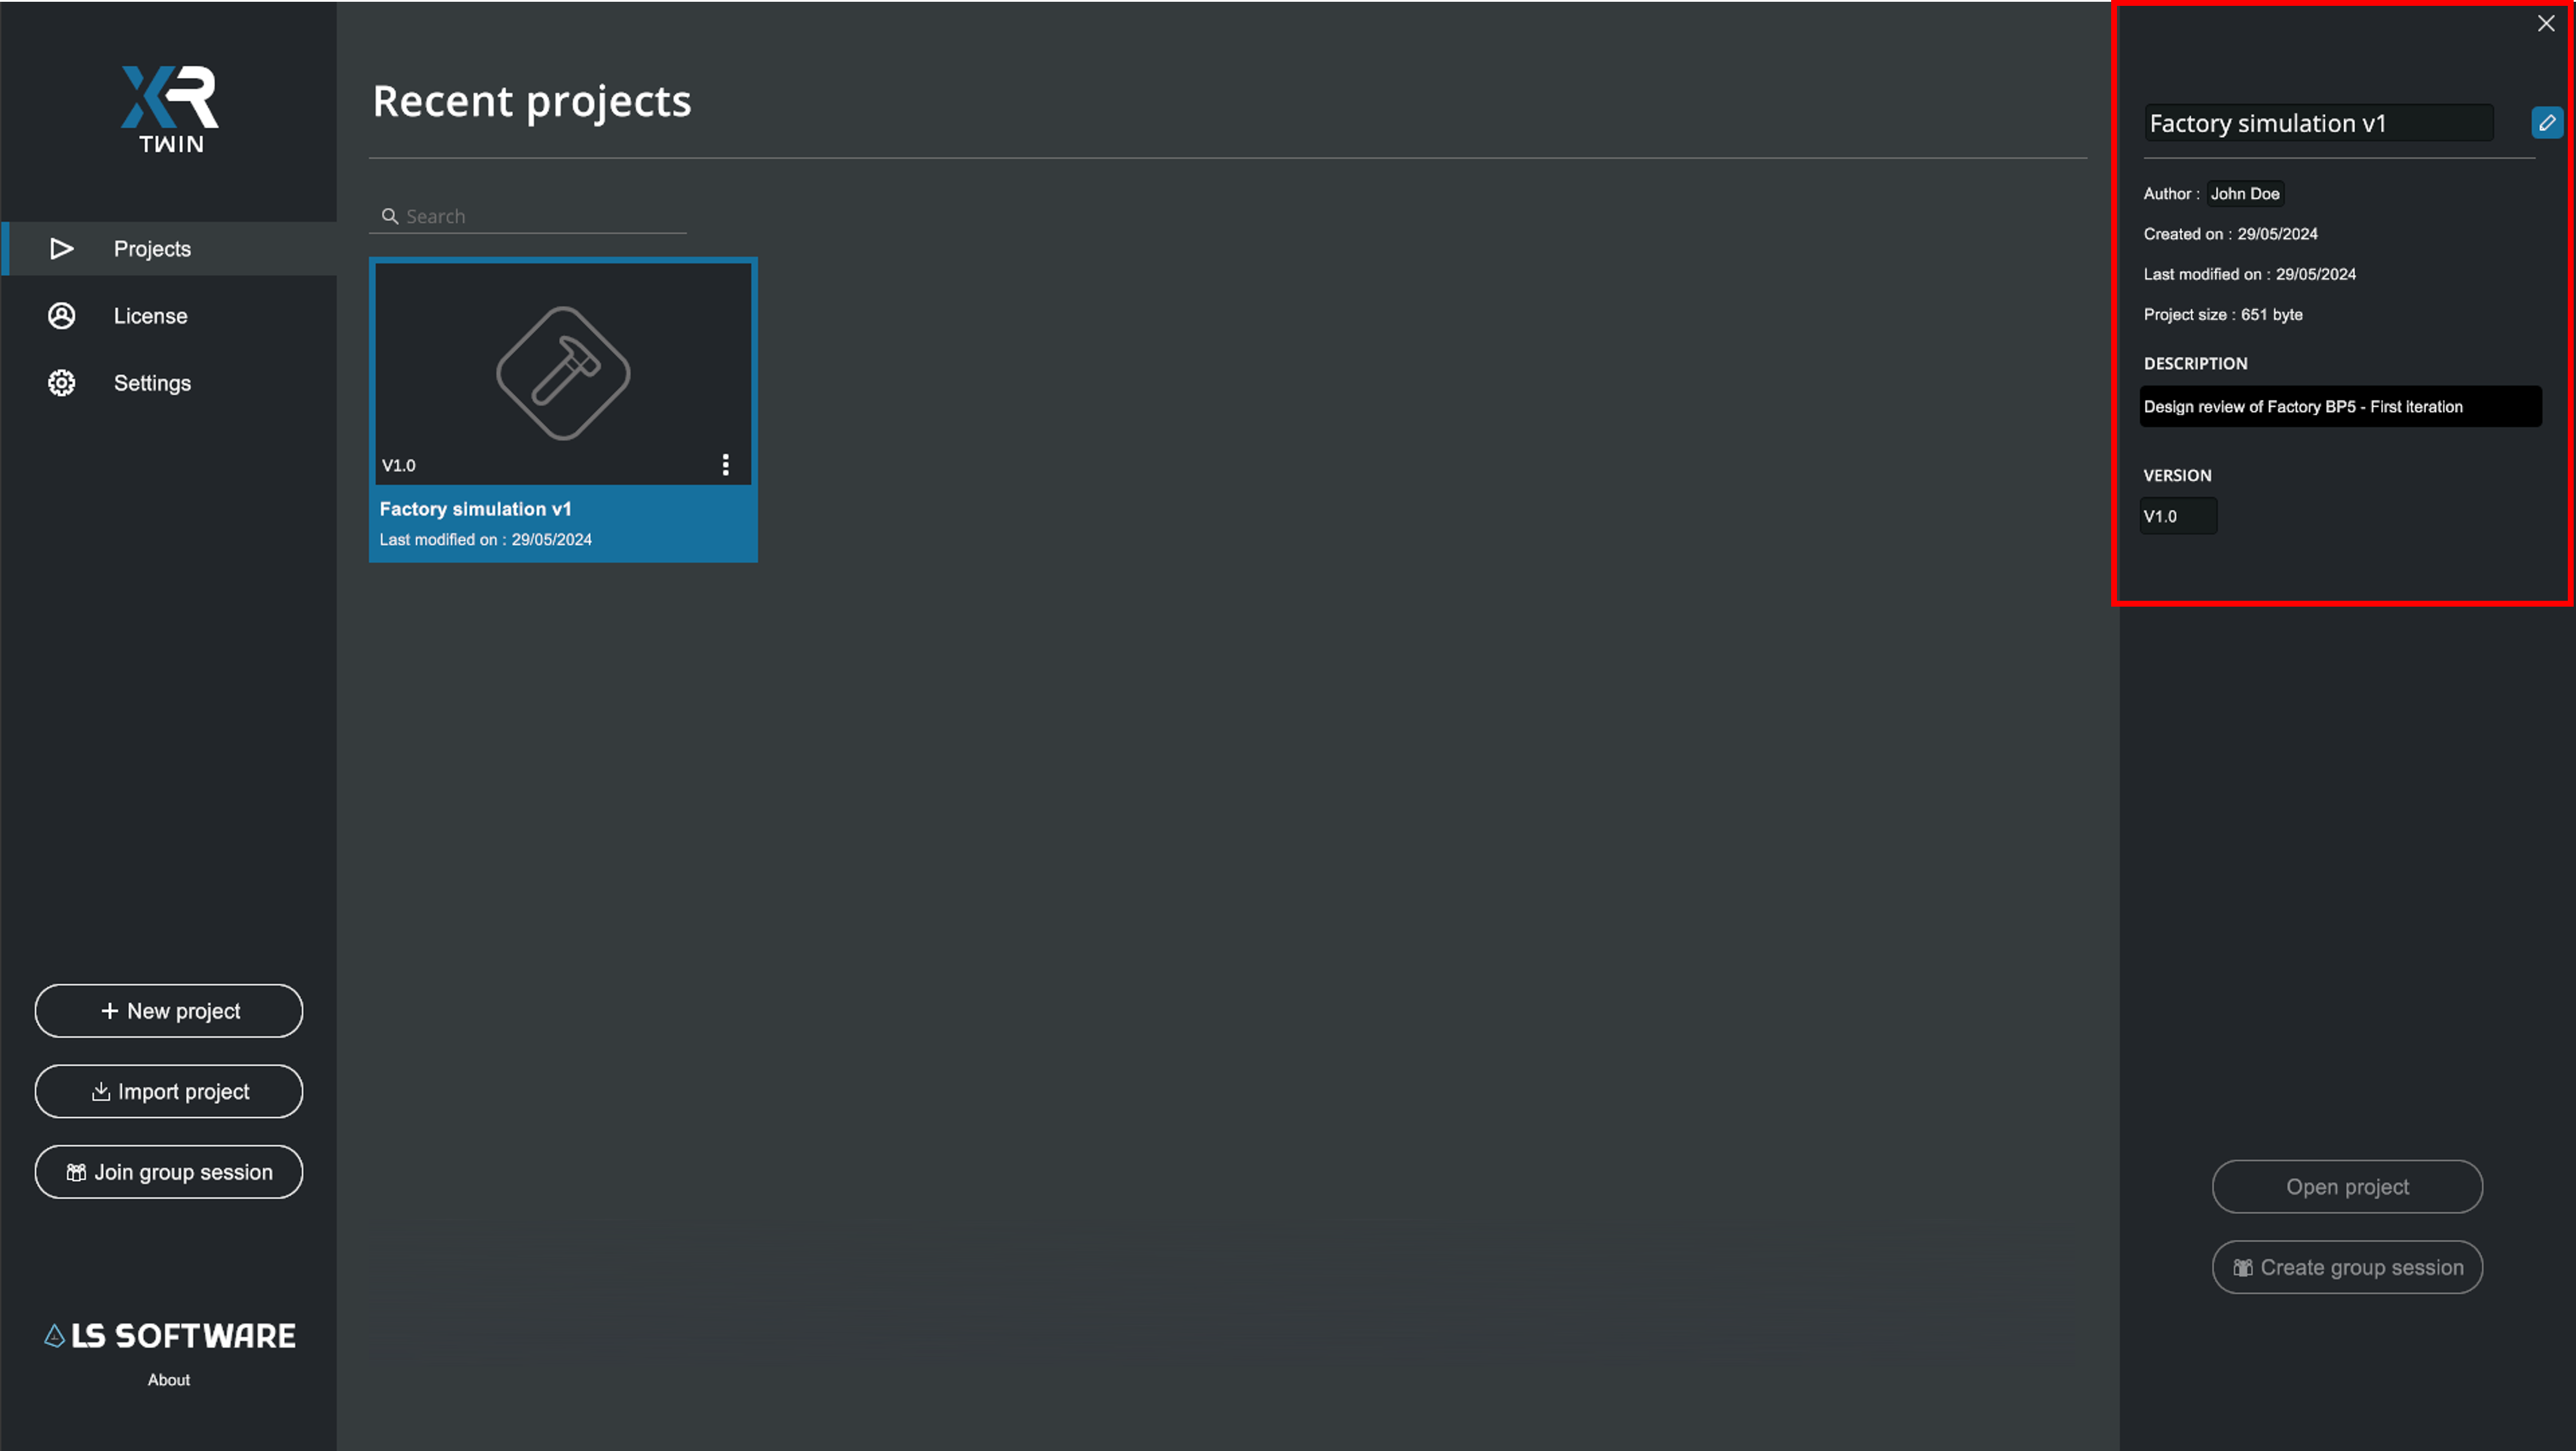
In Project Information panel:
- Project name: Name your project accordingly,
- Author: Person creating or modifying the project,
- Created on: Project creation date (cannot be modified),
- Last modified on: date of last modification (cannot be modified),
- Description: Free text field allowing you to add valuable information on the project,
- Version: You can assign a project version number (e.g. after each project milestone or major modification).
To open the Project Information in Edit mode:
- Click the Edit button to open Edit mode.
- Modify information according to your needs,
- When you are finished, click the button again to apply your changes and close Edit mode.
Tip
As an alternative:
- You can double-click on one of the editable fields to enter in Edit mode.
- You can click on a project thumbnail to close Edit mode.
Project meta data are stored near the project in a project.xrdata file, located in the project folder.
Project management#
The Project mini-menu can be accessed by clicking on the  button as shown in the image below.
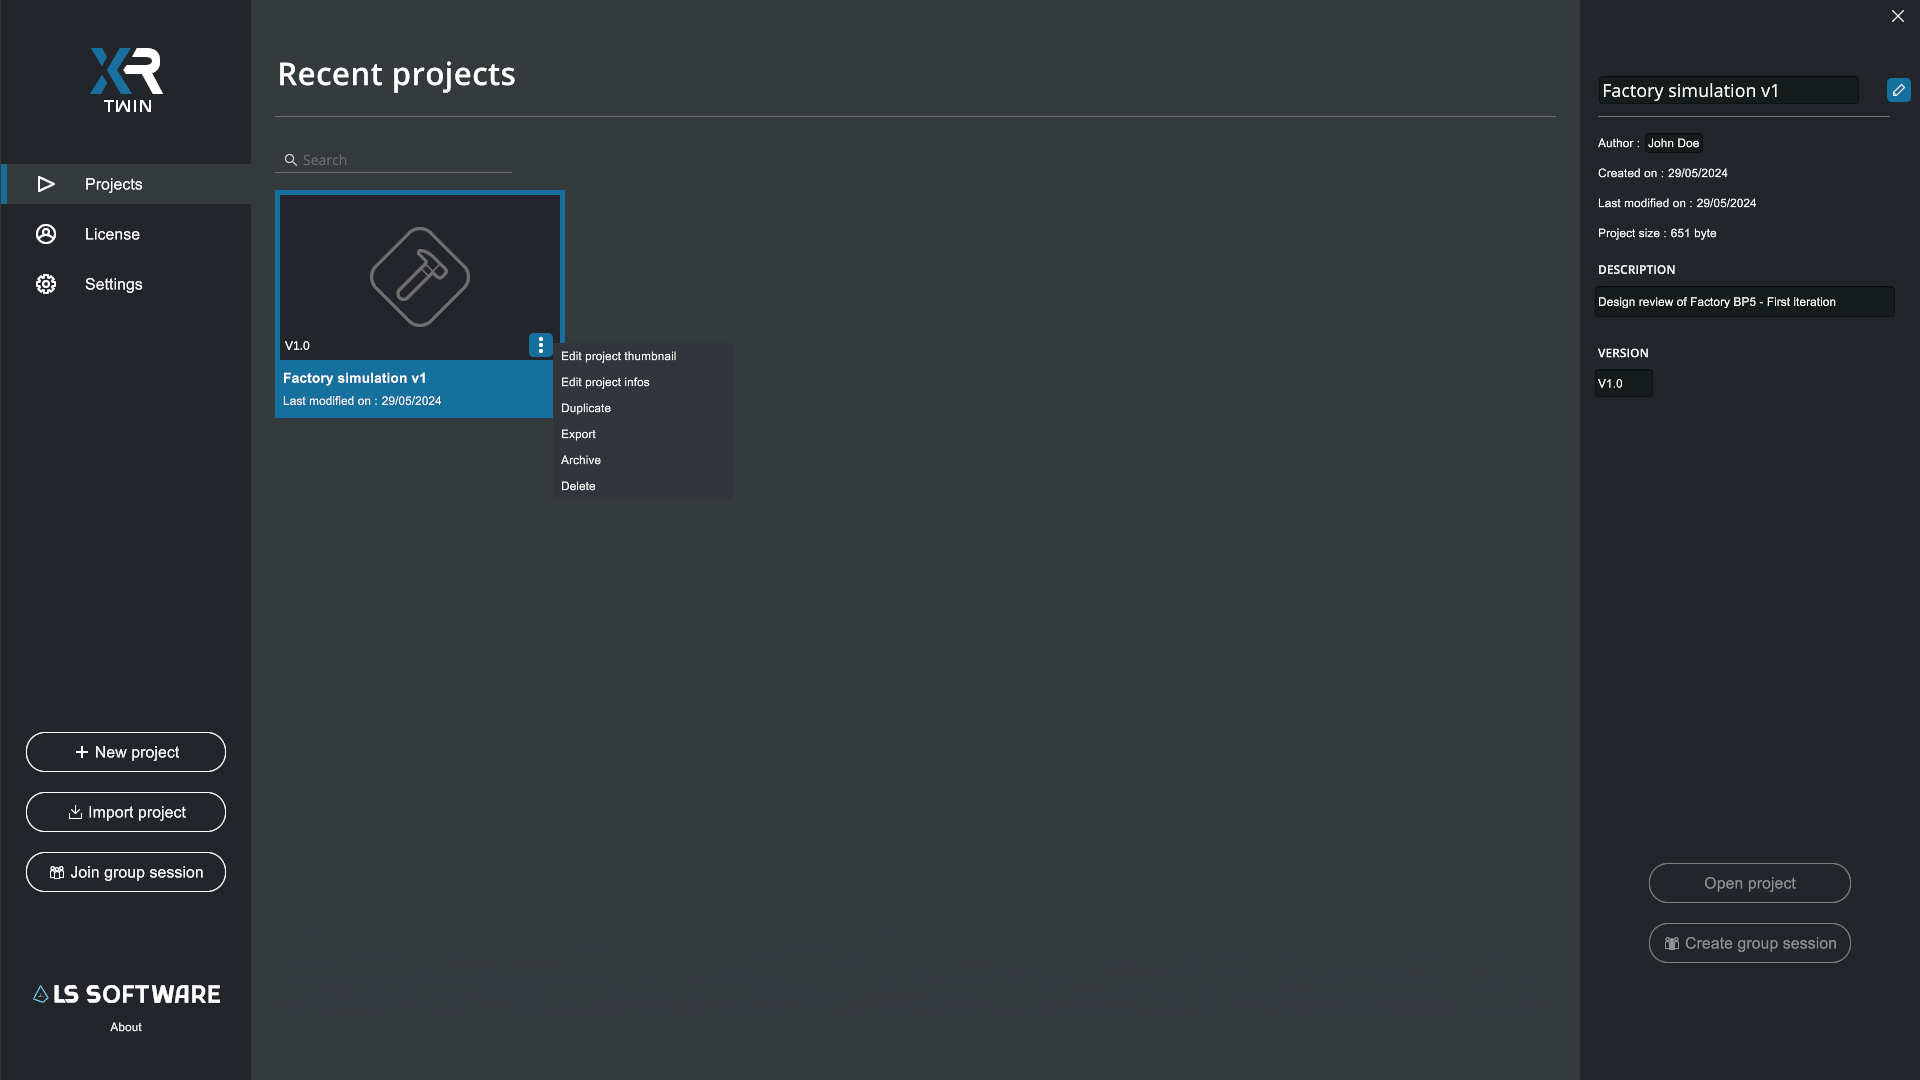
In the Project mini-menu:
- Edit project thumbnail: Change your project preview image.
- Edit project information: Modify project information (also accessible from the right side panel).
- Duplicate: Will create a copy (clone) of your project along with all assets and dependencies. The copy has the same name, indexed.
- Export: Will create an *.xrproj file in the chosen folder. The file name will be the name of the project. You can now share this project file with other XR Twin users. This is useful for multiuser sessions.
- Archive: Will create an .xrproj file (archive) in the chosen folder and delete the project from the XR Twin interface. Use this command when you are done working on a project and want to store the archive.
- Delete: Will delete the project and all its assets.
Customizing project image
The default project thumbnail is automatically generated upon saving your project. You can force your own thumbnail by clicking on the button and select Edit project thumbnail in the pop-up menu and select another image.
Once you have selected your own image, the original thumbnail will no longer be updated, even if you select it again.
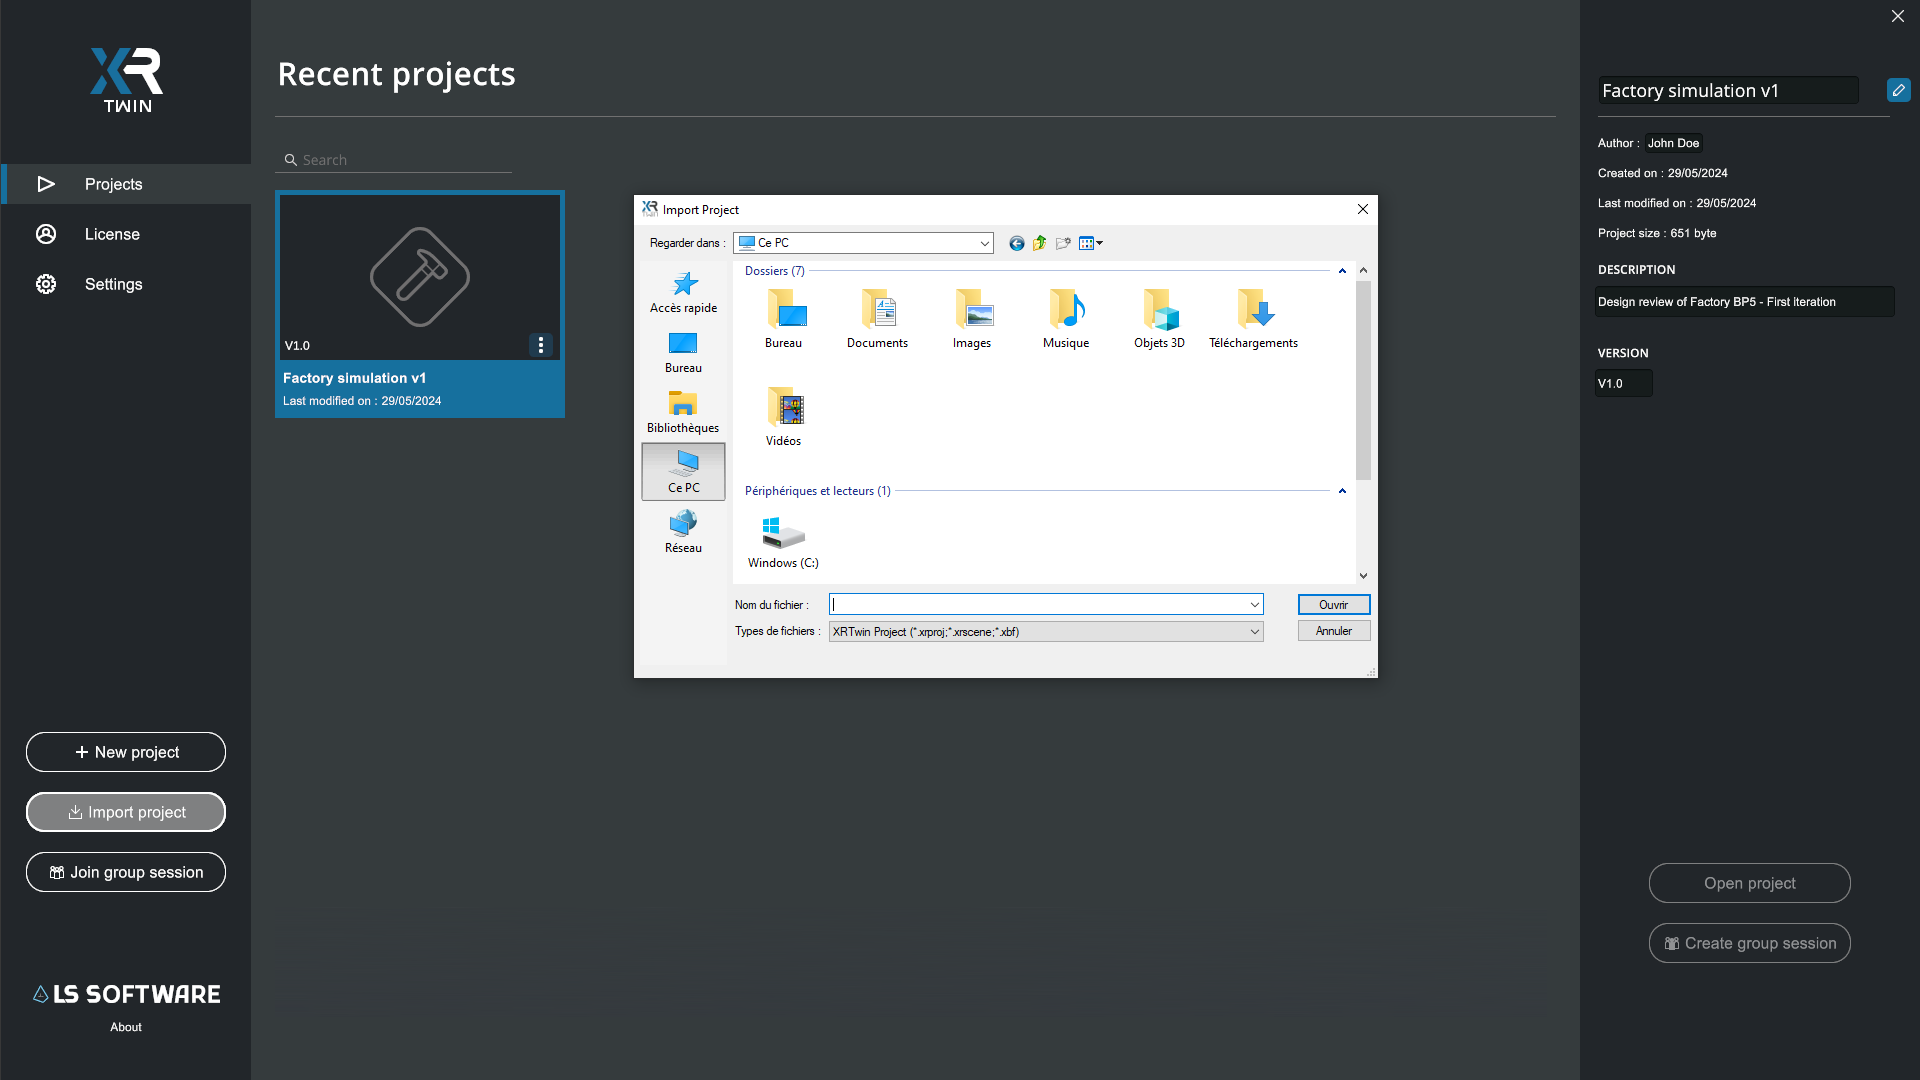
Import a project#
To import an existing project in XR Twin (from an archive or sended to you by another XR Twin user):
- Click on the Import project button in the left side panel, browse and select the .xrproj file that you want to import in XR Twin.
- Finish by clicking Open to close the browser.
- The project is charged in your Working Directory and a new thumbnail is added in the Recent Project panel. The name is that of the initial project (may be different from the file name).
What happens if same project exist ?
If the project you are trying to import already exists in your Working Directory (same "project ID"), a message will warn you. You can choose to continue by overwriting the existing project (note that this project will be lost). Or you may choose to cancel, make a copy of your existing project (use Duplicate), and then re-import the project. This time, choose Continue.
Projects are identified by their project ID independently of their name. You cannot change this ID directly, but by duplicating your project, the duplicate will have a different ID.
Tips and best practices: duplicate to backup!
It is highly recommended to duplicate your projects. By creating backups, you can easily revert to previous versions if modifications are needed or if unexpected issues arise. Duplicating projects ensures that you have a safety net and can avoid potential data loss or setbacks.
Open a project#
Now that you have a project, you can open it:
- In the Recent Project panel, select the project thumbnail you wish to open,
-
Bottom right-hand panel, click the Open Project button,
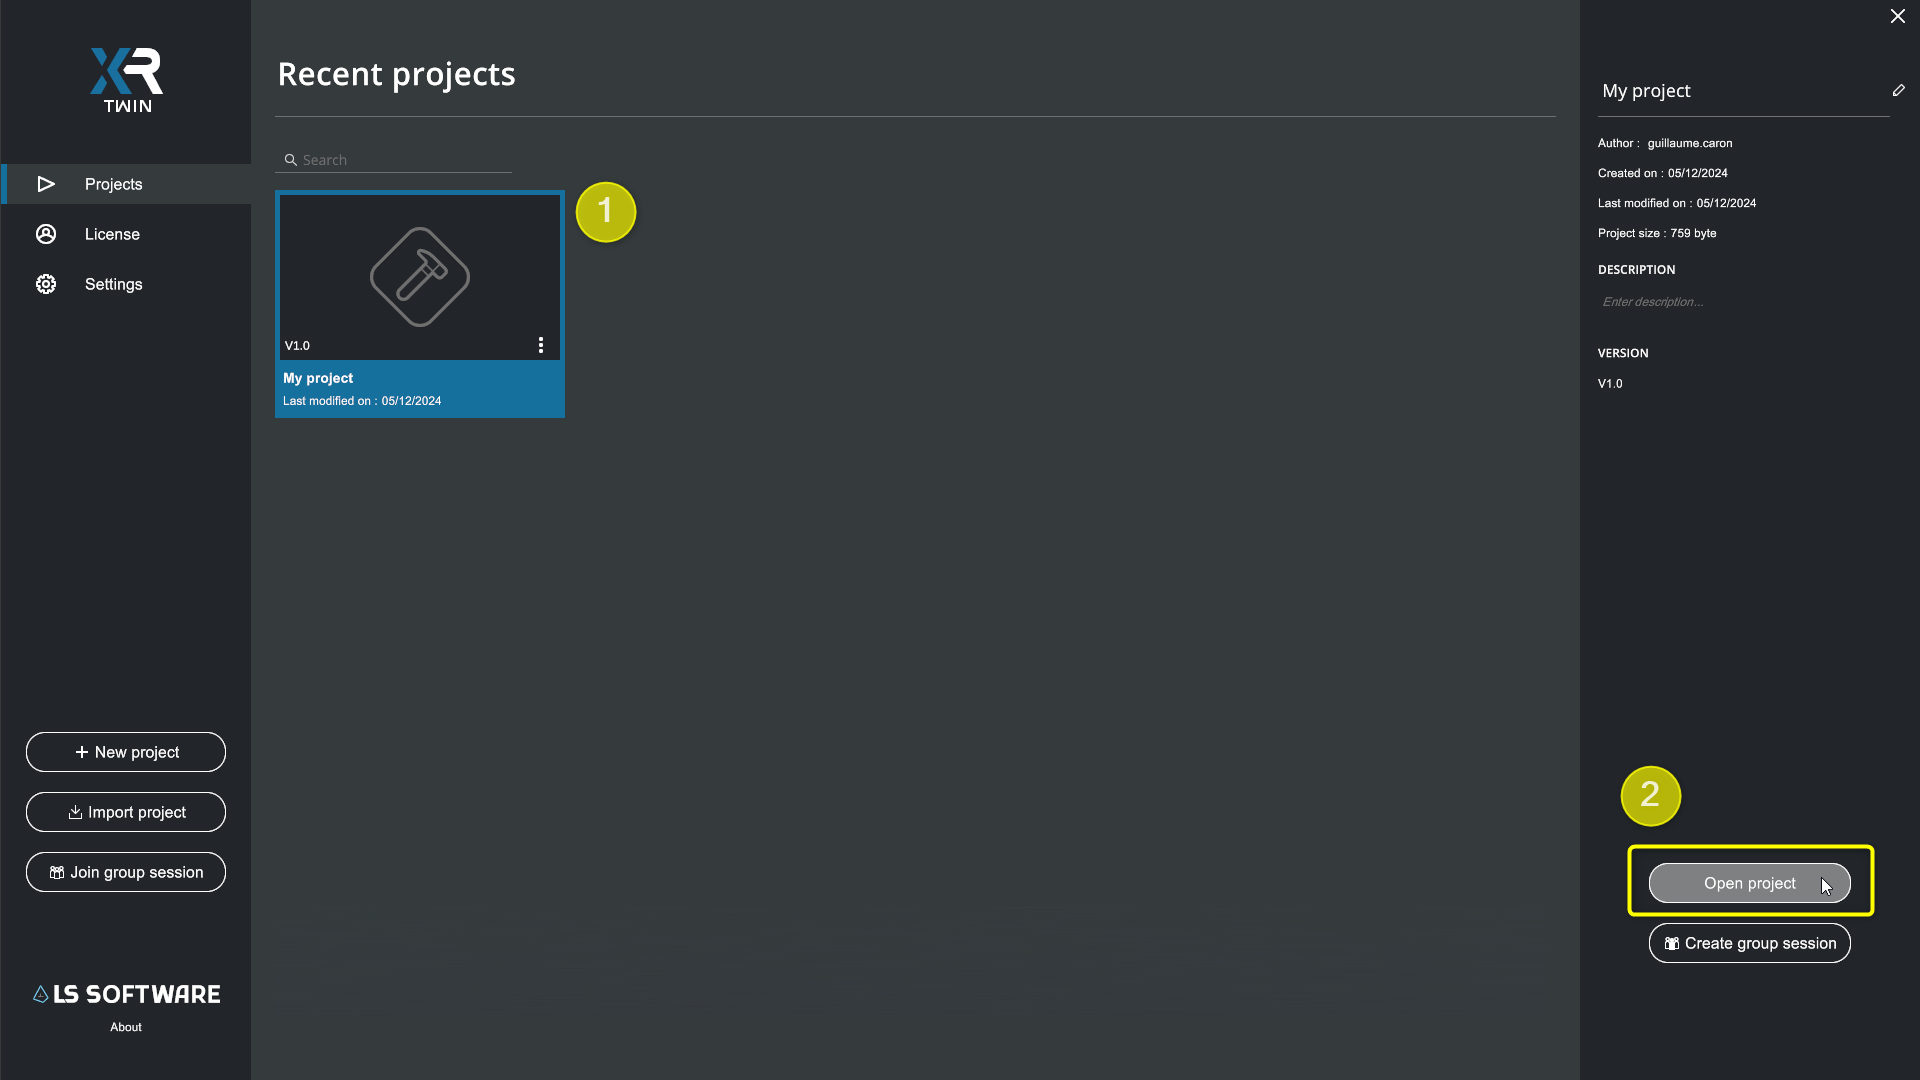
-
The project opens in a new interface: the Edition panel.
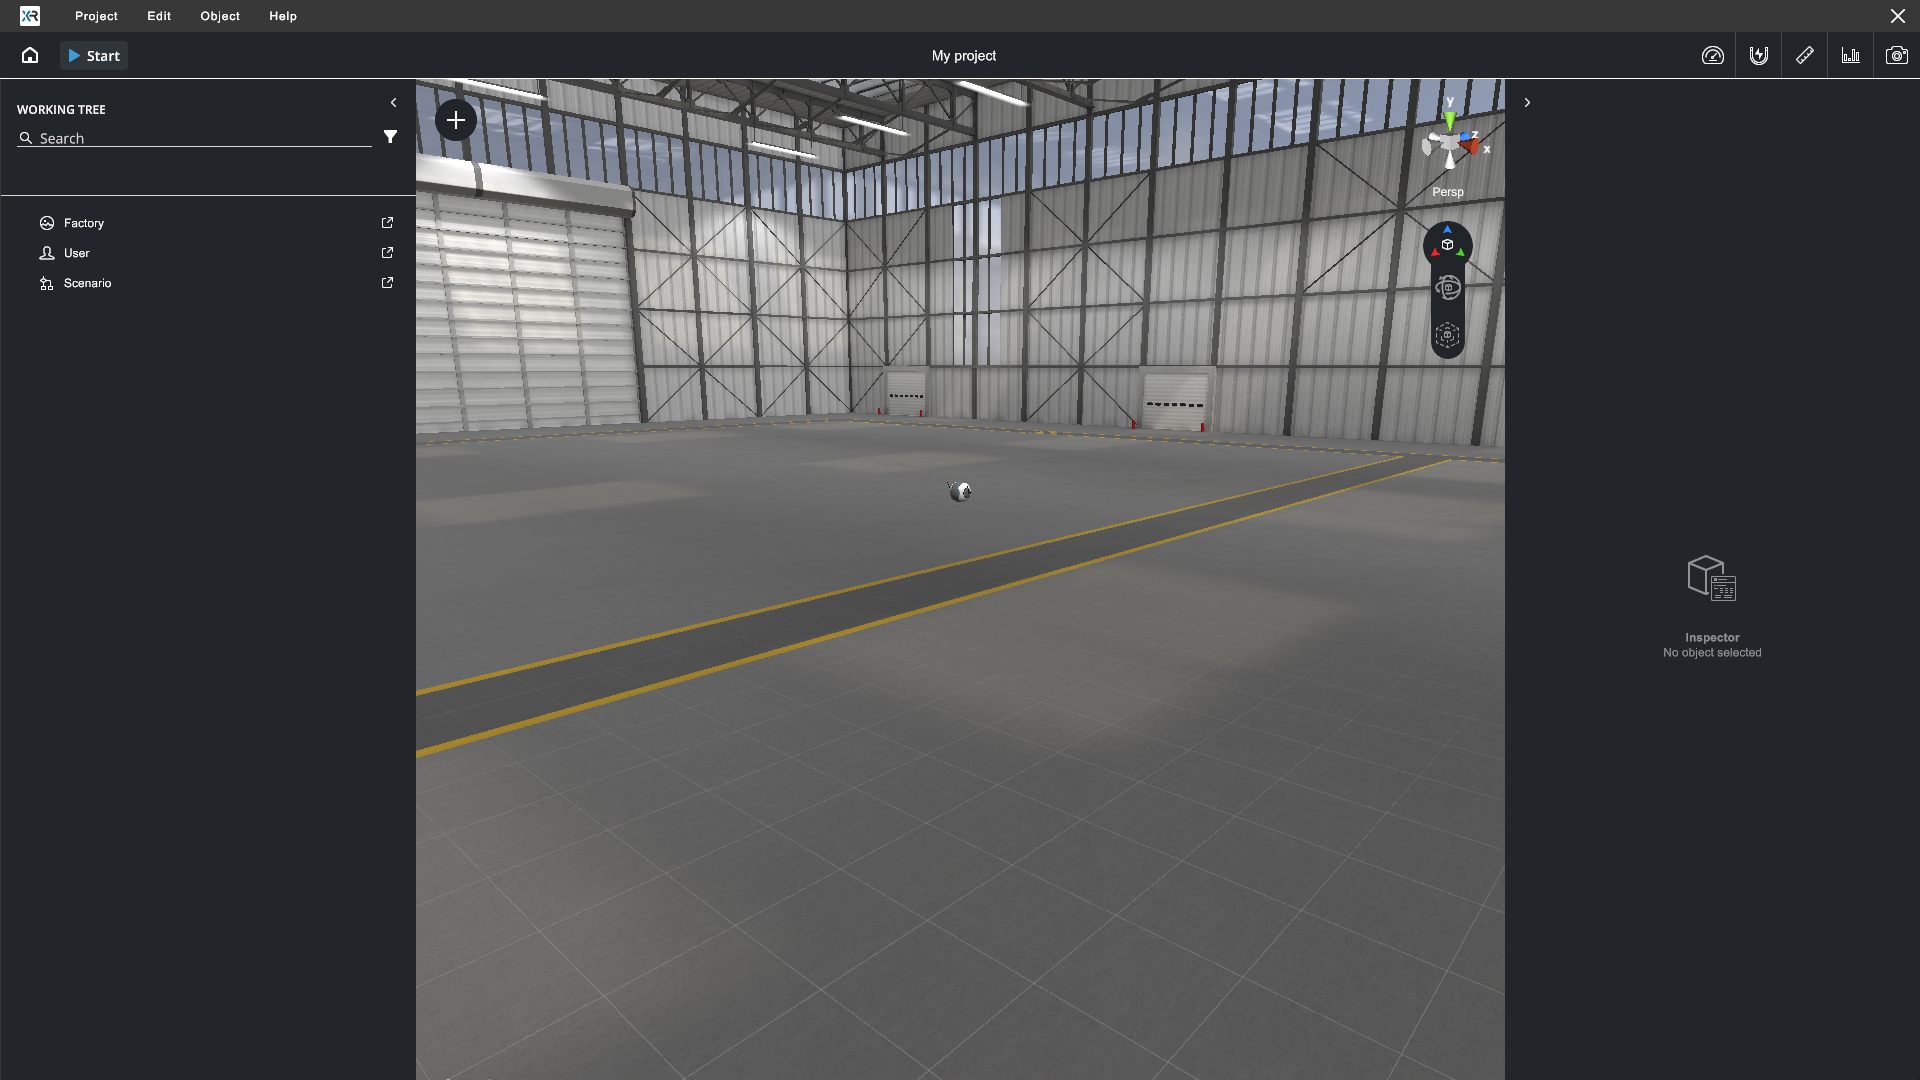
- From the menu bar at top left, select Object>Add>Primitive to open the Add Primitive pop-up.
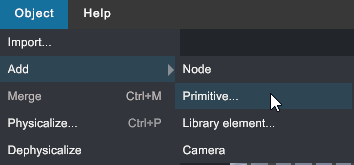
- In the Add Primitive pop-up, select Sphere and click the Import to scene button.
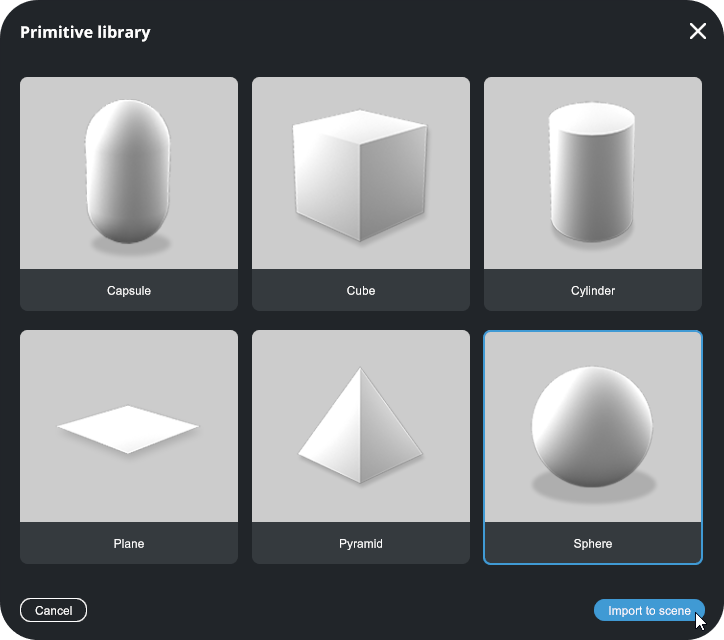
- A new object "Sphere" is added in the 3dview panel and selected in the left side panel.
- Press the F key to focus on the sphere.
- Change point of view:
- Press Alt+LMB (Left Mouse Button) and drag to turn around (Orbit) the focused object.
- Press MMB (Middle Mouse Button) and drag to Pan the 3D view.
- Scroll with MMW (Middle Mouse Wheel) to zoom in/out.
- Save your changes: from the menu, select Project>Save (or Ctrl+S).
- Move your mouse to the top left and click the Home
 button to return to the Launcher panel.
You've taken your first steps into XR Twin. Go on to discover all its features by browsing the next chapters of this User Guide.