Tips & Best Practices#
This page contains helpful keyboard shortcuts, tips, and best practices to help you work more efficiently in XR Twin.
Keyboard shortcuts#
| Key | Description |
|---|---|
| F | Focus |
| Esc | Deselect |
| Ctrl+D | Duplicate |
| Del | Delete |
| Ctrl+S | Save project |
| Alt+Shift+F9 | Advanced settings |
| W | Translate |
| E | Rotate |
| R | Scale |
| Shift and move gizmo | Incremental transform |
| V and translate gizmo | Vertex snapping translation |
| Ctrl+Z | Undo transforms |
| Ctrl+Y | Redo transforms |
| Ctrl+H | Hide/Show (toggle) |
| Ctrl+A | Select all |
| Ctrl+P | Physicalize |
| LeftRightUpDown | Walk through the hierarchy levels (Hierarchy panel have the focus) |
| LeftRight | Pan scene view horizontally (Scene view have the focus) |
| UpDown | Zoom in/out (Scene view have the focus) |
| According to your Navigation preset | Orbit (Scene view) |
| According to your Navigation preset | Zoom (Scene view) |
| According to your Navigation preset | Pan (Scene view) |
Interface & Navigation#
Focus on selected object#
Quickly center the camera on any object in your scene.
Focus view shortcuts
To focus the camera on an object, adjust the zoom sensitivity to its size and set the orbit rotation center at its center of mass:
- Select an object and press F.
- Double-click the object in the Scene View.
- Double-click the object name in the Hierarchy panel.
Customize navigation controls#
Match XR Twin's navigation to your preferred CAD software workflow.
Navigation presets
You can change navigation presets to match your preferred CAD software (Blender, 3ds Max, Maya, etc.). Access this setting in the Settings page if you are in the Launcher or in the main menu Project > Preferences > Navigation if a project is open.
Incremental transform#
Move objects with precision using incremental grid snapping (Design Mode).
Snap to grid
Hold Shift while moving an object by its gizmo to move it incrementally along the grid. This ensures precise positioning aligned to your scene grid.
Vertex to vertex snapping#
Move an object by snapping it to the vertices of other objects (Design mode). See Vertex to Vertex snapping.
Snap to vertex
Hold V while translating an object to enable Vertex to vertex snapping mode.
Project Management#
Access advanced project options#
Display advanced project information and configuration options (in the Launcher).
Advanced project options
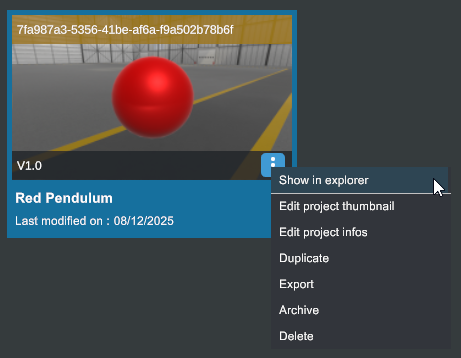
Press Alt+Shift+F9 at any level to turn on the advanced project options:
- Display project ID in the project thumbnail
 (Launcher)
 - Add Show in explorer in the project mini-menu
 to open the project folder in default File explorer.
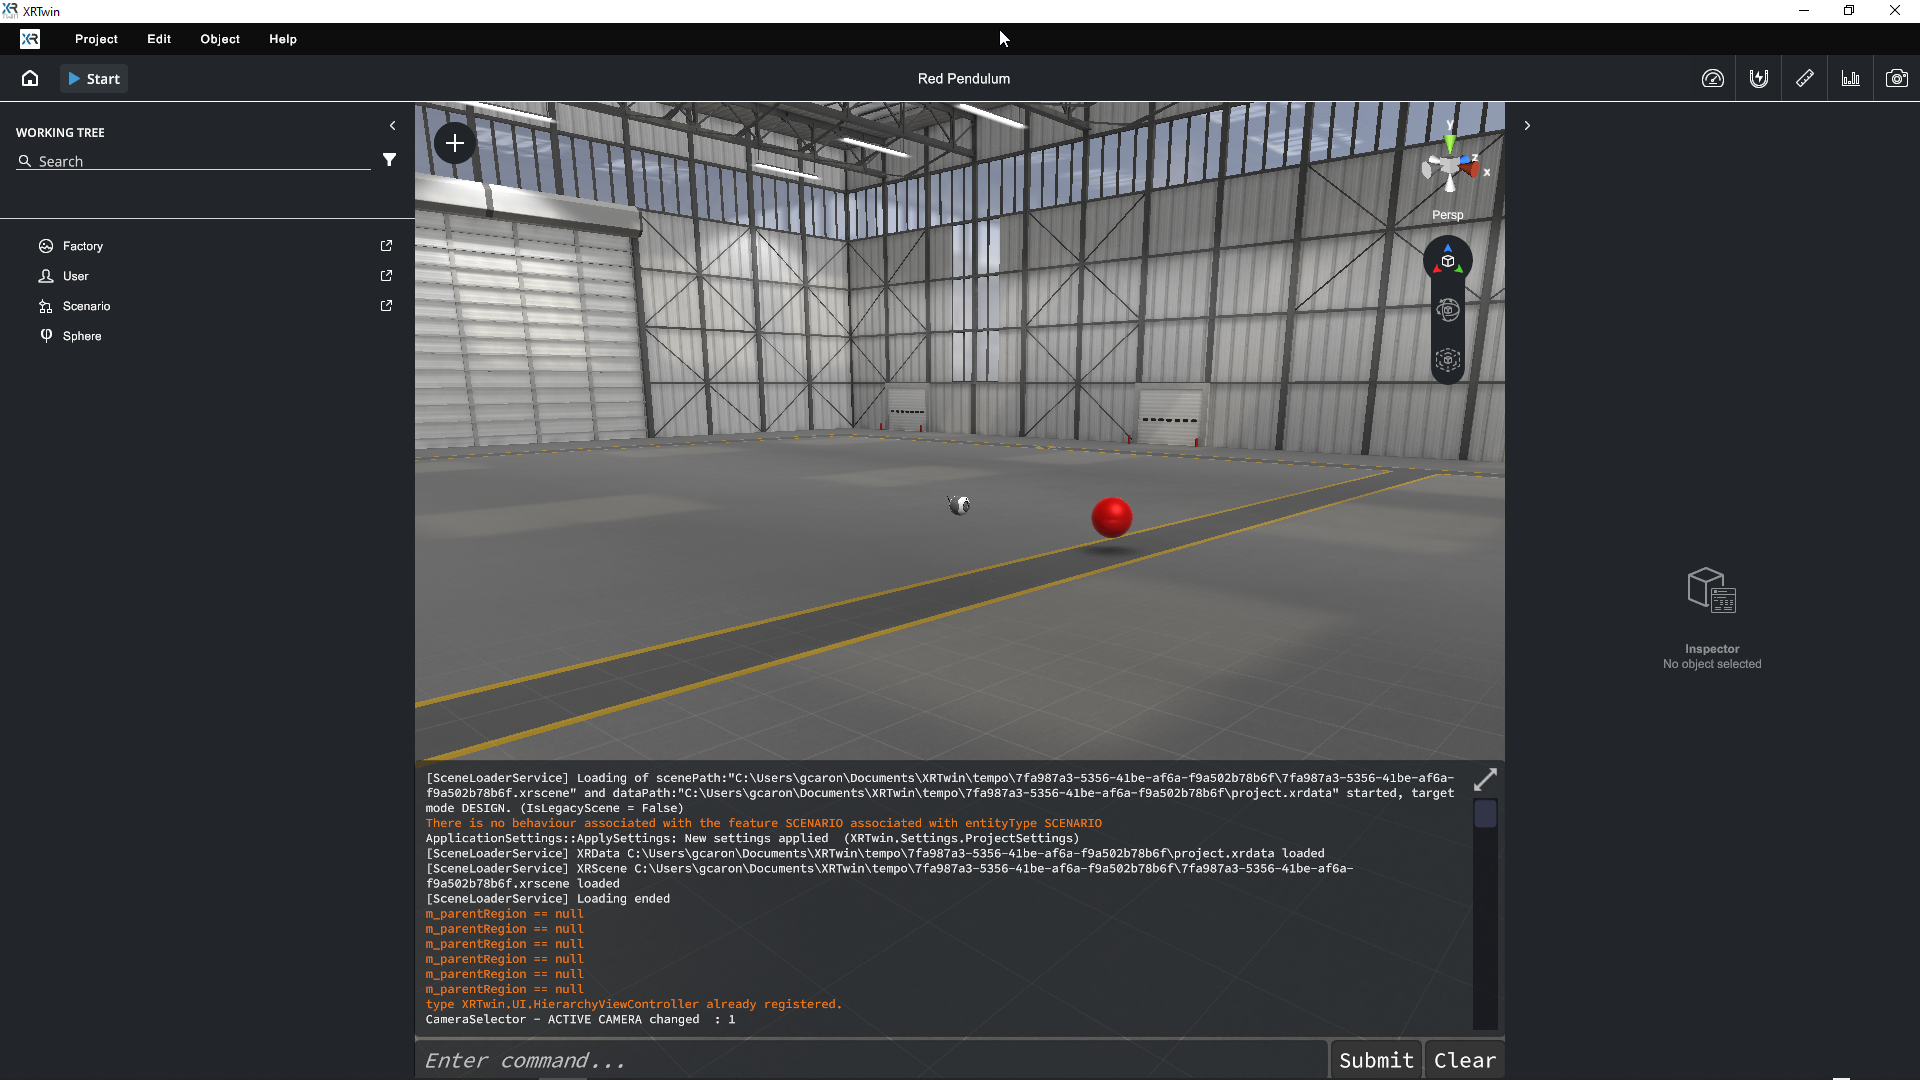
 - Display the debug console in all modes. Log messages can be useful for support.
Examples:
Preserve your recordings#
Protect your simulation recordings when modifying projects.
Safeguard recordings
Recordings are sensitive to project structure changes. Duplicate your project before making significant modifications to ensure your recordings remain playable.
We're working on enhancing this feature in future updates.
CAD Import & Scene Setup#
Deselect objects quickly#
Clear your current selection with a single key.
Deselect shortcut
Press Esc to deselect the currently selected object.
Duplicate objects#
Quickly create copies of objects in your scene (Edition Mode).
Duplicate shortcut
Select an object and press Ctrl+D to duplicate it. The duplicate is offset on the X axis so that you can easily move it.
Save your project#
Save your work frequently to avoid losing changes (Edition Mode, Review Mode).
Save project
Press Ctrl+S to save your current project at any time.
Advanced Tips#
View statistics and performance#
Monitor your scene's performance in real-time.
Performance statistics
Access the Statistics tool from the menu bar to view FPS, polygon count, and other performance metrics during simulation.
Take screenshots#
Capture images of your simulation for documentation.
Screenshots
Use the Take Screenshot tool  in the tool bar or the Photo tool in the VR menu (when you use a VR headset in Simulation mode) to capture images.
Transparent backgrounds
For transparent backgrounds (useful for brochures or presentations), simply disable the current Environment using the eye icon  in the Property Panel before taking the screenshot.
Where are my screenshots?
Your screenshots are saved in the project's Screenshots subfolder. See Easily find your screenshots.
Copy and Paste object properties#
In Editor mode, you can copy and paste component properties from one object to another using the component mini-menu in the Property Panel. See Property Panel section.
If you need to copy some Transform properties (Translation, Rotation and Scale values) from Simulation mode to paste them when back in Editor mode, see Copy Transforms workflow in What can I do in Simulation mode section.
These tips are designed to help users of all skill levels work more efficiently in XR Twin. For detailed information on any feature, refer to the relevant section in the User Guide.