Driving a kinematic joint
Once an object is physicalized, its position is computed by the physics engine, so you can't set it directly through its Unity transform. To drive it, you instead need to act through the simulation: apply a force or torque, or give it a desired position and/or velocity to reach.
INTERACT exposes this as manipulators, which act on a XdeRigidbody and thus can drive a whole kinematic chain through inverse kinematics, or controllers, which act on a single joint.
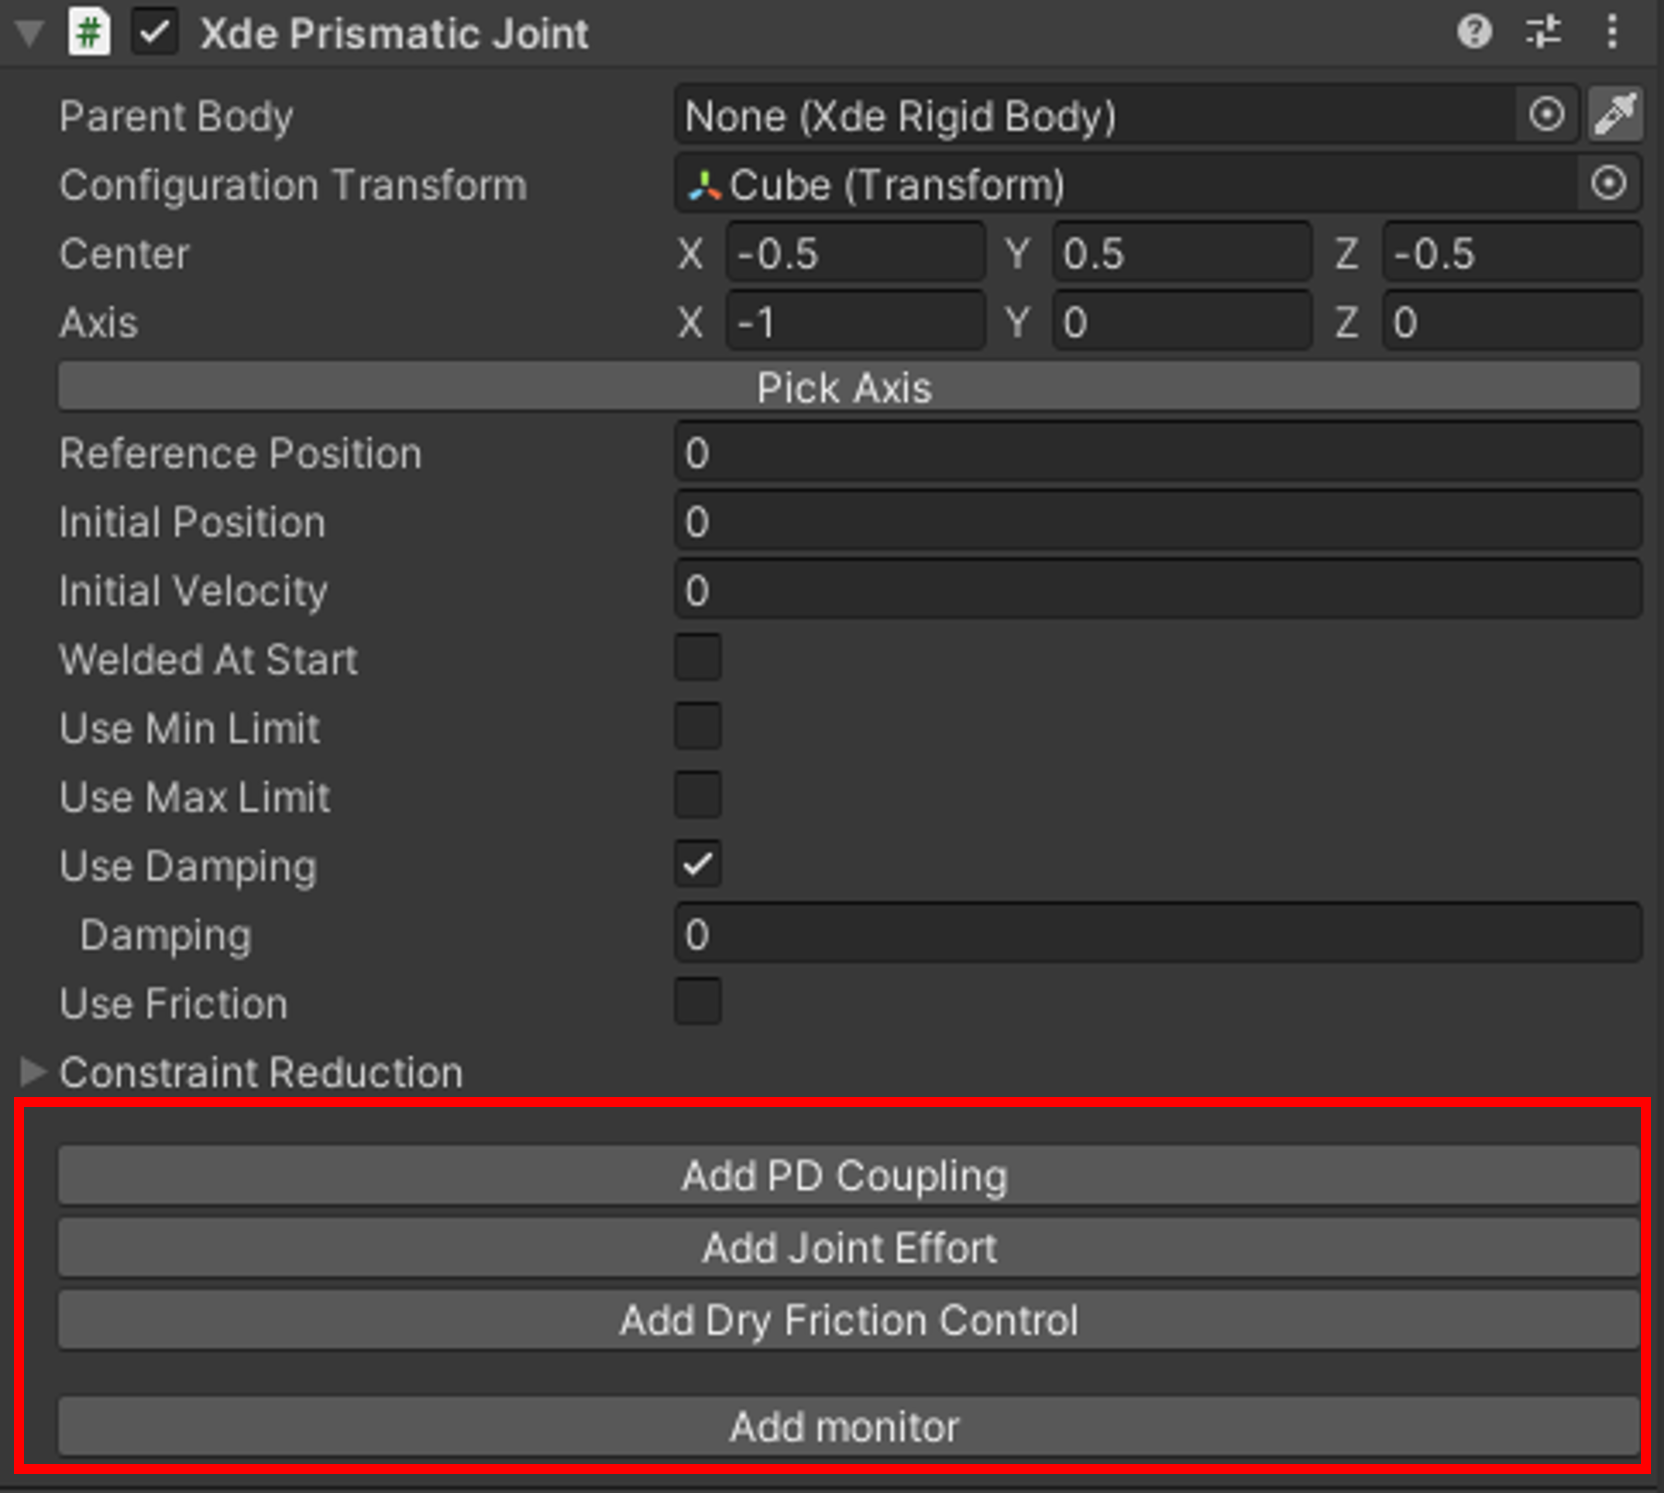
Apply a Force or Torque

Click on Add Joint Effort to add the component XdeJointEffort allowing you to apply a force or a torque to the joint.
- The effort's unit is in Newton meter when it drives an Hinge Joint or in Newton if it drives a Prismatic Joint.
If joint is not moving
If your joint is not moving while an effort is set, double-check the friction value on the joint component. If the friction inside the joint is larger than the effort, you don't have enough force to move it.
Control the Position and/or Velocity with Gain
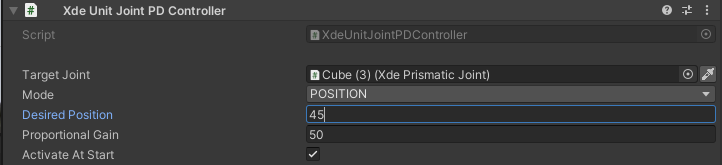
Click on Add PD Coupling to add the component XdeUnitJointPDController allowing you to control an object's position and/or velocity in the joint space depending on the gain added (and the friction defined on the object).
PD stands for Proportional-Derivative: like a PID controller without the integral part, it applies an effort proportional to the position/velocity error and to its rate of change.
- Units are degrees and degrees/s when they control an Hinge Joint or m and m/s when they control a Prismatic Joint.
- You can set desired position and/or velocity depending on which controlling mode you have selected.
- Proportional and derived gain are applied to the position and velocity difference: raise them if the joint is not moving or its response is too slow, and lower them (or add some friction in the joint component) if the joint overshoots or moves too much before settling.
If joint is not moving
If your joint is not moving while a controller is active, the controller response time may be too slow. Double-check the proportional and derived gain values.
Define a velocity
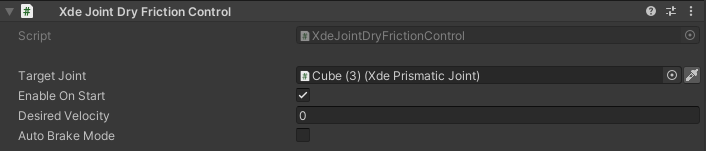
Click on Add Dry Friction Control to add the component XdeJointDryFrictionControl, which drives the joint to a target velocity by applying an effort capped by a friction limit, instead of a position/velocity gain like the PD controller above.
- Target Velocity is the desired velocity, in the same units as above (degrees/s or m/s). It can also be changed at runtime from a script with
SetDesiredVelocity(double). - Friction Limit caps the effort applied to reach the target velocity: the higher it is, the greater the force applied and the faster the joint reaches the requested speed.
- Brake Mode and Brake Limit let you define a separate, usually higher, friction limit used to brake the joint, so it can be slowed down or held in place faster than it accelerates.
Get Position and/or Velocity
To retrieve a joint position in a custom script, you can use a XdeUnitJointMonitor. To add it, in your joint component (ex: Xde Prismatic Joint), at the bottom click on Add monitor.
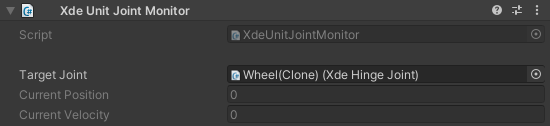
This component retrieves joint position and velocity in the joint space. Unit is degrees for hinge joint and meters for prismatic joint.
    public XdeEngine.Core.Monitoring.XdeUnitJointMonitor xdeUnitJointMonitor;
    void Update()
    {
        float alertThreshold = 50f;
        if (xdeUnitJointMonitor.currentPosition > alertThreshold)
            Debug.LogWarning("Limit exceeded");
    }